Traxxas Telluride Axel
thingiverse
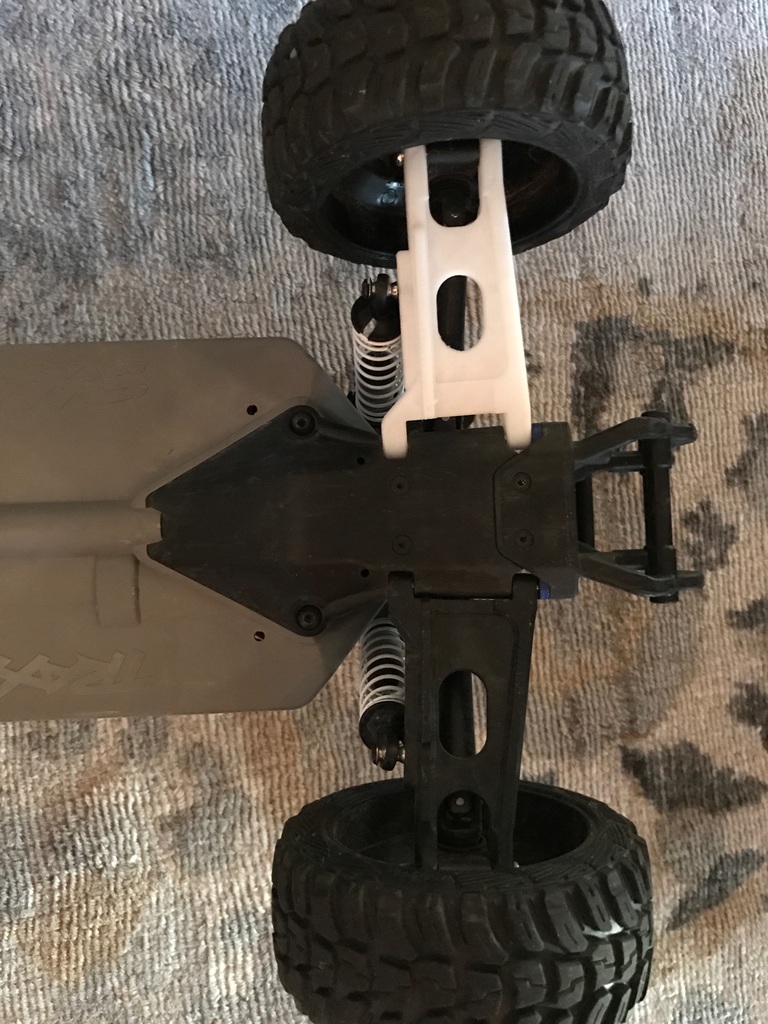
To assemble, download, and print the axle above, follow these steps. First, disassemble your broken axle if it's still partially attached to the vehicle. Remove all screws and suspension components from the broken axle. Next, insert the new axle into its designated groove and slide the pin through. Repeat this process for each wheel, making sure they are securely in place. To secure the shock absorber to the axle, screw it in firmly (note: use a small knife to shave a slight amount of material from the rim of the hole to widen it). Finally, attach the remaining components back onto the vehicle. If you encounter any difficulties, refer to the other axle for guidance.
With this file you will be able to print Traxxas Telluride Axel with your 3D printer. Click on the button and save the file on your computer to work, edit or customize your design. You can also find more 3D designs for printers on Traxxas Telluride Axel.