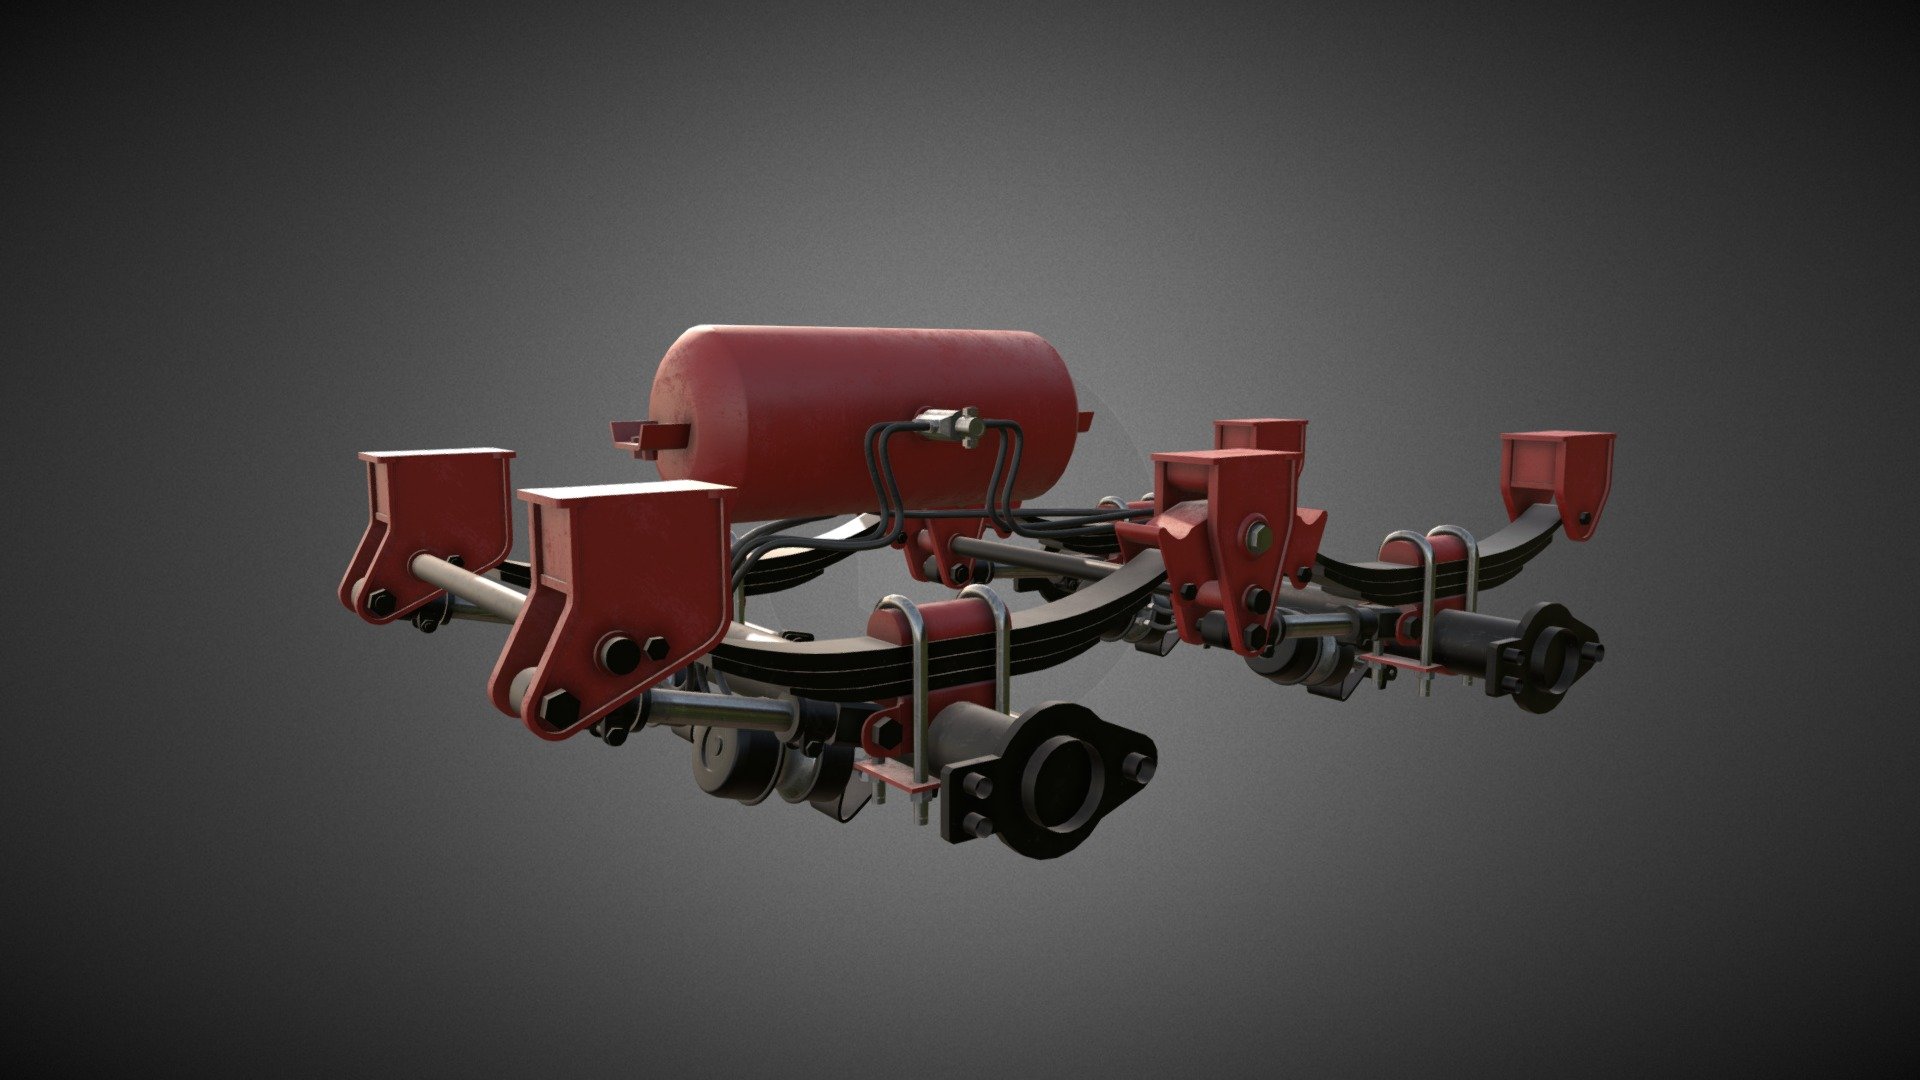
Trailer Spring Suspension
sketchfab
Designing a trailer spring suspension model within Blender's environment requires careful planning and implementation. To begin, create a new project in Blender and set the units to metric or imperial depending on your preference. Next, switch to Edit Mode by pressing Tab and select all objects using Ctrl+A. This will allow you to make adjustments to the entire scene at once. Then, navigate to Object Mode by pressing Tab again and delete any default cube that may have been created during project setup. Now, create a new mesh by going to Mesh > Extras > Grid Fill. This will generate a grid of vertices that can be used as the foundation for your suspension model. Adjust the grid's density by tweaking the Subdivisions value in the Tool Settings panel until it resembles the desired shape and size of your trailer's suspension. With the grid selected, enter Edit Mode again and use the Extrude tool to create the initial coil springs. Start by selecting a vertex at one end of the grid and then extrude it downwards while holding Shift to maintain a consistent height. Repeat this process for each coil spring, gradually increasing their size as needed to achieve the desired shape. To add the springs' curvature, select all the vertices that make up each coil spring and use the Subdivide tool to break them into smaller segments. Then, apply a curve modifier by going to Modifiers > Curve and selecting the 'Spring' preset. Adjust the modifier's settings until the coils appear smooth and natural-looking. Next, create the axle and wheel components using Blender's built-in modeling tools. Start by extruding a rectangle from a plane and then use the Loop Cut tool to create the wheel's rim. Add a circle curve modifier to define its shape and adjust the Bevel setting to achieve a smooth edge. To assemble the suspension model, select all the coil springs and group them together using Ctrl+G. Then, create a new object and move it underneath the springs to serve as the trailer's axle. Use the Snap tool to align the springs with the axle and lock their positions in place using the 'Lock' option in the Object Constraints panel. Finally, add any additional details such as suspension arms or shock absorbers by duplicating existing components and adjusting their size and position accordingly. With the model complete, render it out in a high-resolution image format to visualize your trailer's spring suspension in stunning detail.
With this file you will be able to print Trailer Spring Suspension with your 3D printer. Click on the button and save the file on your computer to work, edit or customize your design. You can also find more 3D designs for printers on Trailer Spring Suspension.
