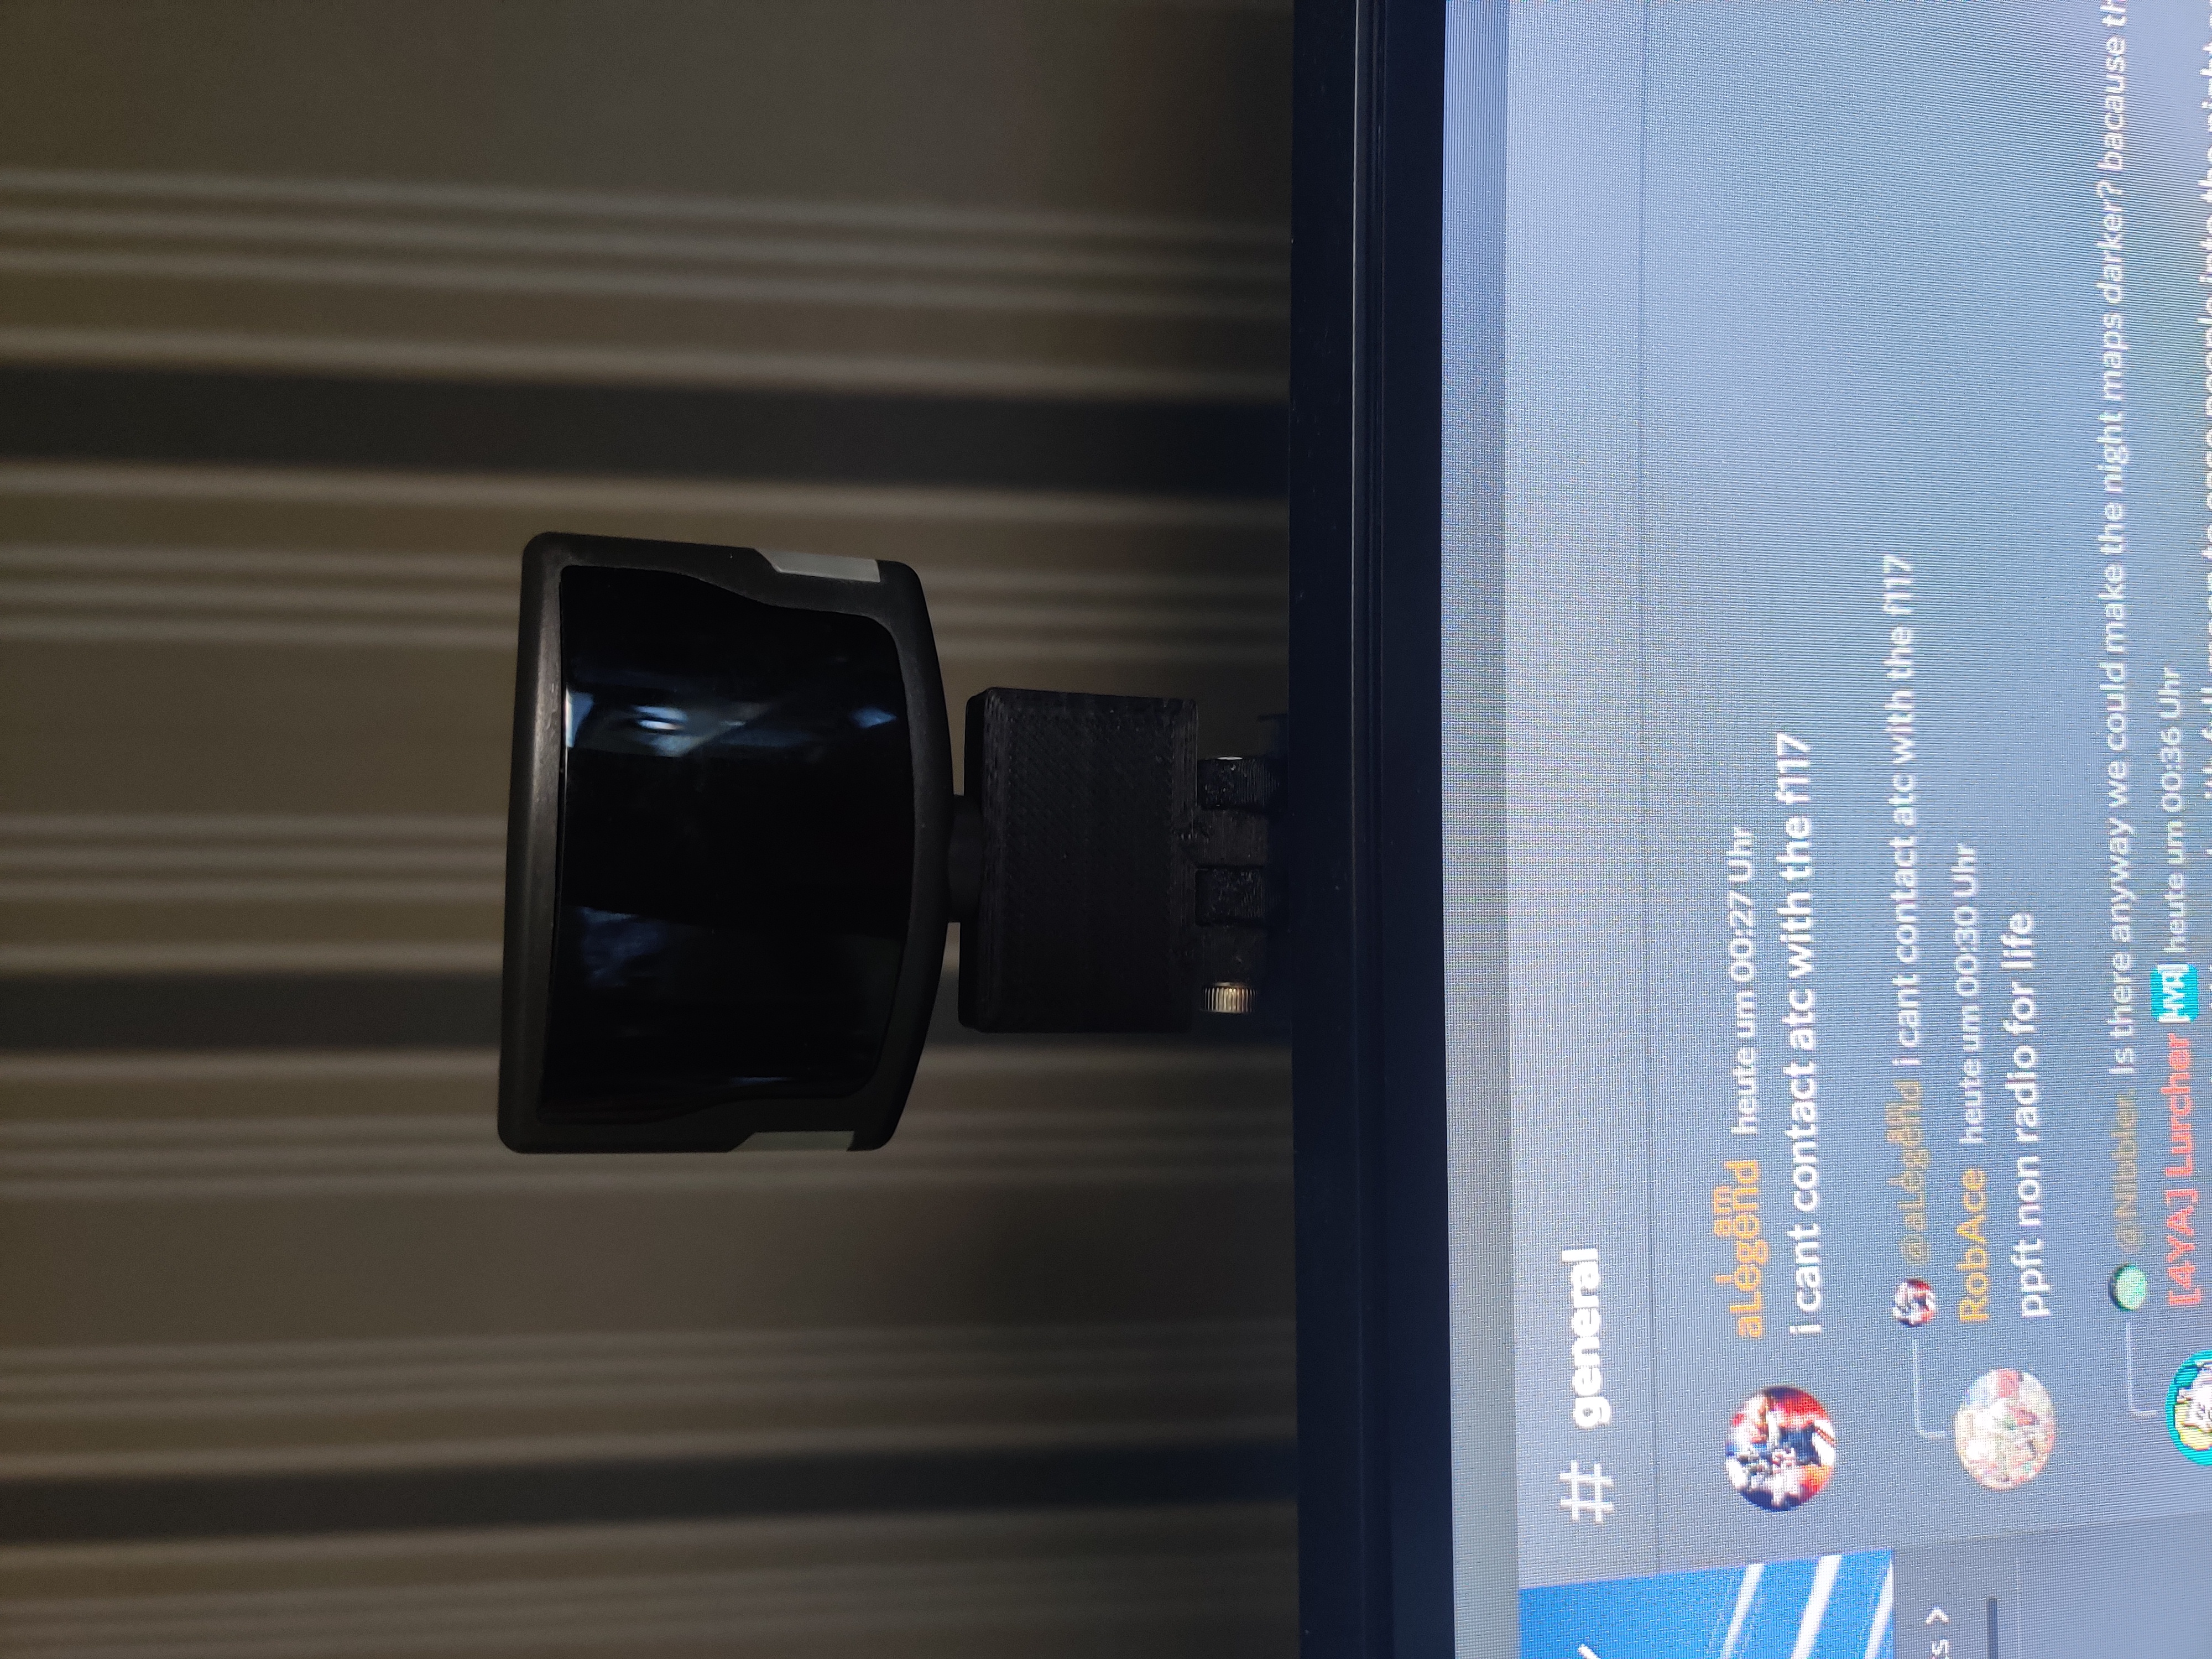
TrackIR 5 Monitor Mount
prusaprinters
<p>The Stock Mount for the TrackIR is not the best and doesnt work well on Monitors that are not Square shaped.<br>i use Myself a Samsung G7 and the included mount just slips around and is overall annoying to place.<br>Introducing this Mount, it uses some doublesided tape to be mounted to the back of the Monitor with a axis that allows some articulation.</p><p> </p><p><i><strong>BOM:</strong></i><br>N56 Magnet 4x2mm (most cheap ones end up around 1.7mm the mount is designed for this)</p><p>1x Screw M3x20</p><p>1x Nut M3</p><p>Doublesided tape (ive used some round double sided sticker from 3M that are 30mm in diameter)</p><p><i><strong>Print Settings:</strong></i><br>Any material should work, but do note that PETG can have Adhesion issues with glues.</p><p>printed the parts at 0.12mm layer height, 0.2 should work too, but overhangs will end up worse.</p><p>Supports should not be needed, if the holes are to rough they can be cleaned with a Drill</p><p><i><strong>Assembly:</strong></i><br> </p><ol><li>Insert the M3 nut into the Hex shaped Hole on the Monitor base, pull it in with a screw if needed.</li><li>Insert the magnet into the Hole on the Base Mount (should be a press fit, if it falls out you can glue it in with some CA glue) make sure the polarity of the magnet is right, the side that attracts the Tracker base should face out of the part.</li><li>Attack both parts using the M3 Screw</li><li>Mount it to the screen as needed</li><li>Attach the Tracker Base to it by just sticking it on the Magnet</li></ol><p><strong>Other:</strong></p><p>if wanted its quite easy to add extensions to this to give it a longer reach.<br>the Mounts are desinged with the hinges being 5mm wide with a 5,5mm gap inbetween.</p>
With this file you will be able to print TrackIR 5 Monitor Mount with your 3D printer. Click on the button and save the file on your computer to work, edit or customize your design. You can also find more 3D designs for printers on TrackIR 5 Monitor Mount.
