TP-Link TL-SG105 base for Ikea Lack Enclosure
prusaprinters
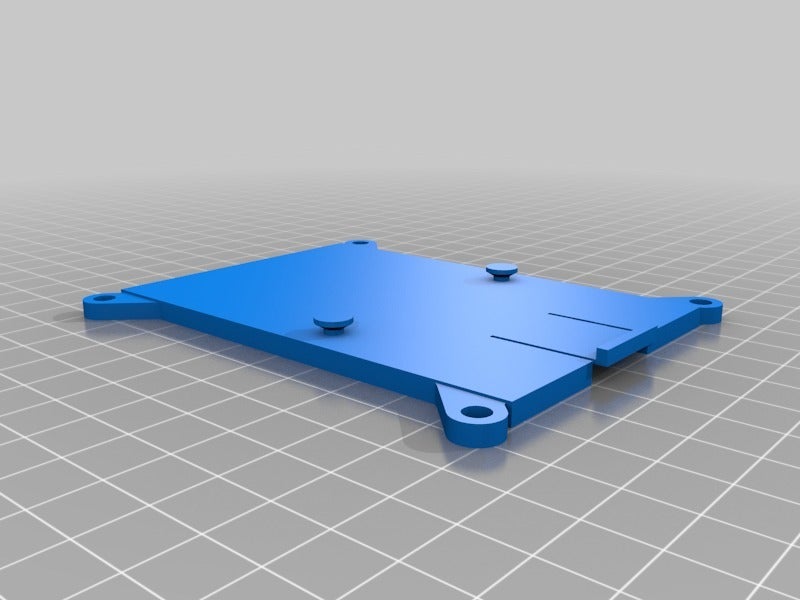
<p>I've remixed this part for attach the switch to my Ikea Lack enclosure using screws. The switch is located behind the Ikea Lack table.</p> <h3>Print instructions</h3><h3>Category: Computer Summary</h3> <p>I've remixed this part for attach the switch to my Ikea Lack enclosure using screws. The switch is located behind the Ikea Lack table.</p> <h3> Print Settings</h3> <p><strong>Printer Brand:</strong></p> <p>Prusa</p> <p><p class="detail-setting printer"><strong>Printer: </strong> <div><p>i3 MK3</p></div><strong>Rafts:</strong></div></p> <p>No</p> <p><p class="detail-setting supports"><strong>Supports: </strong> <div><p>Yes</p></div><strong>Resolution:</strong></div></p> <p>0.2</p> <p><p class="detail-setting infill"><strong>Infill: </strong> <div><p>70%</p></div></div></p> <p><strong>Notes:</strong></p> <p>I've printed two versions of this part using PETG and PLA. I recommend use PLA.</p> <h3> Post-Printing</h3> <p><strong>How to reduce the clip flexibility</strong></p> <div><p>Put some hot silicone at the middle of the clip for reduce the distance and make it more rigid.</p></div></p></p></p>
With this file you will be able to print TP-Link TL-SG105 base for Ikea Lack Enclosure with your 3D printer. Click on the button and save the file on your computer to work, edit or customize your design. You can also find more 3D designs for printers on TP-Link TL-SG105 base for Ikea Lack Enclosure.