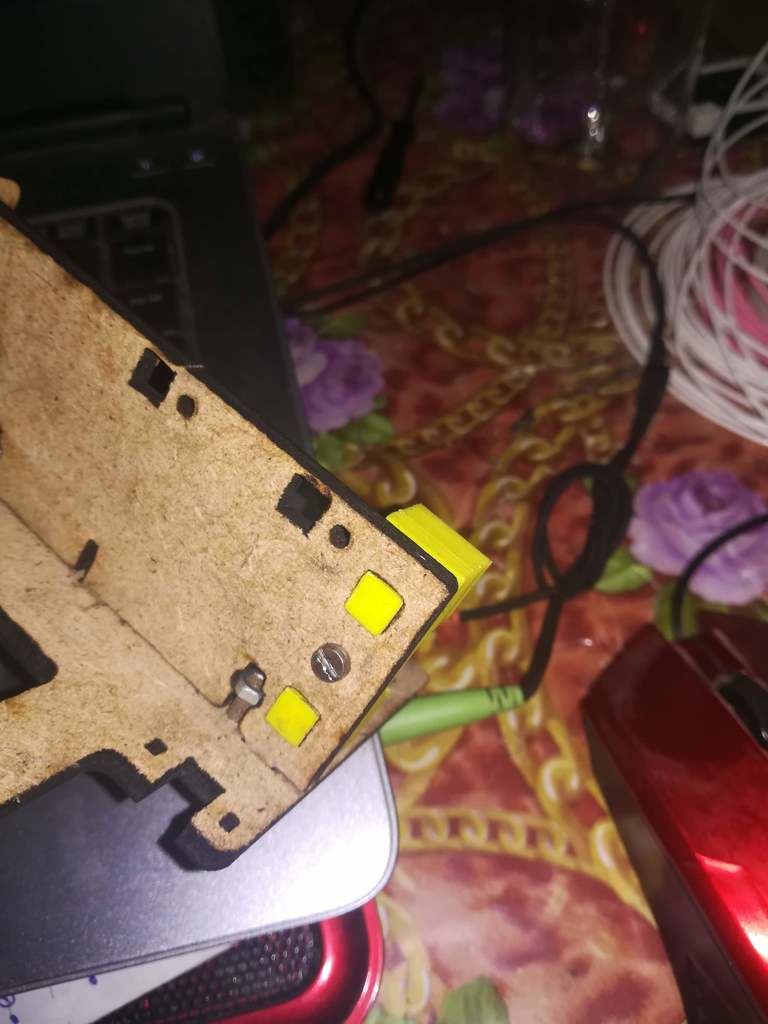
Tower Simple XL E3D
thingiverse
Adding the E3D hotend to your 3D printer for a remote extruder setup involves several steps. First, ensure that you have the necessary components, including the E3D hotend, a Bowden-style extruder, and the required tubing and fittings. Next, disconnect power from the printer's main board or switch it off to avoid any accidental start-ups during the installation process. Carefully remove the existing extruder assembly by loosening its mounting screws. This will give you access to the hotend mounting bracket on your 3D printer's frame. Remove any thermal insulation around the hotend area and take note of how each component is secured before removing them. Install the E3D hotend onto the hotend mounting bracket, ensuring it's securely fastened with screws provided. Make sure all electrical connections are made to the correct ports on the main board or motherboard to maintain proper communication between components. This might involve soldering wires directly to these components if your printer doesn't have a readily available port for the E3D hotend. After installing the new extruder, reconnect power to ensure that all systems are functioning correctly. Adjust the belt tension and any necessary settings in your slicing software to accommodate the new hotend setup.
With this file you will be able to print Tower Simple XL E3D with your 3D printer. Click on the button and save the file on your computer to work, edit or customize your design. You can also find more 3D designs for printers on Tower Simple XL E3D.