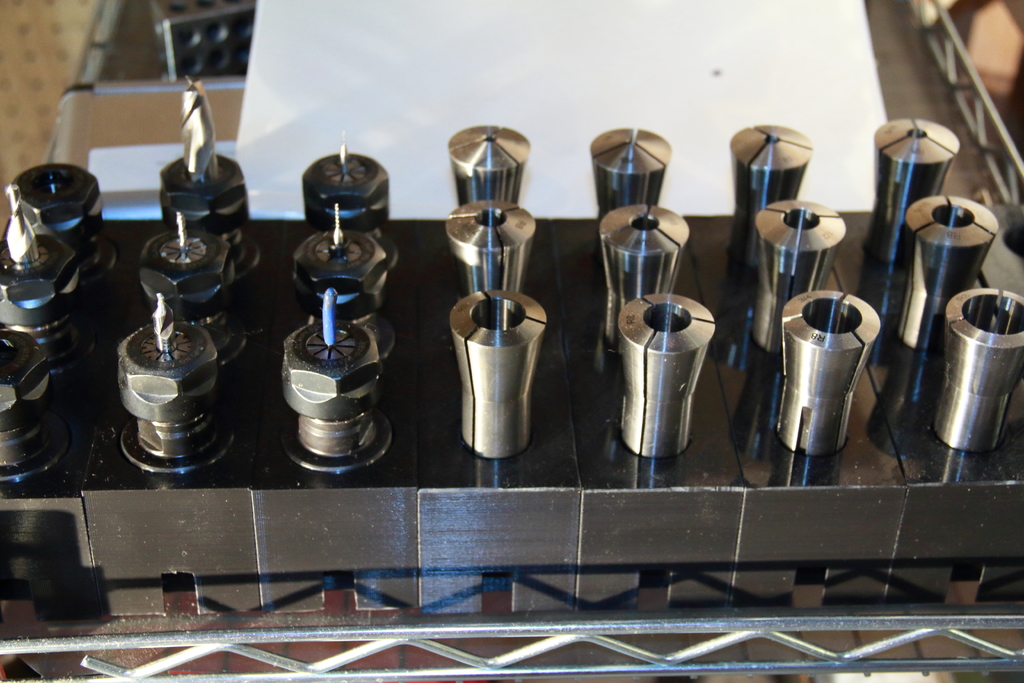
Tormach er20 and r8 collet holders
thingiverse
Tormach ER20 System Attachment: R8 Collet Holder Installation Guide The Tormach ER20 system requires a specialized attachment to securely hold R8 collets, ensuring precise machining operations. This installation guide outlines the steps to properly attach an R8 collet holder to the Tormach ER20 setup. Step 1: Secure the Tormach ER20 System Begin by firmly mounting the Tormach ER20 system on a stable workbench or milling machine table. Ensure all screws are tightened securely to prevent any movement during operation. Step 2: Attach R8 Collet Holder Locate the R8 collet holder and attach it to the Tormach ER20 system using the provided mounting screws. Align the holder's mounting holes with those on the ER20 setup, then tighten the screws in a star pattern to prevent any uneven pressure on the attachment. Step 3: Secure Collets in Place Insert an R8 collet into the attached holder and ensure it is securely seated. Use a wrench or socket to tighten the collet in place, taking care not to overtighten, which can damage the ER20 system's threading. Step 4: Verify Attachment Verify that the R8 collet holder is properly secured to the Tormach ER20 system by attempting to move the attachment. If it does not budge, the attachment is secure and ready for use in machining operations. Step 5: Machine with Confidence With the R8 collet holder securely attached to the Tormach ER20 system, you can now confidently machine a variety of materials using your preferred cutting tools. Take advantage of the precision and reliability offered by this setup to achieve high-quality results in your machining projects.
With this file you will be able to print Tormach er20 and r8 collet holders with your 3D printer. Click on the button and save the file on your computer to work, edit or customize your design. You can also find more 3D designs for printers on Tormach er20 and r8 collet holders.
