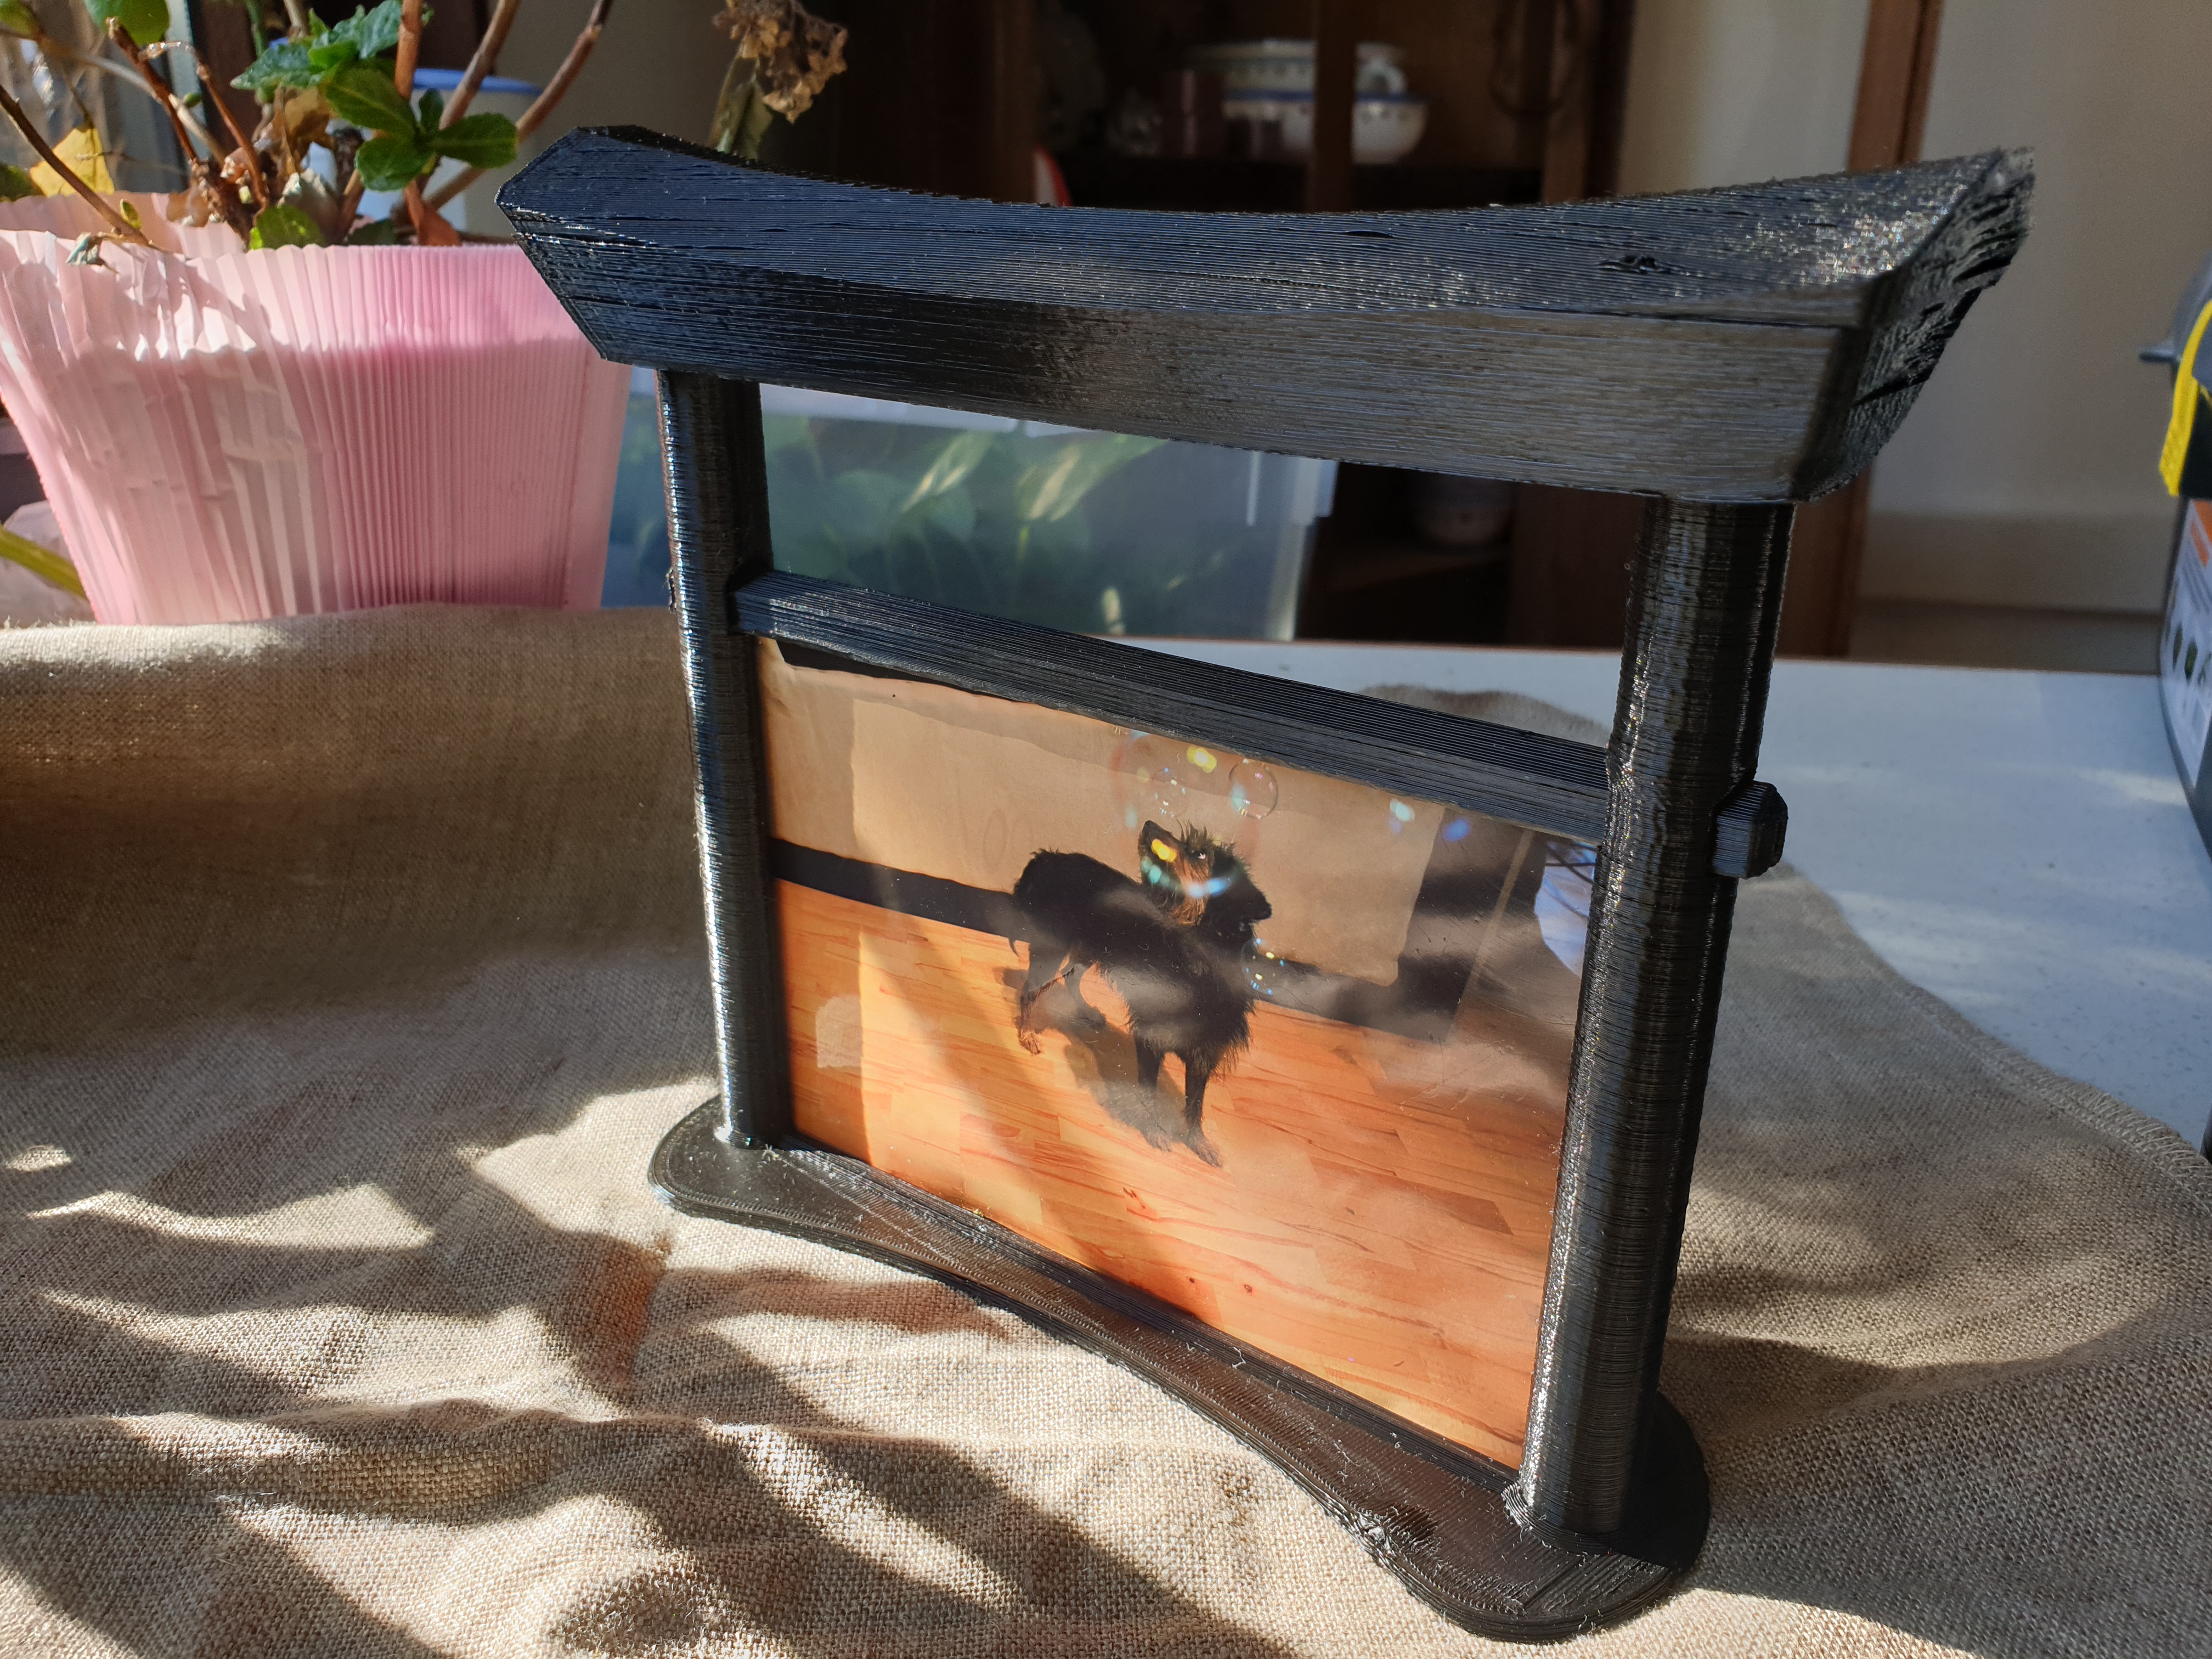
Torii Pictue Frame
prusaprinters
<p>The roof and the base can be stuck or glued together, while the beam is used for sliding in and out to replace the picture. Both sides of the frame can be used as frame, so if you want to have 2 picturtes back-to-back for your desk, have fun.</p><p>The minimal printer size needs to be 15x20 cm (rotate the pieces to fit), You can use nozzle size or layer height of your choice. My 7 years old custom printer (sorry for the ugly print photo, waiting for the prusa XL ;) ) currently works with 0.6mm nozzles and the print as seen in the picture was done with 0.25mm layer height. Of course smaller and even bigger nozzles work. Especially for the roof it is recommended to use small layer height, since the curvature of the roof emphasizes the layer visibility</p><p>If you like to make the print a little fancier, do a 2-color print:</p><ul><li>Roof (kasagi) in black</li><li>Beam (nuki) in red</li><li>Base (hashira), start with black and switch to red after at least 4mm height.</li></ul>
With this file you will be able to print Torii Pictue Frame with your 3D printer. Click on the button and save the file on your computer to work, edit or customize your design. You can also find more 3D designs for printers on Torii Pictue Frame.
