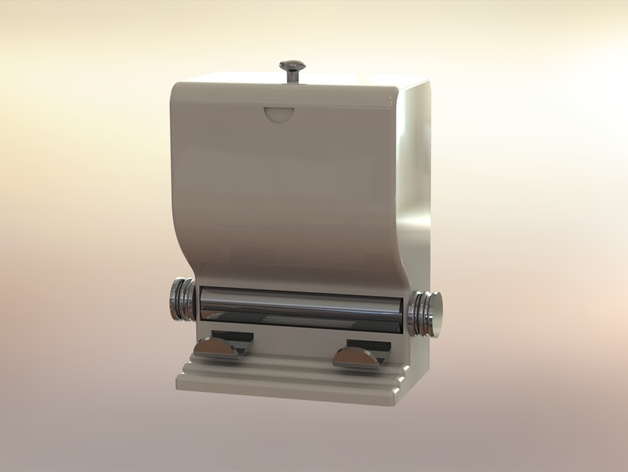
Toothpick Dispenser
thingiverse
Here's a Step-by-Step Guide to Creating a Printable "Roller Type" Toothpick Dispenser: To get started, first, you'll need to download and import the printable STL files for each component. The necessary components are 2 Catches, 2 Knobs, and several other crucial parts. Carefully load each component as per its current orientation in the uploaded STL file, with adequate supports. After ensuring everything is perfectly aligned, proceed to slide the roller into place within the dispenser. Ensure it clicks tightly due to the snug fit between the two. As the roller securely engages with the dispensing mechanism, attach one knob to each catch firmly holding them together through tight friction or clips provided for such a task at hand - just remember they need their proper balance. Finally, slide those Catches into designated slots right up front. This ingenious mechanism ensures precise placement every time so much ease in printing comes as second nature when combining design thinking along efficiency and smooth workflow execution combined under high-tech precision like no other can! The roller dispenser will function seamlessly if built as instructed above after an 8-hour long print that leaves us eagerly expecting a whole new generation of efficient ways using what seems only the simplest tools - a classic case of evolution made digital! This design's overall performance, once it starts to take shape after an approximate 6 hours or even more of constant running through your printer depending heavily upon its model specifications was used during sample test print. The printed piece is completely smooth from all directions including underside and edges. Sample is successfully built with using quality PLA material.
With this file you will be able to print Toothpick Dispenser with your 3D printer. Click on the button and save the file on your computer to work, edit or customize your design. You can also find more 3D designs for printers on Toothpick Dispenser.
