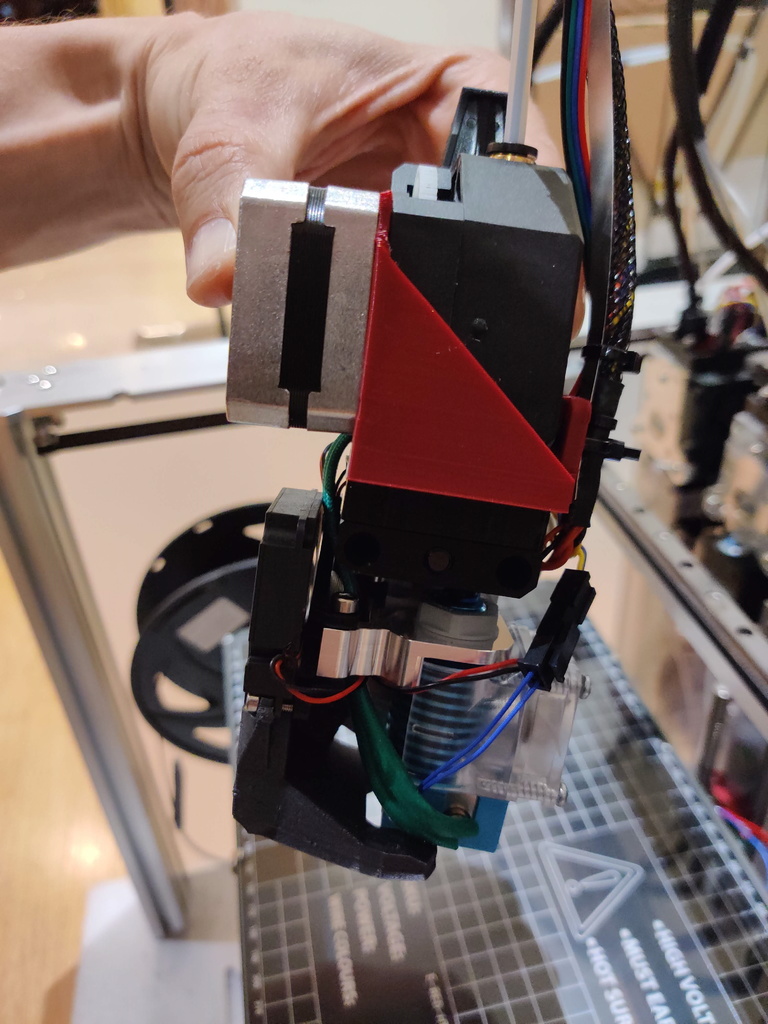
ToolChanger Nearly Direct Drive BMG V6
thingiverse
I didn't invent myself, but after seeing several examples online without a model, I decided to create my own and share it with others. It works really well and improving print quality is much easier. This DIY project uses a standard BMG extruder paired with a pancake stepper motor, as well as the standard e3D V6 Toolchanger hotend. To connect these two components, use a short length of bowden tube to link the BMG with the v6. One crucial piece that's not included is the spacer or receiver top. This part is identical to the one used for the standard e3D V6 tool and can be found on GitHub: https://github.com/e3donline/ToolChanger/blob/master/V6%20Tool/STLs/V6%20Receiver%20Top.stl. To manage cables, tie them to the side using a ziptie. This is especially useful for guiding long pieces of bowden tube that bring filament from the roll to the head.
With this file you will be able to print ToolChanger Nearly Direct Drive BMG V6 with your 3D printer. Click on the button and save the file on your computer to work, edit or customize your design. You can also find more 3D designs for printers on ToolChanger Nearly Direct Drive BMG V6.
