Tool holder for the Prusa mini
prusaprinters
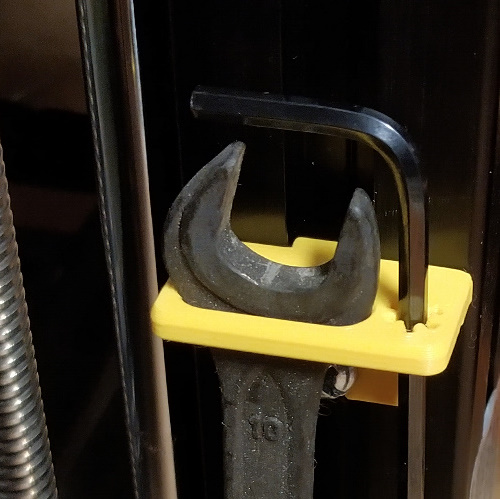
<p>A holder for the tools included with the Prusa mini that attaches to the Z-column.</p><p>You need 1 pcs of M4x10 and a M4 nut for the installation.</p><p> </p><p>Assembly instructions:</p><p>Push the M4 nut into the recess in the plastic T-slot nut and screw in the M4 screw a few turns from the opposite side.</p><p>Insert the assembled T-nut into the slot of the Z-pillar and rotate it 90 degrees to lock it. Make sure the protruding alignment tab is at the bottom.</p><p>Align the tab at the back of the tool holder with the slot in the aluminium profile, slot pointing downwards. Slide the holder downwards over the screw and T-nut until the align up at the back.</p><p>Tighten the screw to hold everything in place using friction.</p>
With this file you will be able to print Tool holder for the Prusa mini with your 3D printer. Click on the button and save the file on your computer to work, edit or customize your design. You can also find more 3D designs for printers on Tool holder for the Prusa mini.