Tool Changer for Shapeoko W / Shapeoko BitZero (tm)
thingiverse
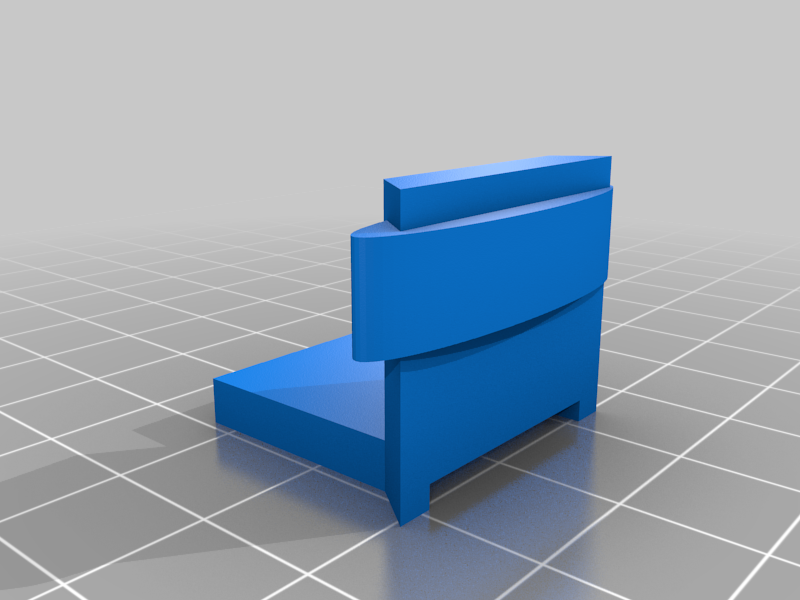
TL;DR summary - With a 3D printer, aluminium foil and the Bit Zero already in your possession, you're just three steps away from creating a BitSetter. Print the three files, thread the foil over the edge and through the "arm" facing the BitZero. Next, set up the software and clip the "tool clip" to the aluminium foil ledge. Refer to the included picture for visual guidance. Carbide Motion from Carbide 3D has revolutionized the way we change tools, eliminating the need to separate toolpaths or re-zero each time. However, as with any new innovation, initial stock was sold out. I decided to delve into the instructions and discovered a surprising connection - they were patching in the same spot as my existing BitZero. A question sparked in my mind: what if I touched the clip from the tool to the "puck" that sits on the item being cut? Would it register just like the BitSetter does? To my delight, it worked seamlessly. Over a few hours of designing, I was able to test and refine this solution. So far, I've successfully run three jobs through my Shapeoko, and the results have been exceptional. I'm confident that many of you will find this workaround incredibly useful. Please note that this work is provided AS IS without warranty or guarantee. If you forget to clip the tin foil, if the bit damages your Bitzero, or if any other unforeseen circumstance arises, don't blame me. The terms "BitZero" and "BitSetter" are trademarks of Carbide 3D. I do not claim any rights to them. You can find these products at Carbide3d.com.
With this file you will be able to print Tool Changer for Shapeoko W / Shapeoko BitZero (tm) with your 3D printer. Click on the button and save the file on your computer to work, edit or customize your design. You can also find more 3D designs for printers on Tool Changer for Shapeoko W / Shapeoko BitZero (tm).
