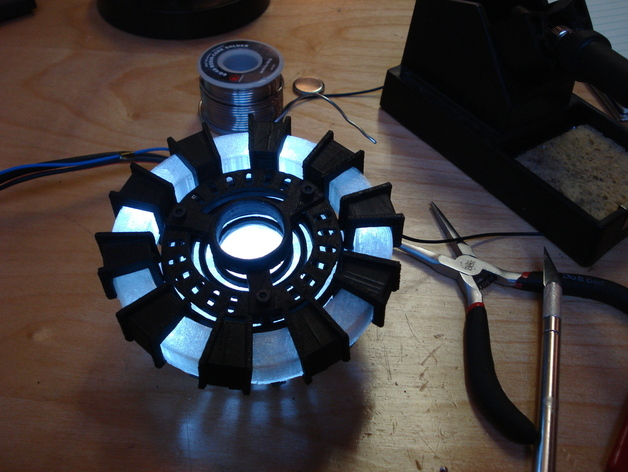
Tony Stark's Arc Reactor
thingiverse
Spice up your life with an extra edge! Whether you're saving the world or escaping a cave in Afghanistan, the Mark 1 offers versatility - it can power something small for a hundred years, or something impressive for about five minutes. Customize your Arc Reactor by installing between 10 and 20 LEDs, with more resulting in increased brightness. Follow these steps: first, assemble the LEDs and resistors in the Crystal Ring by soldering them together in parallel; glue can help keep them in place during this process. Next, bolt the Upper Center and Lower Center to the Main Crystal's top using three M3 bolts. Then, insert the LEDs into the holes on the bottom of the crystal, followed by sliding the Support Cage over their leads. Wire together the main crystal's LEDs and resistors in parallel, and press the Crystal Ring onto the Support Cage's upper arms. Combine the two LED circuits, and seal the connections with caps that fit over the points where the Support Cage and Crystal Ring meet. Finally, create a 4-inch diameter hole in your chest (preferably through your breastbone) to install your glowing Arc Reactor for an unforgettable look!
With this file you will be able to print Tony Stark's Arc Reactor with your 3D printer. Click on the button and save the file on your computer to work, edit or customize your design. You can also find more 3D designs for printers on Tony Stark's Arc Reactor.
