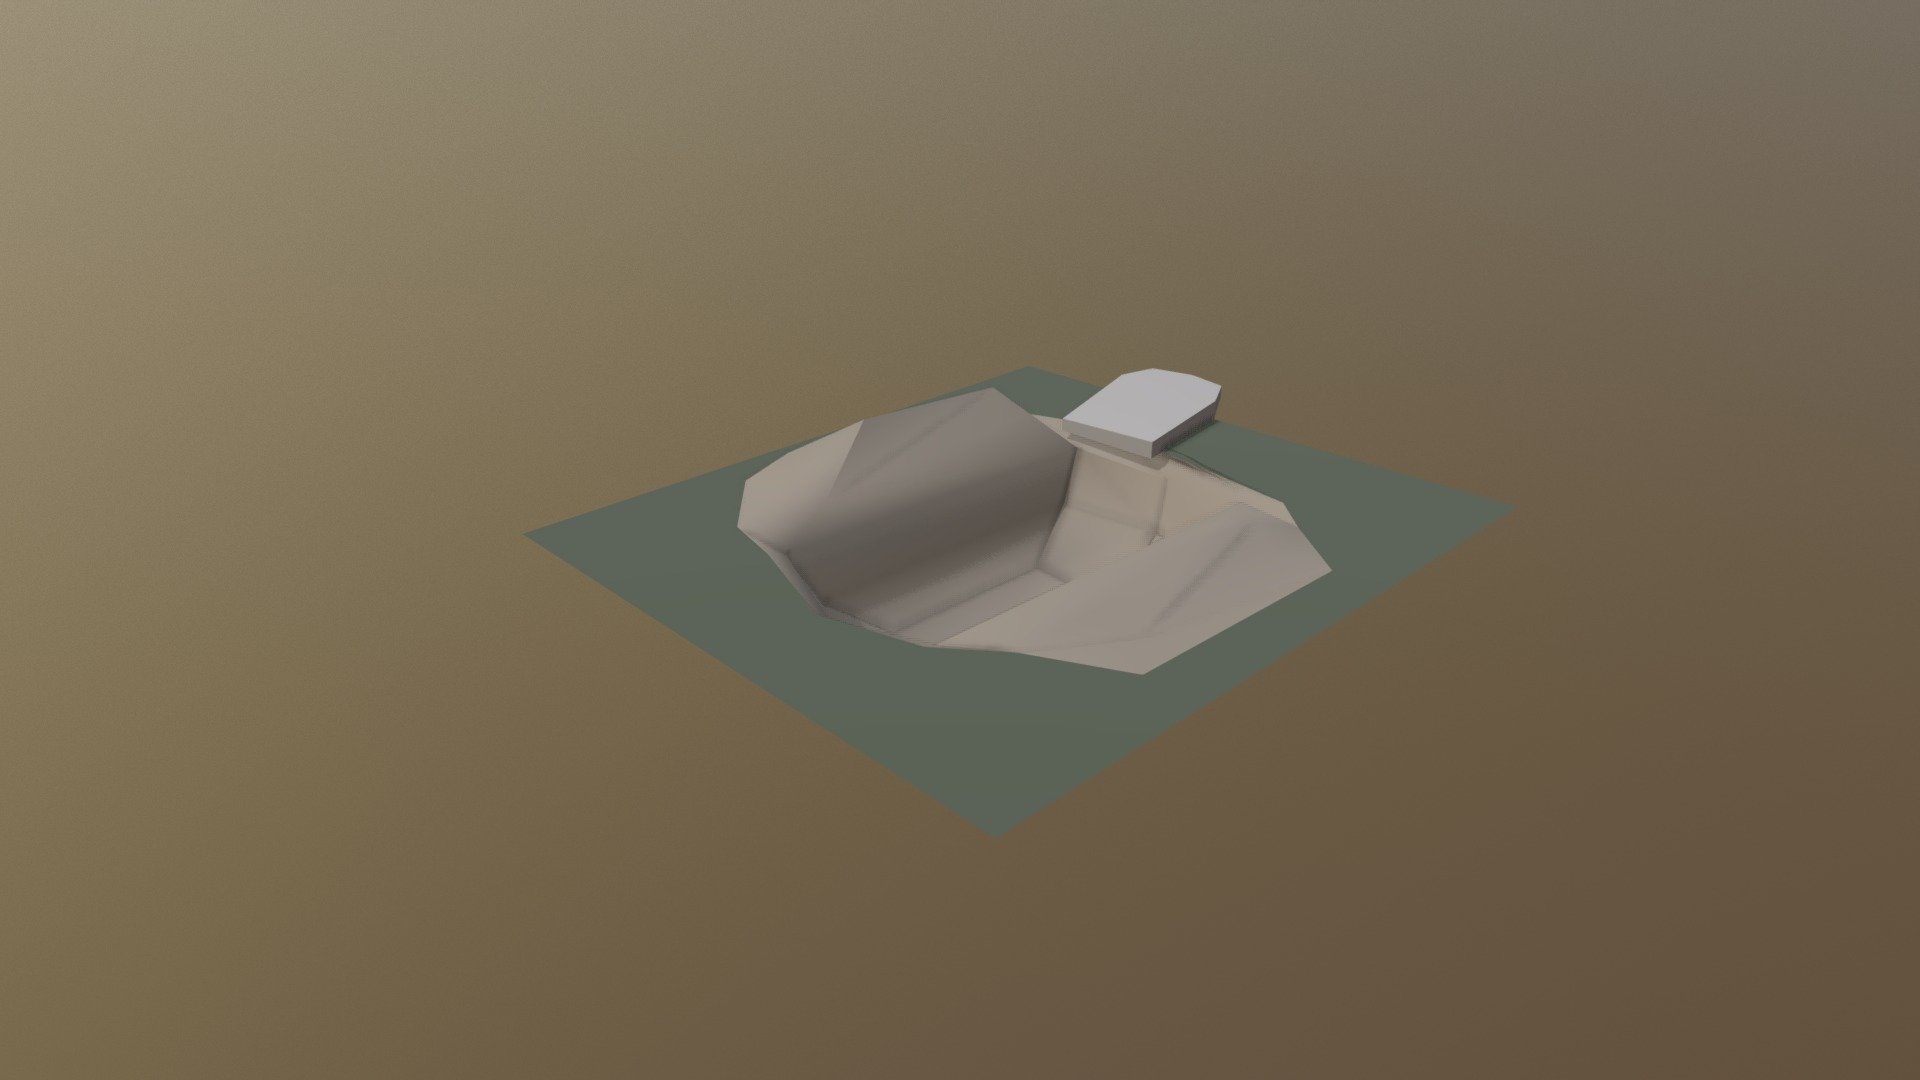
Tomb_A
sketchfab
Inserting an object into a Cinema 4D scene is a straightforward process that requires some basic understanding of the software's interface and functionality. To get started, users should begin by selecting the desired object from their library or creating one from scratch using the built-in tools. Once the object has been created or selected, it can be inserted into the scene by dragging and dropping it onto the workspace. Alternatively, users can right-click on the object in the library panel and choose "Insert" to add it to the scene. It's worth noting that Cinema 4D offers a range of options for customizing objects before they are inserted into the scene. These options include settings for scale, rotation, and positioning, as well as advanced features like layering and grouping. After inserting an object into the scene, users can further customize its appearance and behavior using a variety of tools and techniques. This might involve adjusting its texture, color, or other visual properties, or applying dynamic effects like animation or physics simulations. Overall, the process of inserting objects into a Cinema 4D scene is relatively simple and intuitive, even for users who are new to the software. With practice and experimentation, it's easy to become proficient in using this powerful tool to create stunning 3D models and animations.
With this file you will be able to print Tomb_A with your 3D printer. Click on the button and save the file on your computer to work, edit or customize your design. You can also find more 3D designs for printers on Tomb_A.
