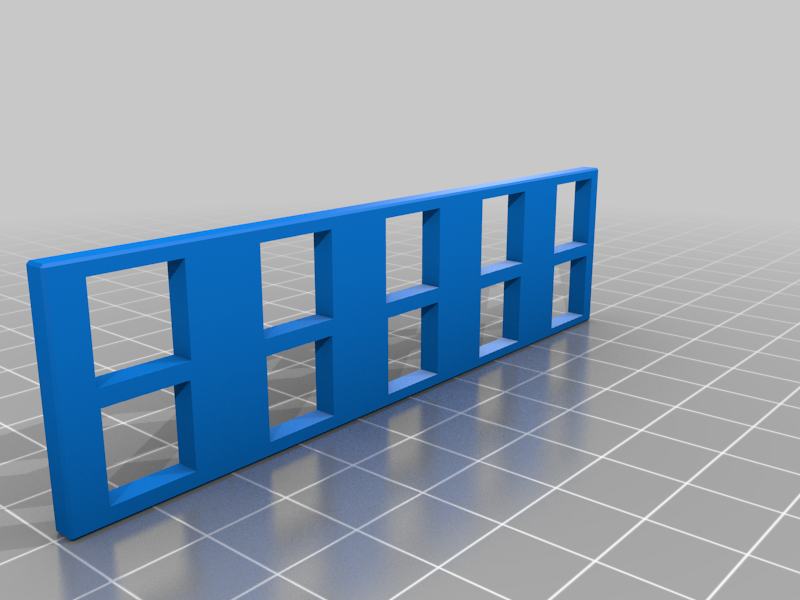
Tolerance Measure
thingiverse
Printing Tolerance Test Instructions: 1. Set your printer to normal print quality and adjust the paper tray to standard size. 2. Feed a sample sheet of 80 gsm paper into the printer's input slot. 3. Begin printing on both sides of the paper, using the same print settings as before. 4. Once complete, carefully remove the printed paper from the printer. 5. Place the paper flat on a clean surface and inspect it for any defects or irregularities. 6. Check the printed text for any signs of smudging or bleeding. 7. Determine if the paper has absorbed an excessive amount of ink. Evaluation: Carefully examine the printed output to determine its overall quality. Evaluate the print's crispness, clarity, and color accuracy. Assess whether the ink has bled through to the other side of the paper. Consider how well the printer handles different types of paper.
With this file you will be able to print Tolerance Measure with your 3D printer. Click on the button and save the file on your computer to work, edit or customize your design. You can also find more 3D designs for printers on Tolerance Measure.
