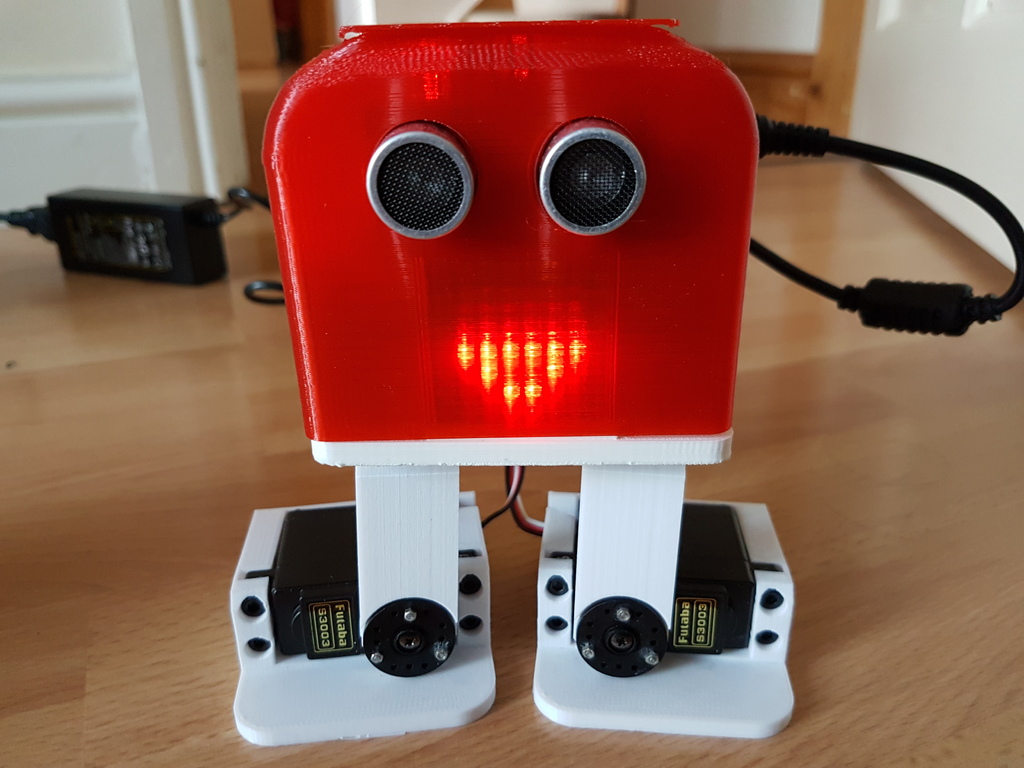
Tito biped robot PLUS
thingiverse
TITO Robot Biped with Accessories The wait is over, OTTO DIY's updated older brother has finally arrived. Here are the parts you'll need: * Arduino NANO with I/O shield * Small female to female jumper wires * Buzzer * Futaba servo S3003 (x4), featuring 180-degree movement * HC-SR04 Ultrasound sensor * MAX 7219 LED matrix * M3 nuts (x20) * M3 screws (12mm x 20) Optional power sources include a 3.7 Volt LIPO battery with DC-DC boost converter to 5 Volt, or simply use the USB port to power your Arduino board. For connections and details, refer to the OTTO Plus guide as it is based on this design. Note that the HC-SR04 Ultrasound sensor's trigger pin is connected to pin 8 and its echo pin is connected to pin 9. To program TITO: 1. Download and install the Arduino IDE from https://www.arduino.cc/ 2. Copy OTTO plus libraries into your C:\Users\user\Documents\Arduino\libraries folder (or wherever your library folder is installed) 3. Open and upload the OTTO_smooth_criminal.ino code to your Arduino Nano If you encounter any issues with printing, making, or programming TITO, join our group on Thingiverse at http://www.thingiverse.com/groups/ottodiy/ and create a new topic.
With this file you will be able to print Tito biped robot PLUS with your 3D printer. Click on the button and save the file on your computer to work, edit or customize your design. You can also find more 3D designs for printers on Tito biped robot PLUS.
