Tire Take 2 Uv Map
sketchfab
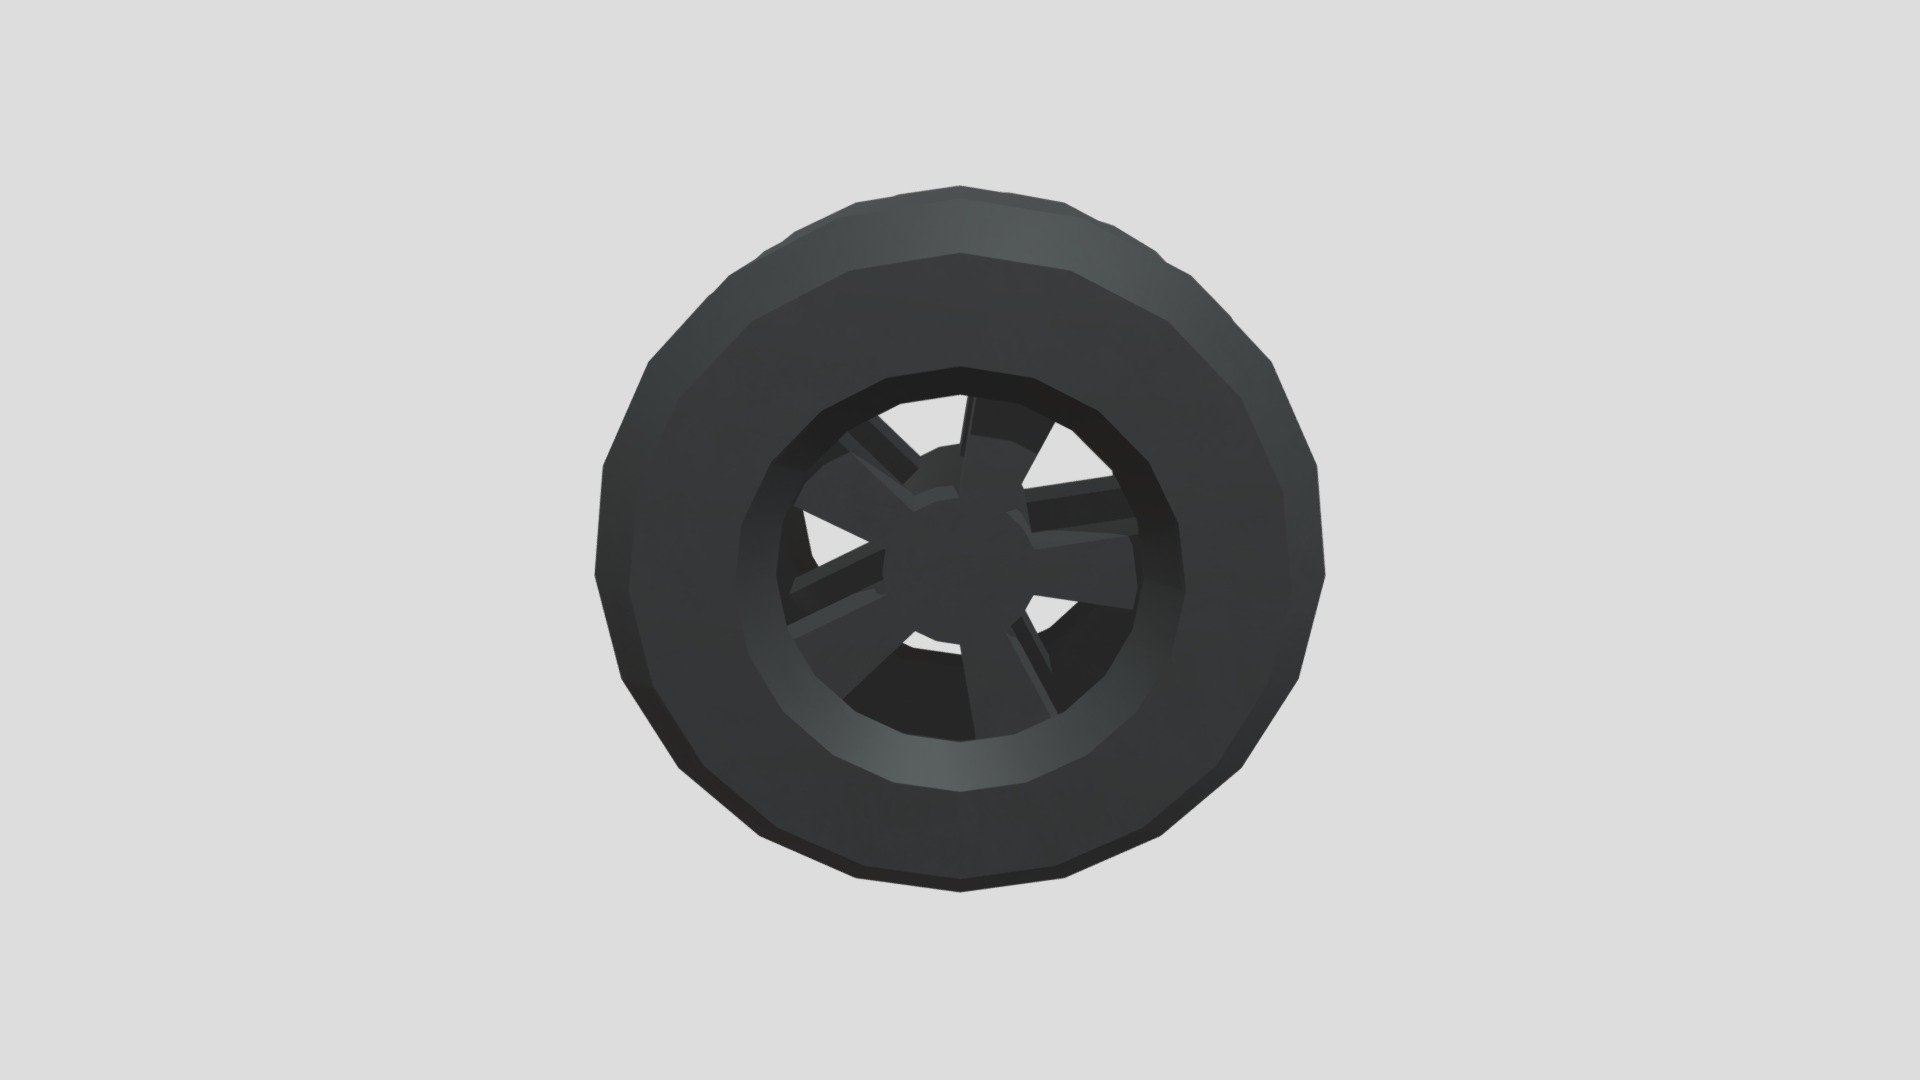
Designing a Tire for 3D Modeling Projects The design process begins by deciding on the tire's intended use - whether it's for a high-performance sports car or an off-road vehicle that can handle rugged terrain. Next, you need to consider the tire's size and shape. The size will depend on the scale of your model, while the shape should reflect the tire's purpose. For example, a racing tire might have a sleek, aerodynamic design, whereas a mud-terrain tire would be more aggressive with its tread pattern. Now that we have our tire's basic dimensions, let's move on to detailing. This includes adding features like tread patterns, sidewall textures, and lug nuts. You can also add visual details such as wear marks or cracks to give your model a realistic look. The final step is to add the tire to your 3D scene. This may involve importing it into your modeling software or creating it from scratch using basic shapes. Once in place, you can adjust its position and orientation to fit your needs. With these steps complete, you now have a detailed, high-quality tire model ready for use in your 3D project.
With this file you will be able to print Tire Take 2 Uv Map with your 3D printer. Click on the button and save the file on your computer to work, edit or customize your design. You can also find more 3D designs for printers on Tire Take 2 Uv Map.