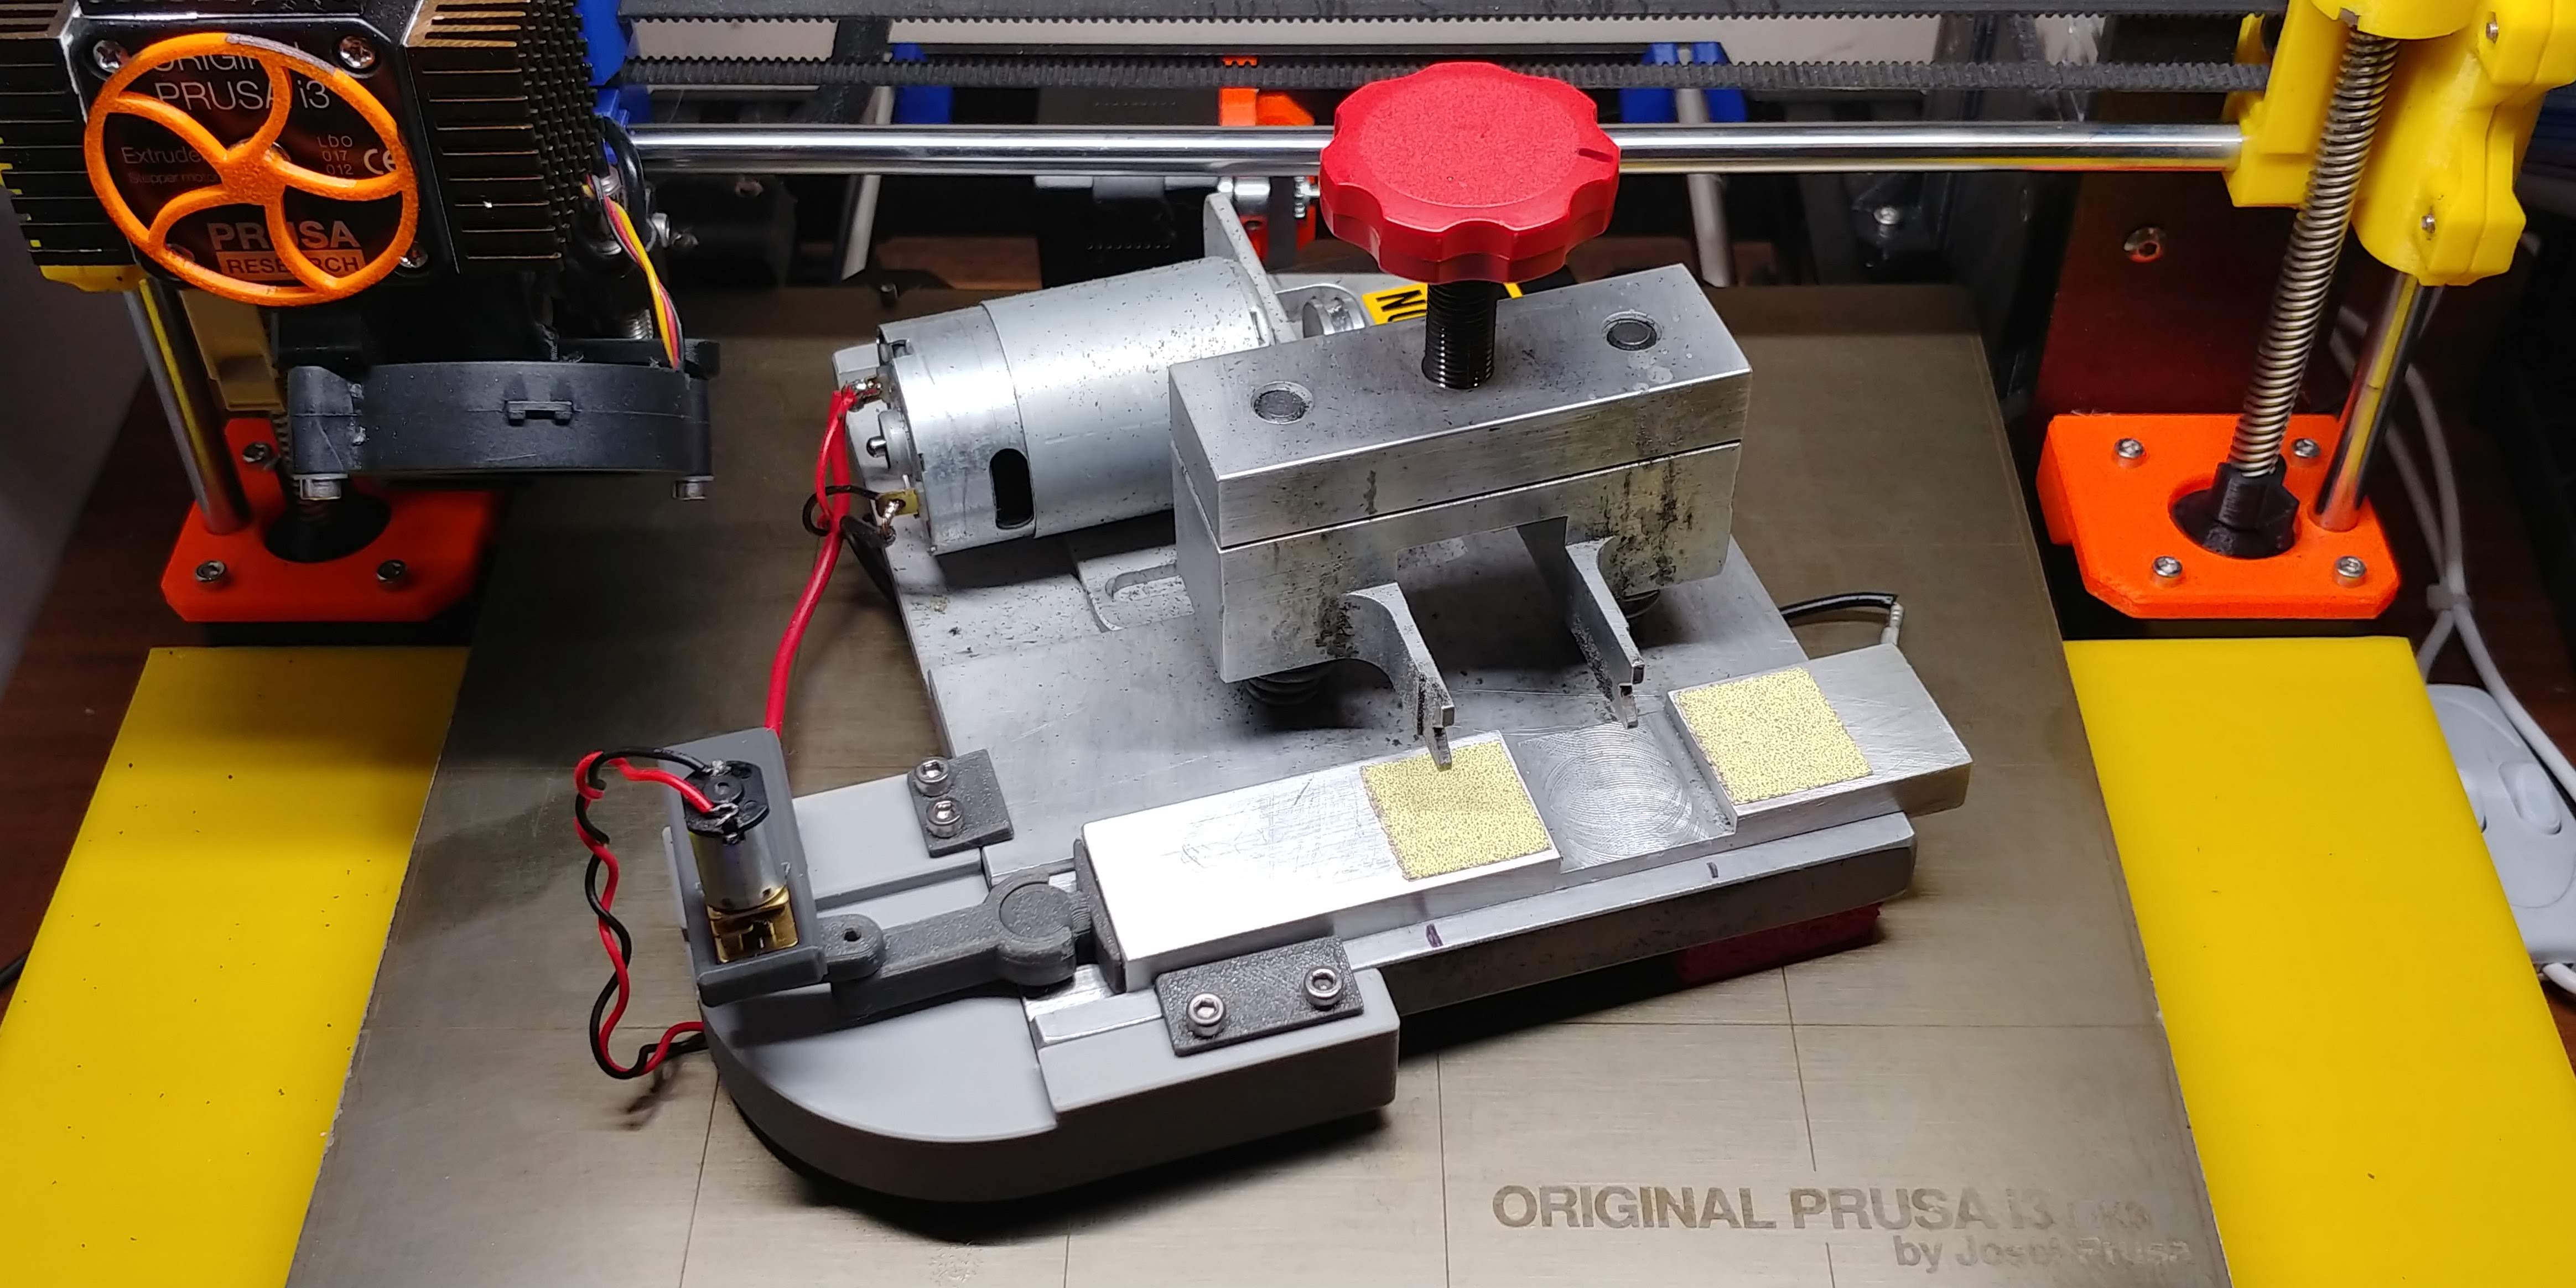
Tire Razor Sanding Plate Reciprocation Machine V2
prusaprinters
<p>A smaller, more efficient version of the reciprocation machine for the Tire Razor. Look through the remix history to see all the iterations of the design. :)</p><p>As the motor can warm up during use, I recommend a temp resistant material such as PETG or ABS for the gantry and arm parts. The rest can be PLA if you want. I usually print the base in PLA, and all the small parts in PETG.</p><p>This uses a GA12-N20 gearmotor. Get the lowest RPM at the highest voltage you can. E.G. a 15rpm at 6v would be good. You will also need some m1.6-0.35mm x5mm screws to mount the gearmotor. Since the only ones I could get quickly at a reasonable price were 6mm long, that's what I designed the gantry for, so that they can be snug without interfering with the gears of the gear motor. 5mm or 4mm long screws will probably work fine, but not longer than 6mm. One screw is also used in the end of small arm, against the flat of the motor shaft, to act as a set screw.</p><p>The rest of the screws I used are just M3 socket head cap screws as are popular on various 3D printers like my <a href="https://www.amazon.com/3D-Printer-Prusa/s?k=3D+Printer+Prusa&linkCode=ll2&tag=thingiverse09-20&linkId=28c787aef7c5a20cf2004b821dd161bf&language=en_US&ref_=as_li_ss_tl">Prusa</a>. Any M3 screw should work, just be careful that the head does not collide with anything prior to use. I use a 6mm one to secure the long arm to the short arm. I would recommend 10mm for the screws on the clamps so they are less likely to strip when tightening the clamps down. A 10mm screw is also good to secure the gantry to the base.</p><p>When attaching the ball hitch to the end of your sanding plate, try to get it as centered on the end of the sanding plate as possible. This will ensure that the reciprocator arm lines up nicely with it. You can use a strong glue, or thin double-sided tape.</p><p>Two arm lengths and two ball hitch lengths are included. If you have multiple sanding plates of different lengths, it's more convenient to install the short arm to the reciprocator, and then the short ball hitch for the long sanding plate or wheel buddy, and the long ball hitch to any short plates. If you only have short plates, use the long arm on the reciprocator, and the short ball hitch on your plates. Print as many ball hitches as you need for your plates.</p><p>The STL file contains all models in the ideal print orientation. No supports should be needed for any of the models if printed in the provided orientation.</p><p>If you would like a machine, feel free to contact me at ggaub@ggaub.com to order one.</p><p><a href="https://youtu.be/y8Xhc_Sh8Ws">https://youtu.be/y8Xhc_Sh8Ws</a></p>
With this file you will be able to print Tire Razor Sanding Plate Reciprocation Machine V2 with your 3D printer. Click on the button and save the file on your computer to work, edit or customize your design. You can also find more 3D designs for printers on Tire Razor Sanding Plate Reciprocation Machine V2.
