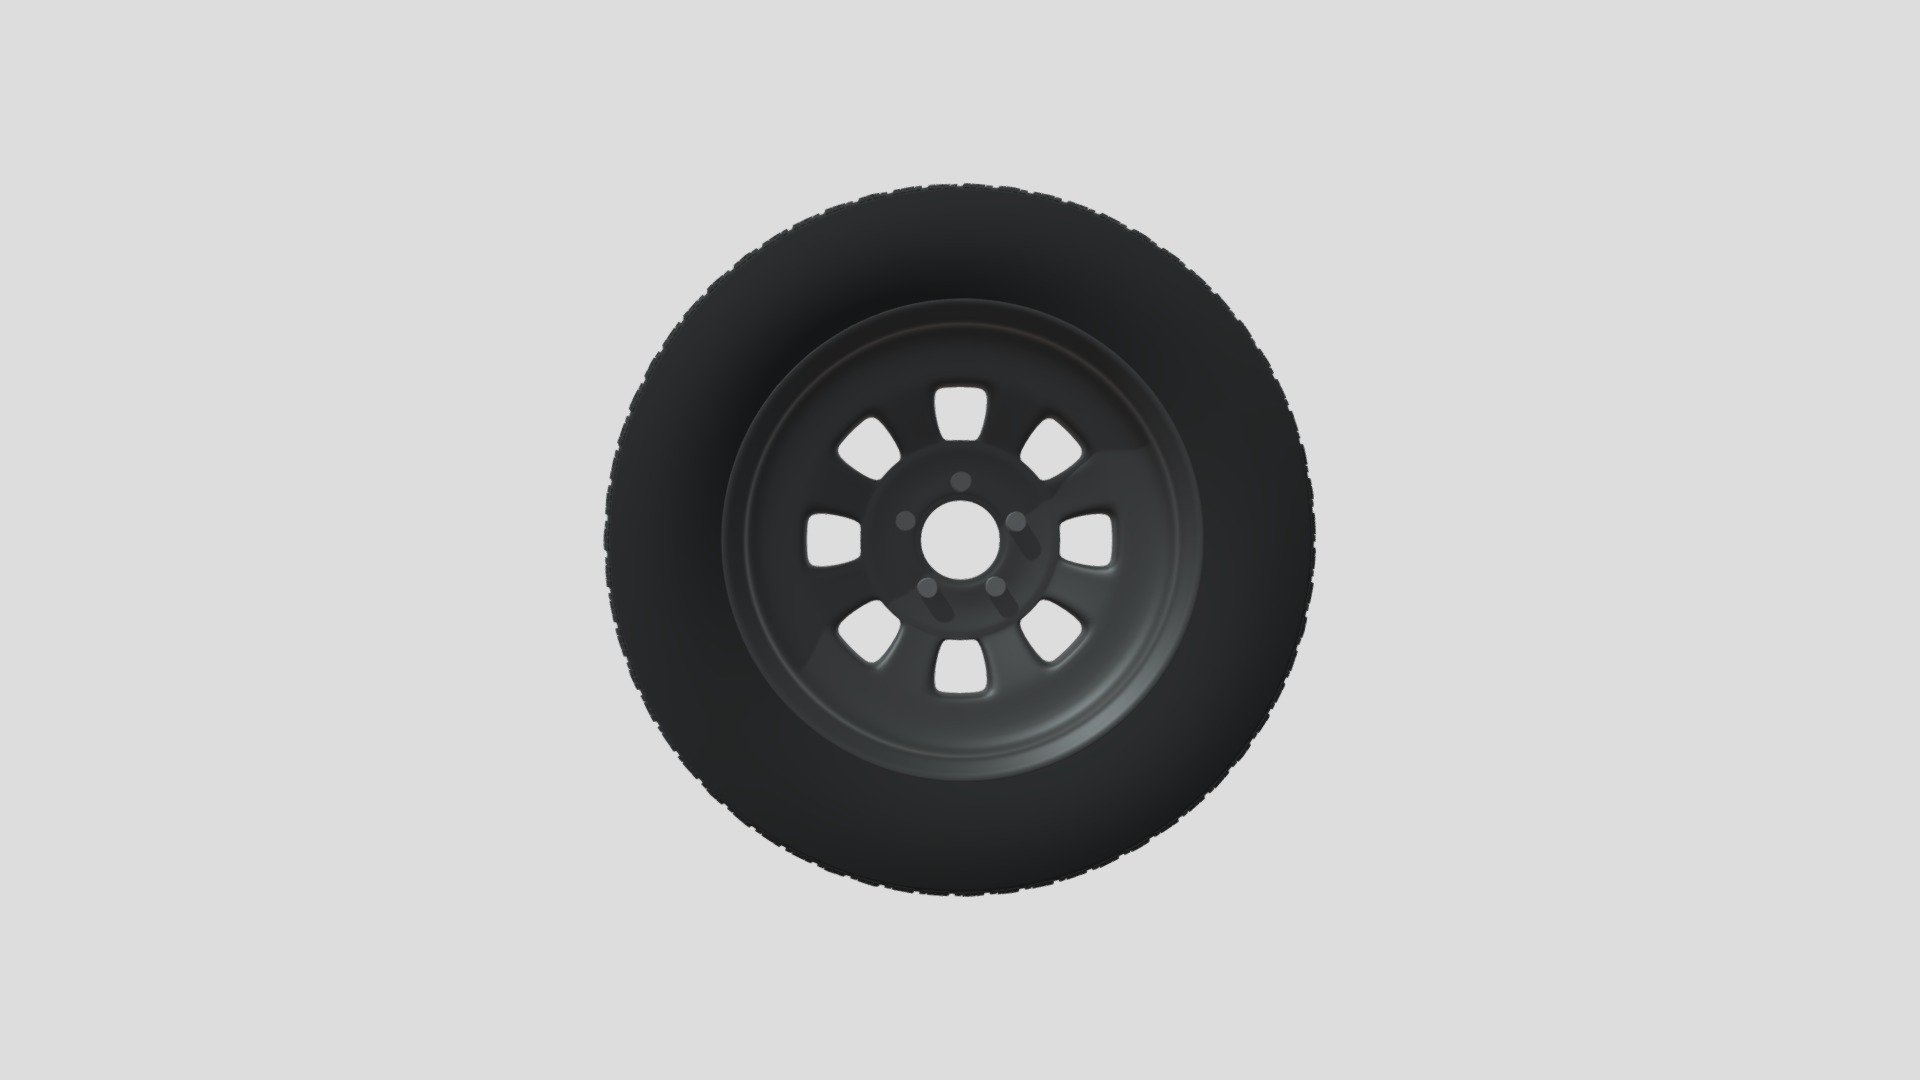
Tire Final - CGCookie exercise
sketchfab
Modeling a Wheel with Ease and Precision Using CGCookie Techniques CGCookie's comprehensive tutorials have long been the go-to resource for artists seeking to master the intricacies of 3D modeling. One of the most fundamental yet versatile objects to model is the humble wheel, an essential component in countless mechanical designs. In this exercise, we will delve into the process of creating a realistic and detailed wheel using CGCookie's expert guidance. Step 1: Setting Up Your Scene Begin by opening up your chosen software and setting up a new scene. Ensure that you have the necessary tools and plugins at your disposal, as specified in the tutorial. For this exercise, we will be working with Blender, a free and powerful 3D creation suite. Don't worry if you're new to Blender; CGCookie's tutorials are designed to cater to artists of all skill levels. Step 2: Creating the Wheel Hub The hub is the central component of the wheel, providing structural integrity and attachment points for the spokes. Using a combination of extrusions and loops, create a cylindrical shape that serves as the foundation for your hub. Make sure to adjust the dimensions according to your design requirements. Step 3: Modeling the Spokes Spokes are the thin, radial elements that connect the wheel's rim to the hub. To model these accurately, employ a combination of extrusions and boolean operations. Begin by creating a single spoke, then duplicate it across the wheel's circumference using symmetry tools. Adjust the length and thickness of each spoke to achieve a realistic appearance. Step 4: Adding Rim Details The rim is the outermost component of the wheel, encompassing the tire and providing structural support. Using a combination of extrusions and bevels, create a detailed rim with precise curves and angles. Pay close attention to the transitions between different sections of the rim for a seamless appearance. Step 5: Final Touches With your wheel's core components in place, it's time to add some final details. Use CGCookie's expert techniques to add texture and wear patterns to your wheel, giving it a realistic, weathered look. This is also an excellent opportunity to experiment with different materials and shaders to achieve the desired visual effect. Step 6: Putting It All Together Now that you've modeled each component individually, it's time to bring them together in a cohesive whole. Use Blender's powerful assembly tools to combine your hub, spokes, and rim into a single, harmonious unit. Don't forget to adjust the scale and position of each component as needed. Conclusion Modeling a wheel with CGCookie techniques is an excellent exercise for honing your 3D modeling skills. By following this comprehensive guide, you'll be well on your way to creating realistic, detailed wheels that will elevate your designs to new heights. Remember to practice regularly and experiment with different materials and shaders to refine your craft. With dedication and patience, you'll soon be creating stunning 3D models that rival those of industry professionals.
With this file you will be able to print Tire Final - CGCookie exercise with your 3D printer. Click on the button and save the file on your computer to work, edit or customize your design. You can also find more 3D designs for printers on Tire Final - CGCookie exercise.
