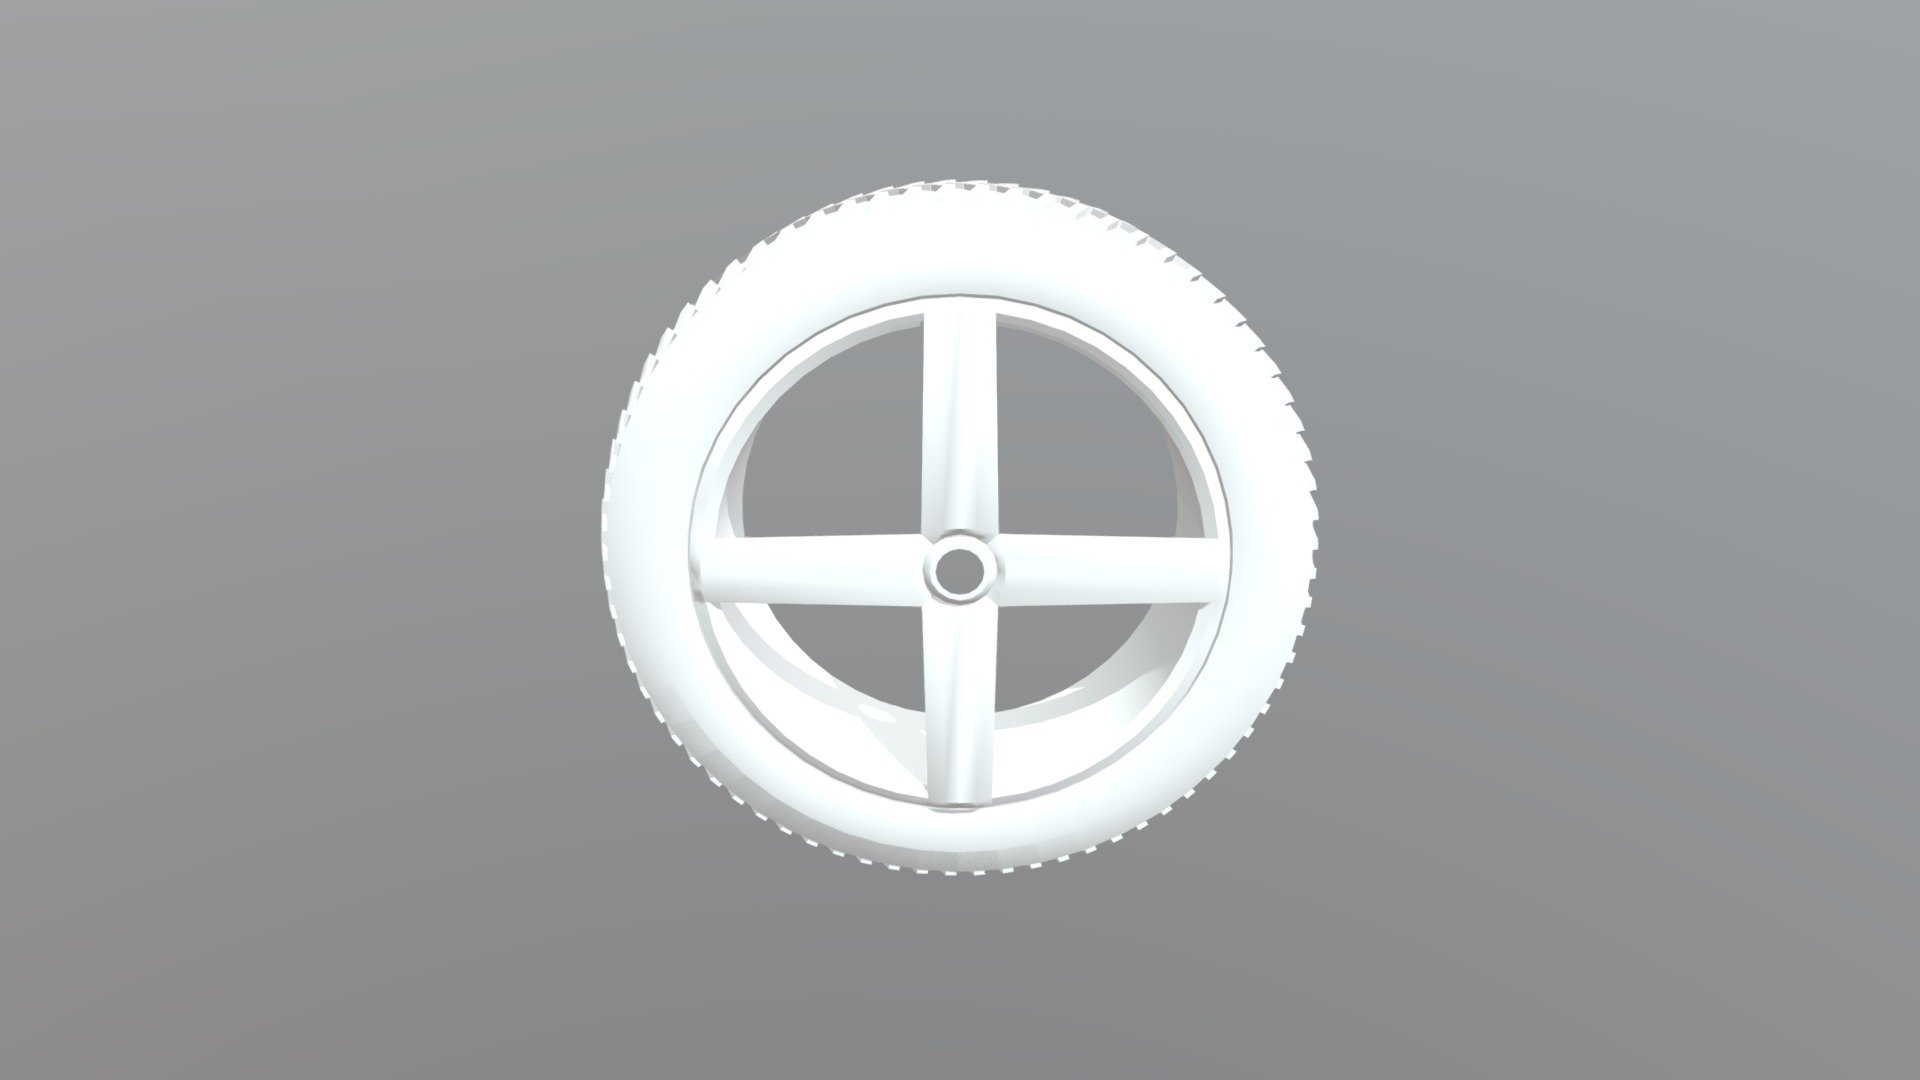
Tire By Nilsweijmer
sketchfab
Here's my first attempt at creating a wheel from the lessons I learned on cgcookie: I began by sketching out the basic shape of the wheel, a circle with spokes radiating outward like the rays of the sun. Then, I started adding some depth and dimension to it by extruding the circle into a 3D object using Blender's Extrude tool. Next, I created a new mesh for the hub of the wheel, which would serve as the center point where all the spokes meet. With my basic shape in place, I turned my attention to creating the spoke texture, a complex pattern of curves and lines that would give the wheel its distinctive look. Using a combination of Bezier curves and mesh modeling techniques, I managed to craft a convincing replica of the real thing, complete with subtle imperfections and variations in thickness. To add some realism to the wheel's surface, I applied a rough texture map using Blender's UV unwrapping tool, which gave it a tactile feel that was both gritty and weathered. Finally, I finished off the look by adding a subtle gradient effect to the rim of the wheel, giving it a sense of depth and dimension that made it pop. Overall, creating this wheel was a fun challenge that pushed my skills in Blender to new heights – or should I say, new depths! By combining what I learned on cgcookie with my own creative vision, I managed to craft a convincing replica of the real thing that's sure to impress.
With this file you will be able to print Tire By Nilsweijmer with your 3D printer. Click on the button and save the file on your computer to work, edit or customize your design. You can also find more 3D designs for printers on Tire By Nilsweijmer.
