Tippi tree Ornament Cocoon Lamp
myminifactory
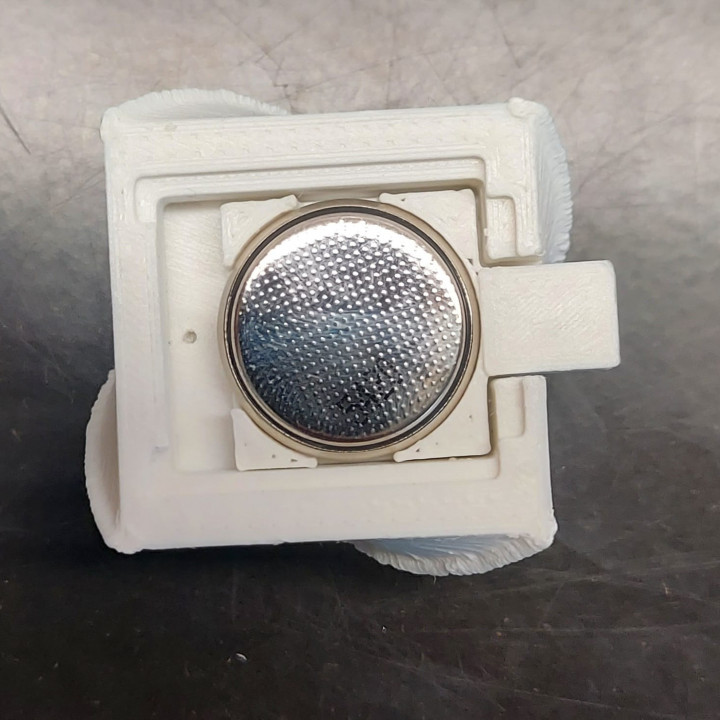
This is my take on the Tippi tree Ornament contest. My Goal was to combine the possibilities of 3d Printing, with a modern design. I integrated a Lamp using cr 2025 Batteries with a normal 3v 5/3mm LED, that can be switched on and off. The Cocoon can be printed in two part for installing a LED, or can be printed in one go. I had some problems printing the bottom part because of bad cooling and flowrate control. THe solution was to slow the print down to half of my usual printing speed. I sliced my Model in Prusa slicer beacaus I had the best results with it. It can probably be slices in Cura but you have to switch bridge control on. To assemble the Lamp just follow the steps shown in the pictures or follow the instructions bellow, for best results use hot Glue. I hope you all enjoy my design and can get it to work. Components Cr 2025 Battery 5/3mm 3v LED Instructions take the lid and put the shorter end of the LED in the center hole. bend the longer part of the LED so that it goes threw the further hole and cut it to lenght. take the other side and thread it threw the second hole and bend it over. take your cr 2025 BAttery and place it with the negative pole up into the slider and place the slider with battery into the bottom part as shown in the picture. place the lid with the LED into the bottom part and glue it all together. If the LED works you can glue the top part on and insert the stem.
With this file you will be able to print Tippi tree Ornament Cocoon Lamp with your 3D printer. Click on the button and save the file on your computer to work, edit or customize your design. You can also find more 3D designs for printers on Tippi tree Ornament Cocoon Lamp.
