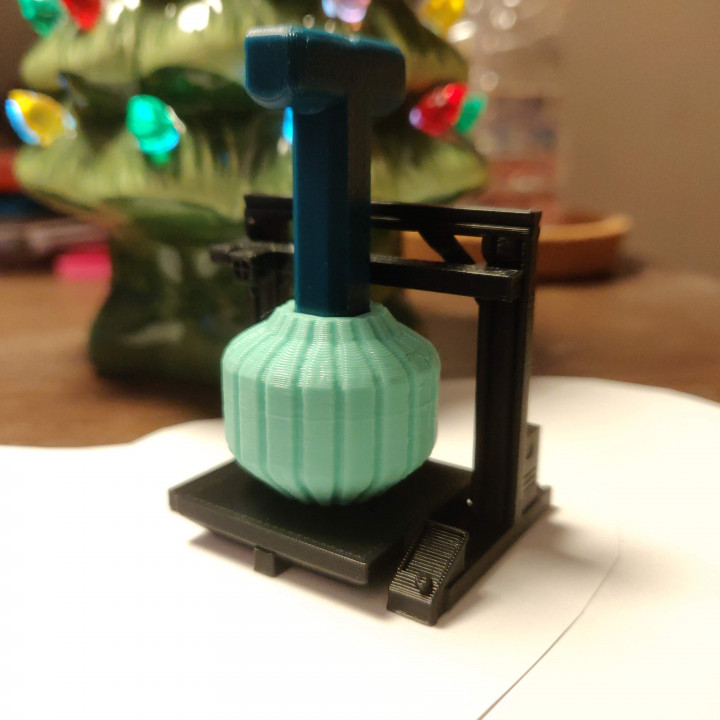
Tippi Printi - a Tippi tree ornament remix
myminifactory
Introducing the Tippi Printi, the smallest printer you've ever seen! With a whopping 24x24x24mm build volume, this printer won't leave you hanging! To assemble the Tippi Printi, print the chibi-print and chibi-printer files in your colors of choice. First, assemble the printer by sliding the loose crossbar sideways into the slot near the top of the printer's frame. Then, snap the print into the base of the printer. The tolerances are fairly tight, so a decent amount of force may be needed (it may be good to keep the printer on a flat surface and push down to avoid snapping the frame apart). With the print and printer assembled, make sure to plug a Tippi Tree fruit stem into the top of the print so it can be hung from your tree! I've also included the clip if you want to make your own print for the Tippi Printi. To use it, just sink the extra 1mm of the clip-positive file into a surface on your model of choice, then merge/union the file with the model. If the triangular clips are pointing away from the model, you've done it correctly! Make sure the model without the clip can fit in a 24x24x24mm cube to ensure it will fit onto the Printi's print bed. However, you can go a couple more millimeters in some directions. Merry Christmas and Happy Holidays!
With this file you will be able to print Tippi Printi - a Tippi tree ornament remix with your 3D printer. Click on the button and save the file on your computer to work, edit or customize your design. You can also find more 3D designs for printers on Tippi Printi - a Tippi tree ornament remix.
