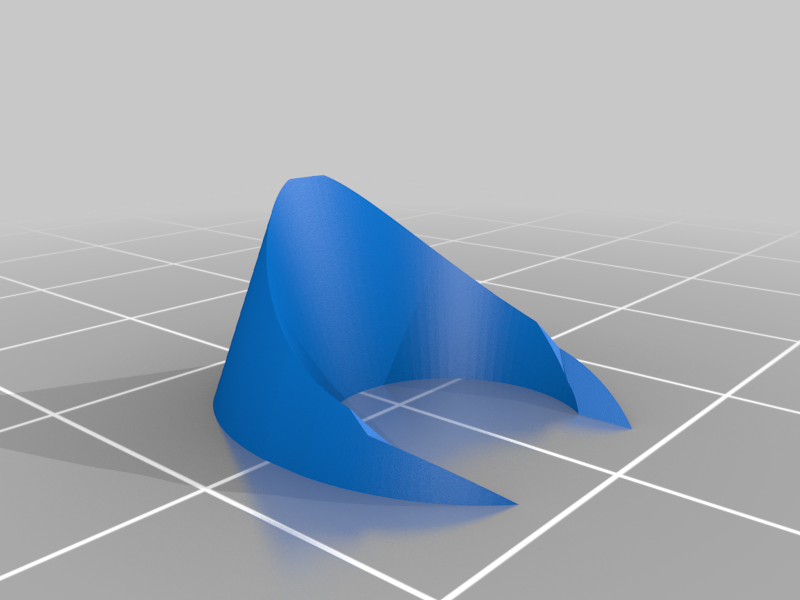
TinyHawk Camera Wedge
thingiverse
The original replacement camera is the BETAFPV EOS2 Micro FPV Camera 1200TVL, which is expertly secured in place using a simple yet effective camera wedge. To do this, first remove the camera lens by unscrewing it, then carefully insert the camera into the TinyHawk. Once the camera is securely in position, screw the lens back on tightly. Next, install the wedge, which firmly holds the camera in place without the need for a zip tie. It's essential to orient the flat side of the wedge towards the camera lens, and then push the top part of the wedge into the opening on the TinyHawk until it clicks securely into position.
With this file you will be able to print TinyHawk Camera Wedge with your 3D printer. Click on the button and save the file on your computer to work, edit or customize your design. You can also find more 3D designs for printers on TinyHawk Camera Wedge.
