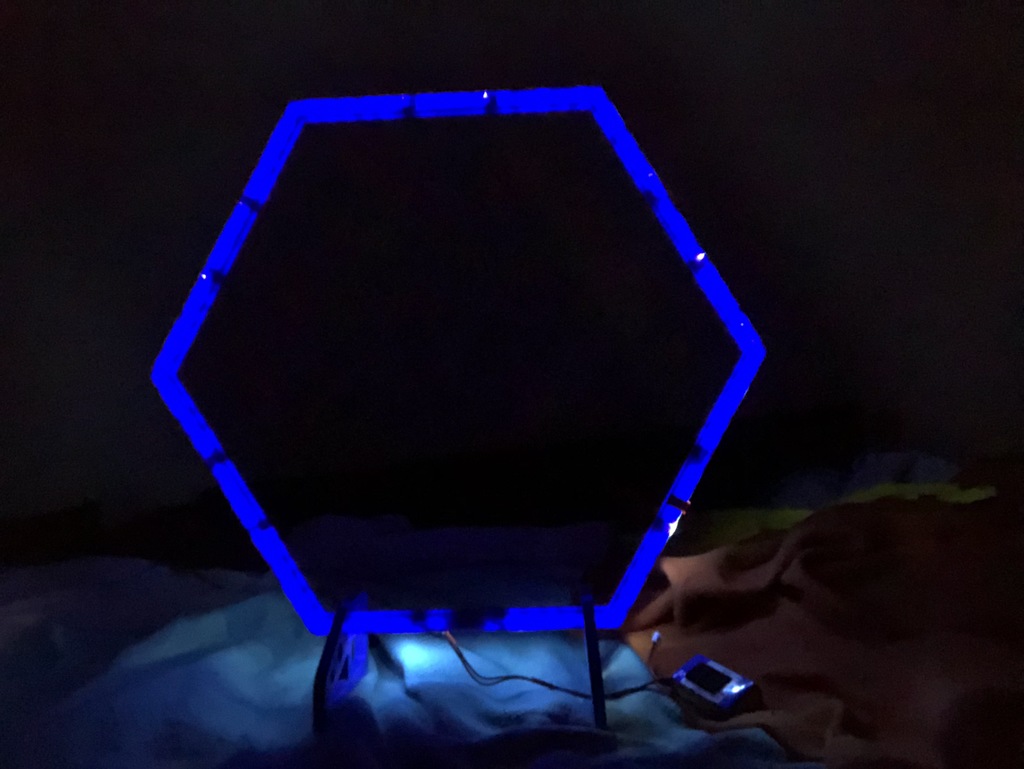
Tiny Whoop Gate with LED Holder
thingiverse
I created the "Tiny Whoop gate" for Blade inductrix, tinywhoop, eachine E010 and others, and it worked wonderfully. The only drawback was using Zip Ties or electric tape to hold the LED's in place. I thought 3D printing should include everything installed from the start. So, I designed and printed an LED Clip to attach the LED's to the gates I had already created. If you've already printed this gate without my modification, you can print the clip I made to hold your LED's securely in place. It will look much nicer than electric tape, and it's safer than Zip Ties with their sharp tips. If you haven't printed this gate yet, you can create it with my modification and the LED's will slide onto each section and stay in place without any additional parts. To attach the LED's, I simply threaded them between the gate and the holder. Starting from the middle of one side, I fed them through all the way around. It took 63" of LED's to complete the circuit. I pulled the LED's all the way through the first holder until I could carefully wedge the wires underneath. Then, I continued feeding them through until I reached the end with about 1/4" to 1/2" extra wire left over. I stuffed that extra under the end with the wire as best as possible. So far, it has held the LED's in place securely. Hopefully, this will work for you too, and you'll have the same level of success as I did with these gates. Thanks to Megabug for the original design.
With this file you will be able to print Tiny Whoop Gate with LED Holder with your 3D printer. Click on the button and save the file on your computer to work, edit or customize your design. You can also find more 3D designs for printers on Tiny Whoop Gate with LED Holder.
