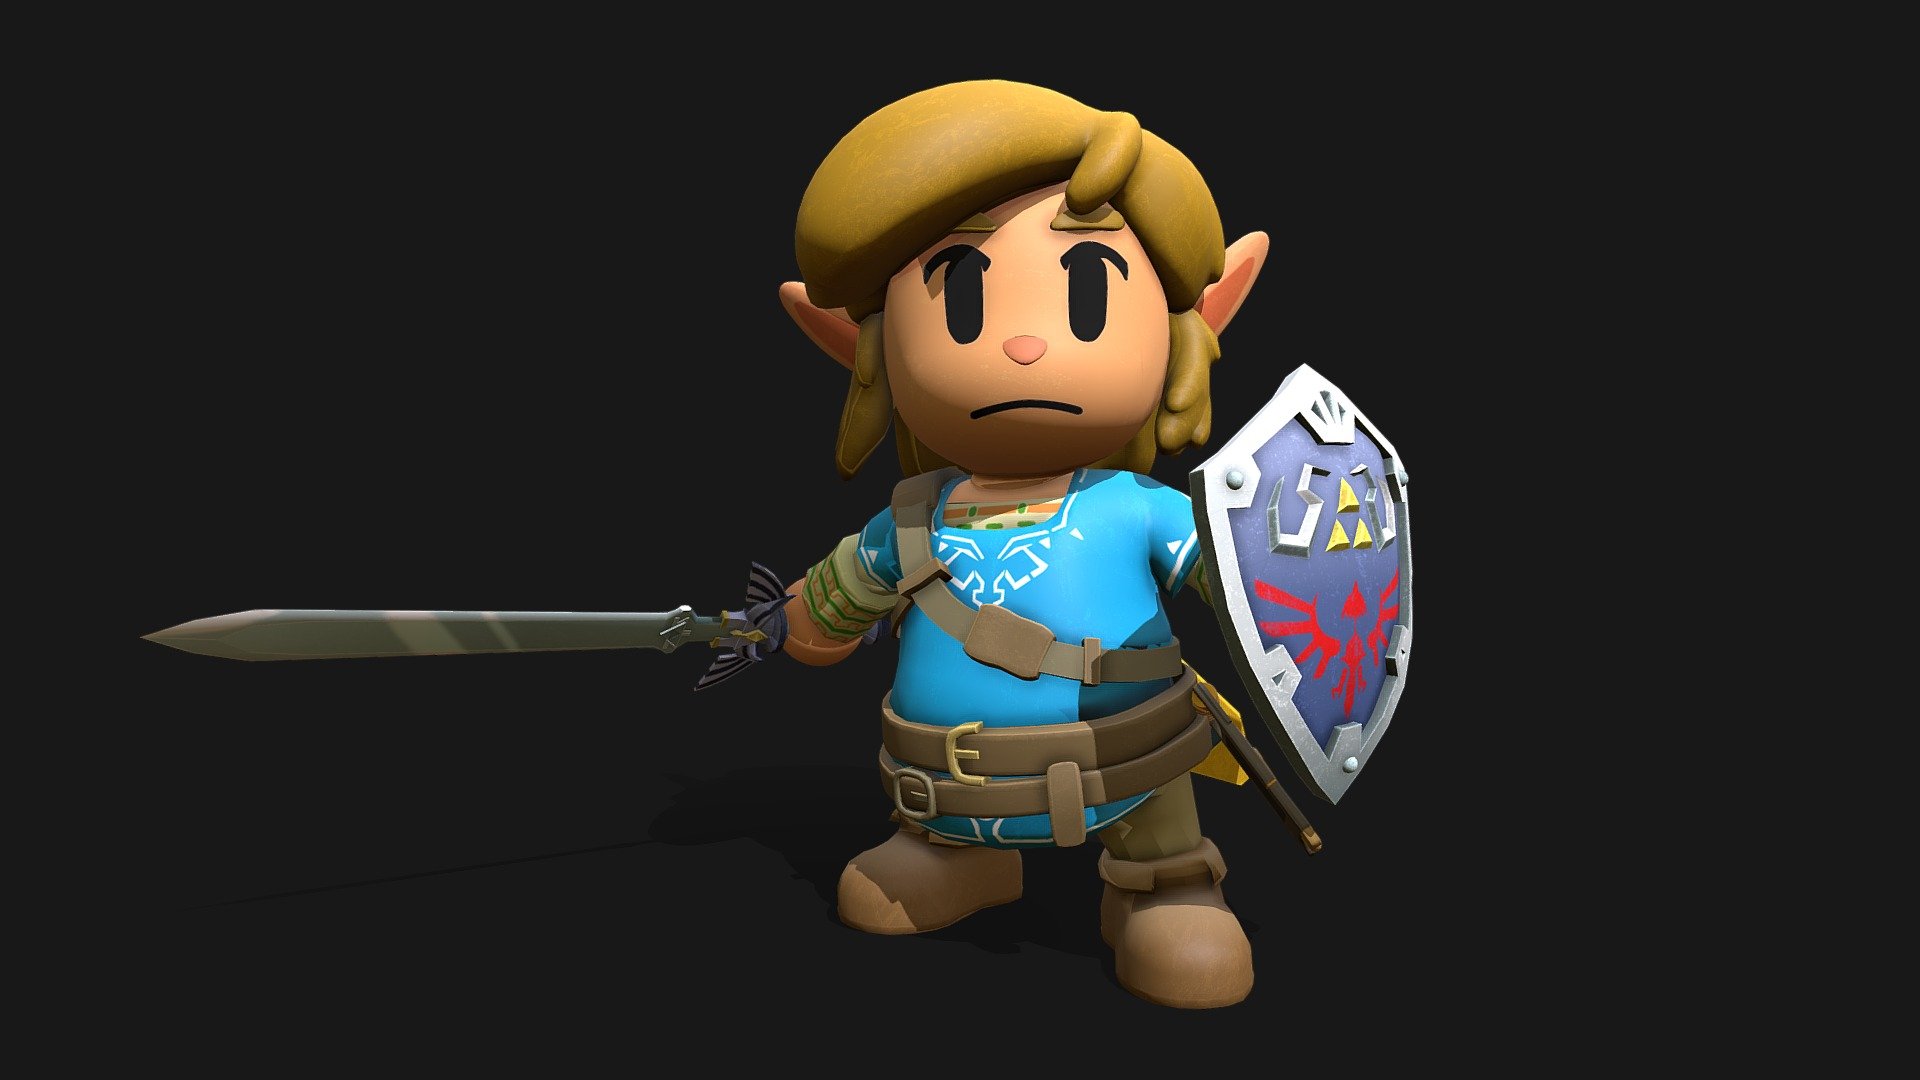
Tiny Link
sketchfab
Creating a Link's Awakening-inspired Legend of Zelda: Breath of the Wild Link using 3D printing technology starts by examining the iconic character design from Nintendo's 1993 Game Boy classic. The original game's pixel art style and whimsical charm need to be captured in a way that translates well to a physical model. The first step is to create a detailed, hand-drawn concept sketch of Link in his Awakened form. This will serve as the foundation for the 3D model, incorporating key elements such as his characteristic green tunic, cap, and Hylian Shield. Care should be taken to accurately depict the intricate details and textures that make up the character's design. Once the concept art is complete, a 3D modeling software such as Blender or Maya can be used to create a digital model of Link. This involves creating a mesh for the character's body, arms, and head, and then adding surface details such as the tunic's pattern, the cap's ribbon, and the shield's engravings. To prepare the 3D model for 3D printing, it needs to be exported in a format compatible with the chosen printer. This typically involves converting the model into an STL (STereoLithography) file, which contains the 3D geometry and any surface details. With the 3D model ready, the next step is to select a suitable 3D printing material. PLA (Polylactic Acid) or PETG (Polyethylene Terephthalate Glycol) are popular choices for their durability and aesthetic appeal. The printer's resolution and layer height will also need to be adjusted according to the desired level of detail. After the model is printed, it can be painted and assembled to create a detailed, collectible figure of Link in his Awakened form.
With this file you will be able to print Tiny Link with your 3D printer. Click on the button and save the file on your computer to work, edit or customize your design. You can also find more 3D designs for printers on Tiny Link.
