Tiny keyboard parts
prusaprinters
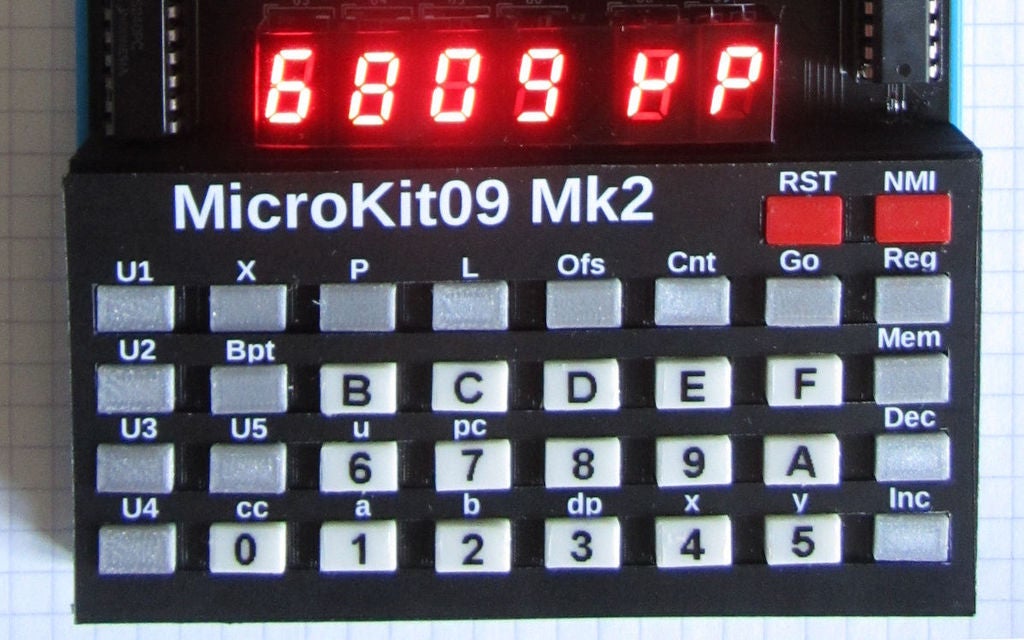
<p>These parts were created for my 'remix' of a French 1980s single board computer, the MicroKit09. The switches used have a grid of 7.5 by 5.0 mm pin layout and the pin extrudes 5.7 mm. The total height (board - pin-top) is 9.5mm. The pins are slightly tapered.</p><p>The key-tops top is 5x8mm.</p><p>More on the MicroKit09 MK2 here: <a href="http://electrickery.connected.by.freedominter.net/comp/microKit09/">http://electrickery.nl/comp/microKit09/</a></p><p>The key-tops are printed using a 0.25mm nozzle, top side up and ironing enabled. The switch cap is printed top-down with a 0.4 mm nozzle.</p><h3>Print Settings</h3><p><strong>Printer Brand:</strong></p><p>Prusa</p><p> </p><p><strong>Printer: </strong></p><p>I3 MK3S</p><p><strong>Rafts:</strong></p><p> </p><p>No</p><p> </p><p><strong>Supports: </strong></p><p>No</p><p><strong>Resolution:</strong></p><p> </p><p>0.25/0.4mm nozzle, 0.1//0.2mm layers</p><p> </p><p><strong>Infill: </strong></p><p>20</p><p><br><strong>Filament:</strong><br>Any brand, PLA Any color, <br> </p><p><strong>Notes: </strong></p><p>The extra fine nozzle for the key tops might be overkill.</p><p>The key-top tape-frame is used to help aligning the Dymo LetraTag tape before cutting it to size (slightly smaller than the key-top).</p><p> </p><p>The KeyboardOverlayFrame keeps the keyboard overlay flat and in place.</p><p> </p><p> </p><p> </p><p>Category: Electronics</p>
With this file you will be able to print Tiny keyboard parts with your 3D printer. Click on the button and save the file on your computer to work, edit or customize your design. You can also find more 3D designs for printers on Tiny keyboard parts.
