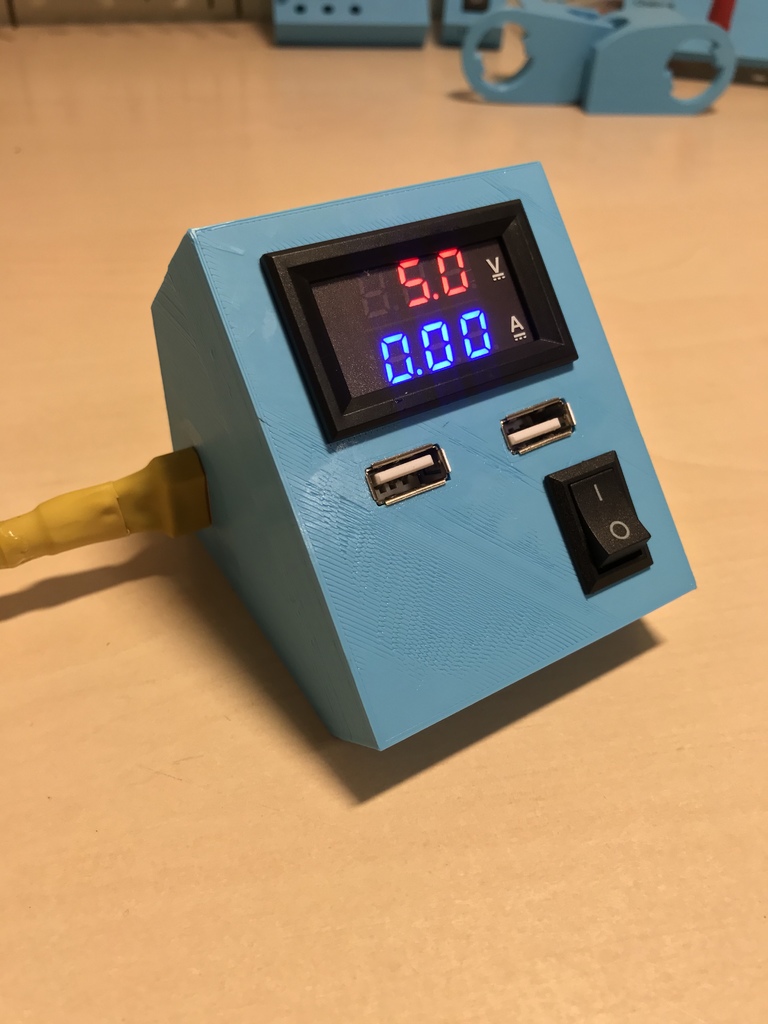
Tiny e-Lab Dual USB PSU
thingiverse
I built this module using a Mini360 buck converter, which allows it to be powered by voltages between 7-23V. This means you can take an old laptop power supply (12-20v), solder an XT60 connector to it, and use it to power this and any other Tiny e-Lab module. The voltage and current draw of the USB ports are displayed on a 100V/10A combined Voltmeter/Ammeter. This module has two options for cooling: using a 40mm fan or just vent holes with passive cooling. You can find the bill of materials below: * A DC-DC buck converter, set to output 5V * Two female USB connectors * A male and female pair of XT60 connectors * A 21x15mm rocker switch * Two M3 screws (length should be between 5-18mm) Optional parts for using a fan include: * A 40x40x7 fan (thinner than a normal 40mm fan) * Another buck converter to power the fan To assemble this module, start by clicking the front panel into place against the rear part. Then screw in two M3 screws from underneath the rear part and into the front panel. Glue the XT60 connectors firmly in place as they will be managing large forces when modules are connected or disconnected. If you're using a fan, mount it first; it might not be possible to add or remove it after the XT60 connectors are in place. Finally, glue the two USB ports to the front panel but don't use too much glue, as it can get inside the barrel of the USB connector and make them unusable.
With this file you will be able to print Tiny e-Lab Dual USB PSU with your 3D printer. Click on the button and save the file on your computer to work, edit or customize your design. You can also find more 3D designs for printers on Tiny e-Lab Dual USB PSU.
