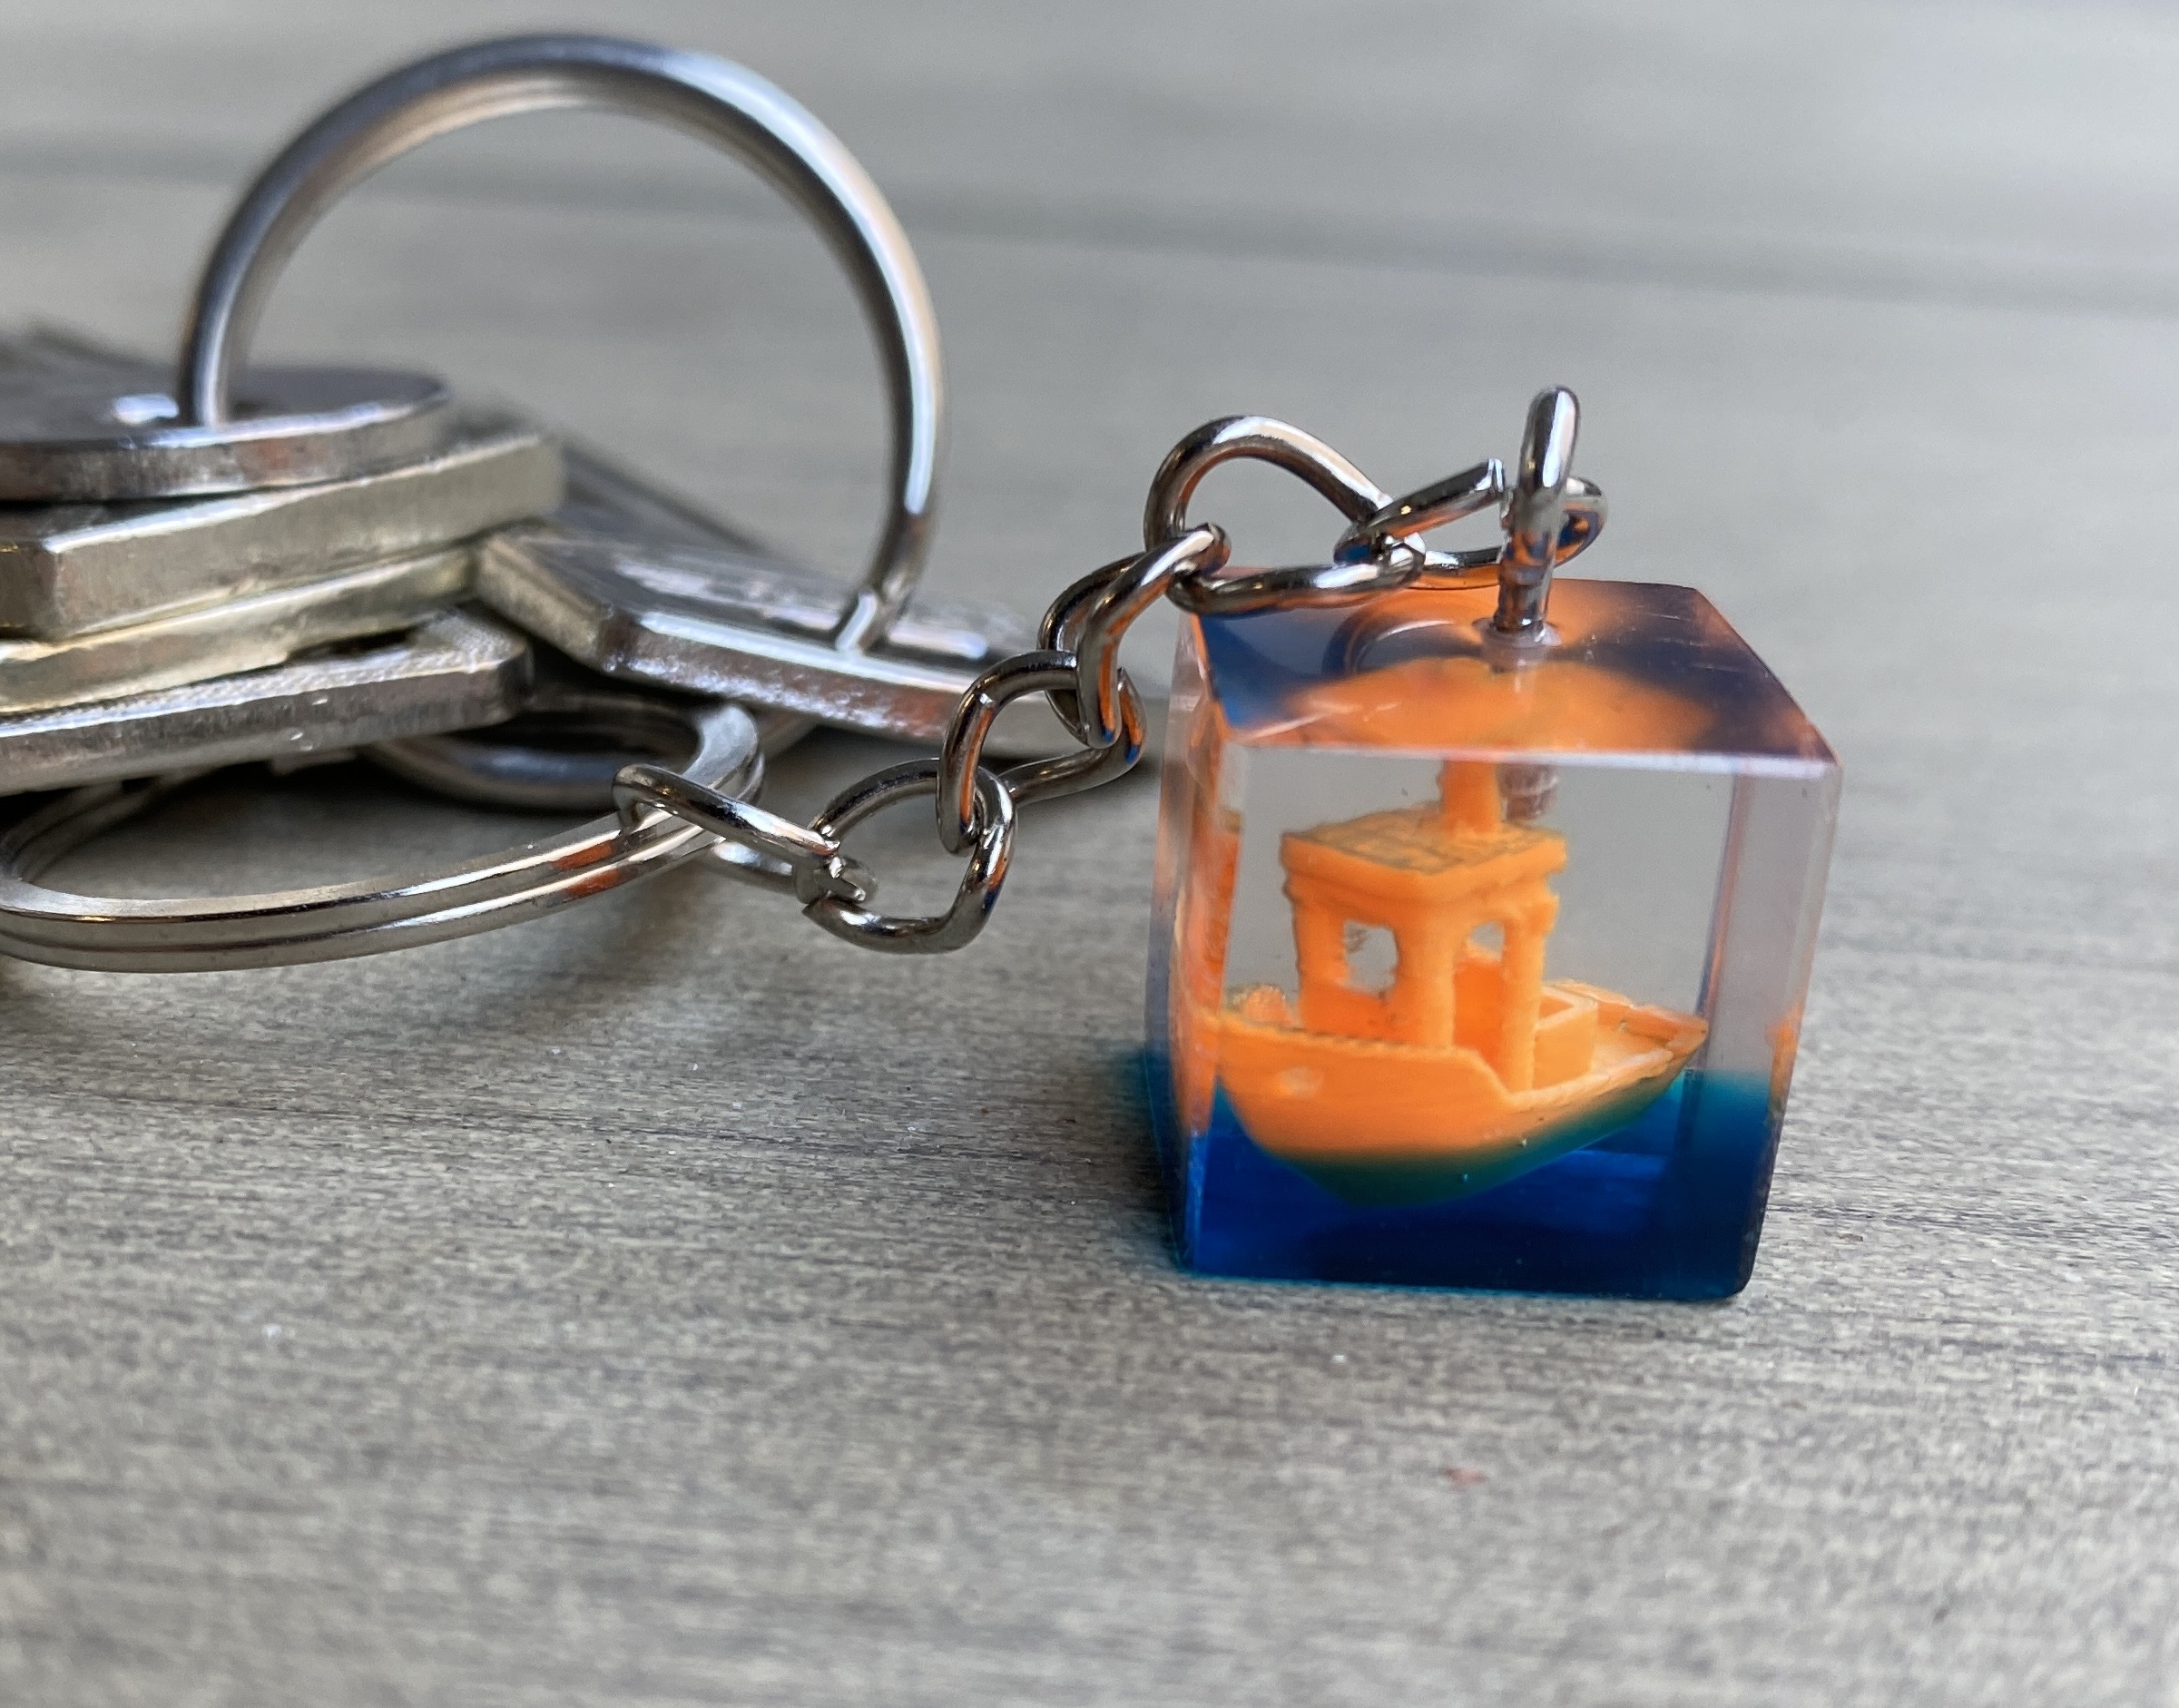
Tiny 3D-Bechny Keychain
prusaprinters
<h3>Info</h3><p>The provided model is a very simple mold to cast some silicone into it. This will result into a mold itself to cast the 25% sized 3D-Benchy into resin.</p><p>Volumes to calculate the necessary amount of silicone and resin:</p><ul><li>Silicone: 27256 mm³ (about 31 g at a density of 1.13 g/cm³)</li><li>Epoxy: 3368 mm³ (about 3.4 g at a density of 1.00 g/cm³)</li></ul><figure class="image image-style-align-center image_resized" style="width:50%;"><img src="https://media.printables.com/media/prints/243411/rich_content/187bac6b-a668-43fe-a53f-7c5003d4f14d/calc.png#%7B%22uuid%22%3A%22f129c54a-5389-4d01-921e-659009a21b8b%22%2C%22w%22%3A950%2C%22h%22%3A1334%7D"></figure><h3>Process:</h3><p>Print the 3D-Benchy at 25% scale (the length should be about 15mm. Best for me worked the following settings:</p><ul><li>0.15 mm layer height</li><li>1 Perimeter</li><li>0% infill</li><li>3 top and bottom layer</li><li>detect thin walls deactivated</li><li>detect thin walls selectively activated for the chimney and the box behind the driver's cab</li></ul><p>I provided the 3D-Benchy g-code for your convenience.</p><p> </p><p>Print the PLA-Mold. This should be straight forward. The walls are one nozzle thickness wide so activate detect thin walls. A layer height of 0.15 mm worked well for me.</p><p>Mix the silicone, optionally degas it in a vacuum chamber and pour it into the printed mold.</p><p>After the curing time remove the silicone form the PLA mold. It is easiest to break away the walls first.</p><p>For casting the epoxy I see two options:</p><p>a) Mix some slow curing epoxy, add a few drops of blue dye. Degas it in a vacuum chamber. Estimate how much you need for the blue layer (or calculate it) and cast a few drops into the silicone mold. Keep the cup you used to mix the epoxy. Now wait some time until the epoxy in the mixing cup gets thicker. At this point gently push the 3D-Benchy into the blue resin in the silicone mold (this way the Benchy seems to swim and not only sit on top of the “water”). Let it cure. Mix another batch of resin one or two days later (clear resin this time), degas it in a vacuum chamber and pour it into the mold. Place the mold in the vacuum chamber and carefully degas it again (this pulls the bubbles out of the Benchy).</p><p>b) instead of pushing the Benchy into a semi-viskos blue epoxy in this option we do it the other way around. I used one of these 3rd hand tools for soldering to place the Benchy into the empty silicone mold where I wanted it. Then I dripped in the blue dyed resin. This way I had a much better control over the “waterline”. The rest is basically the same as a).</p><p>The second to last step is sanding and polishing. Here I cannot give much advice, because this was my first keychain. This step took me about 2 hours. I'm sure more experienced casters will take much less time than me.</p><p>Lastly the chain has to be attached. I had to pre-drill a tiny hole with my Dremel to inset the skew, but if you epoxy is still soft it might work by hand (but I'm not sure if you can sand still soft resin)</p><p>No particular recommendation (I don't now how they will hold up in the long run), but these are the materials I used here:</p><p>Silicone: WAGNERSIL 22 NF Epoxy: DIPOXY-2K-700 Color: DIPOXY Clear Blue,</p><p> </p><p>This is my first keychain, so it is not perfect. A better alternative to the vacuum chamber would a pressure chamber. But these are hard to get where I live and much more expensive than vacuum chambers.</p>
With this file you will be able to print Tiny 3D-Bechny Keychain with your 3D printer. Click on the button and save the file on your computer to work, edit or customize your design. You can also find more 3D designs for printers on Tiny 3D-Bechny Keychain.
