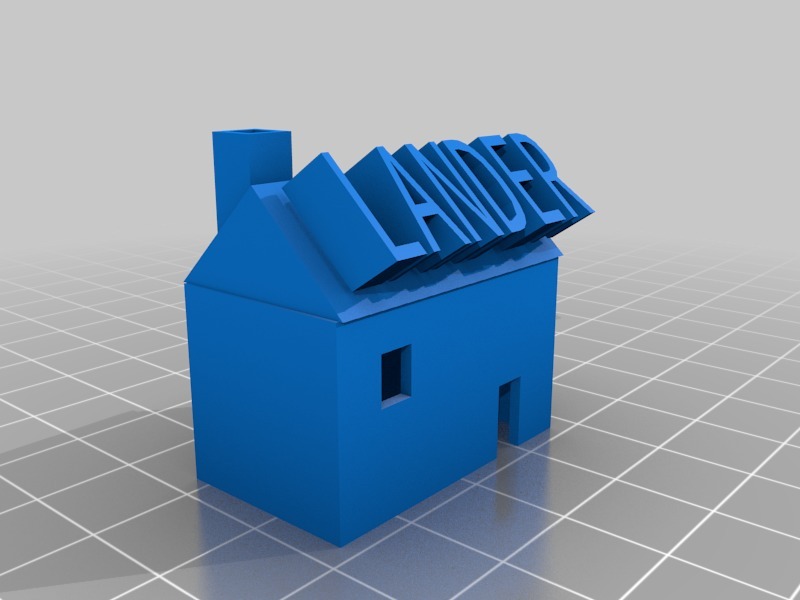
Tinkercad House Assign. #1 - Basic House
thingiverse
Here is a basic tutorial on how to make a house in Tinkercad for an assignment. First, log into your Tinkercad account and navigate to the dashboard where you can start creating a new design. Click on the "New Design" button to begin making your house. Next, select the "Cube" tool from the top toolbar and drag it onto the workspace. This will be the foundation of your house. You can resize it by clicking and dragging on one of its sides. Now, add some walls to your house. Select the "Box" tool and draw a box that is slightly taller than the cube you just created. Move this box so that it is attached to the cube. Repeat this process for the other three sides of your house. To create the roof, select the "Cube" tool again and draw another cube that is slightly smaller than the one you used for the walls. Place this cube on top of the house, making sure it is centered. Finally, add some details to your house such as windows and a door. You can do this by selecting the "Circle" tool and drawing circles where you want the windows to be. For the door, select the "Rectangle" tool and draw a rectangle at the front of the house. Congratulations! You have now completed making a basic house in Tinkercad for your assignment.
With this file you will be able to print Tinkercad House Assign. #1 - Basic House with your 3D printer. Click on the button and save the file on your computer to work, edit or customize your design. You can also find more 3D designs for printers on Tinkercad House Assign. #1 - Basic House.
