timing-belt-fix
thingiverse
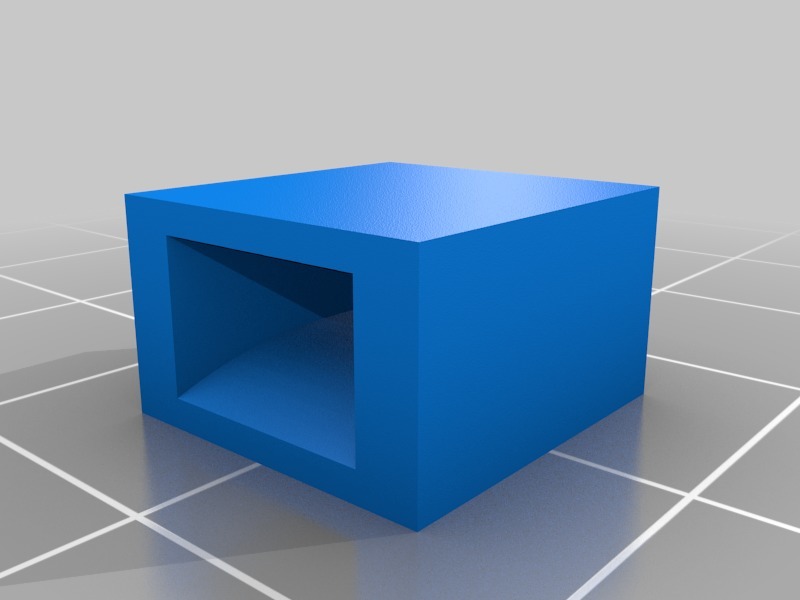
It's a straightforward square pipe with a larger opening at one end. It's designed for easy installation of the timing belt. Begin by cutting a length of belt that's sufficient (about twice as long as from stepper pulley to other pulley, plus some extra cm) for mounting. First, secure one end to the left side of the X-carriage in the normal way with the belt passing through the hole and strap a tensioner around it. Next, guide the belt around the stepper pulley at the left, then underneath the carriage to the other pully. Guide the remaining length between the right pulley and the carriage through this section. Make sure the tight opening is to the right. Continue by guiding the rest of the belt through the mount opening on the right side of the carriage and fold it back so that the teeth of the belt lock the movement in place. Then, gently slide the printed part over the belt with the folded remainder as far into the carriage as possible. If the tension of the belt is too low, simply slide the part to the right until the remaining length is free again, then repeat the process by pulling the remainder with a bit more force. To ensure you've tightened a tooth further, place some marks on the belt with a pencil.
With this file you will be able to print timing-belt-fix with your 3D printer. Click on the button and save the file on your computer to work, edit or customize your design. You can also find more 3D designs for printers on timing-belt-fix.
