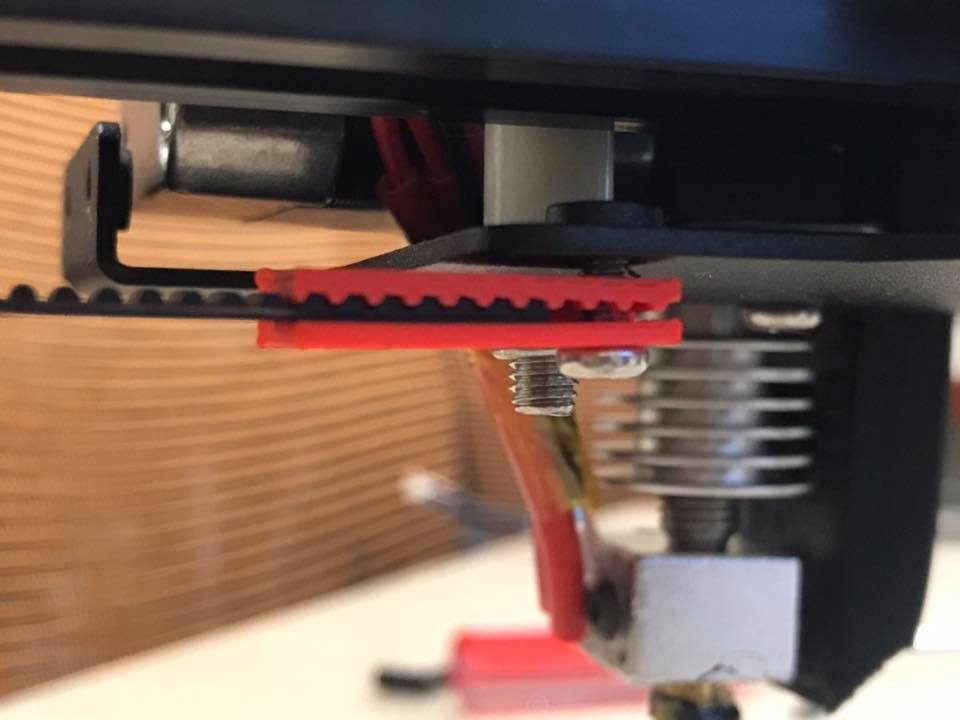
Timing Belt Connector
thingiverse
Mounting the X-axis Timing Belt to the Carriage Simply. To secure the X-axis timing belt to the carriage, follow these straightforward steps. 1. Locate the carriage and identify the mounting points for the X-axis timing belt. You will see two holes on either side of the carriage. 2. Take the timing belt and insert one end into the hole closest to you. Push the belt in until it clicks securely into place. 3. Next, take the other end of the timing belt and slide it through the second hole. Make sure it is seated properly before moving on. 4. Pull the timing belt tight by grasping both ends and stretching it across the carriage. Ensure that it is not twisted or misaligned. 5. Once you have the timing belt in place, secure it with a single screw through one of the mounting holes. Tighten the screw firmly until the belt is snug. That's it! Your X-axis timing belt should now be securely attached to the carriage.
With this file you will be able to print Timing Belt Connector with your 3D printer. Click on the button and save the file on your computer to work, edit or customize your design. You can also find more 3D designs for printers on Timing Belt Connector.
