Timelapse IR Remote
prusaprinters
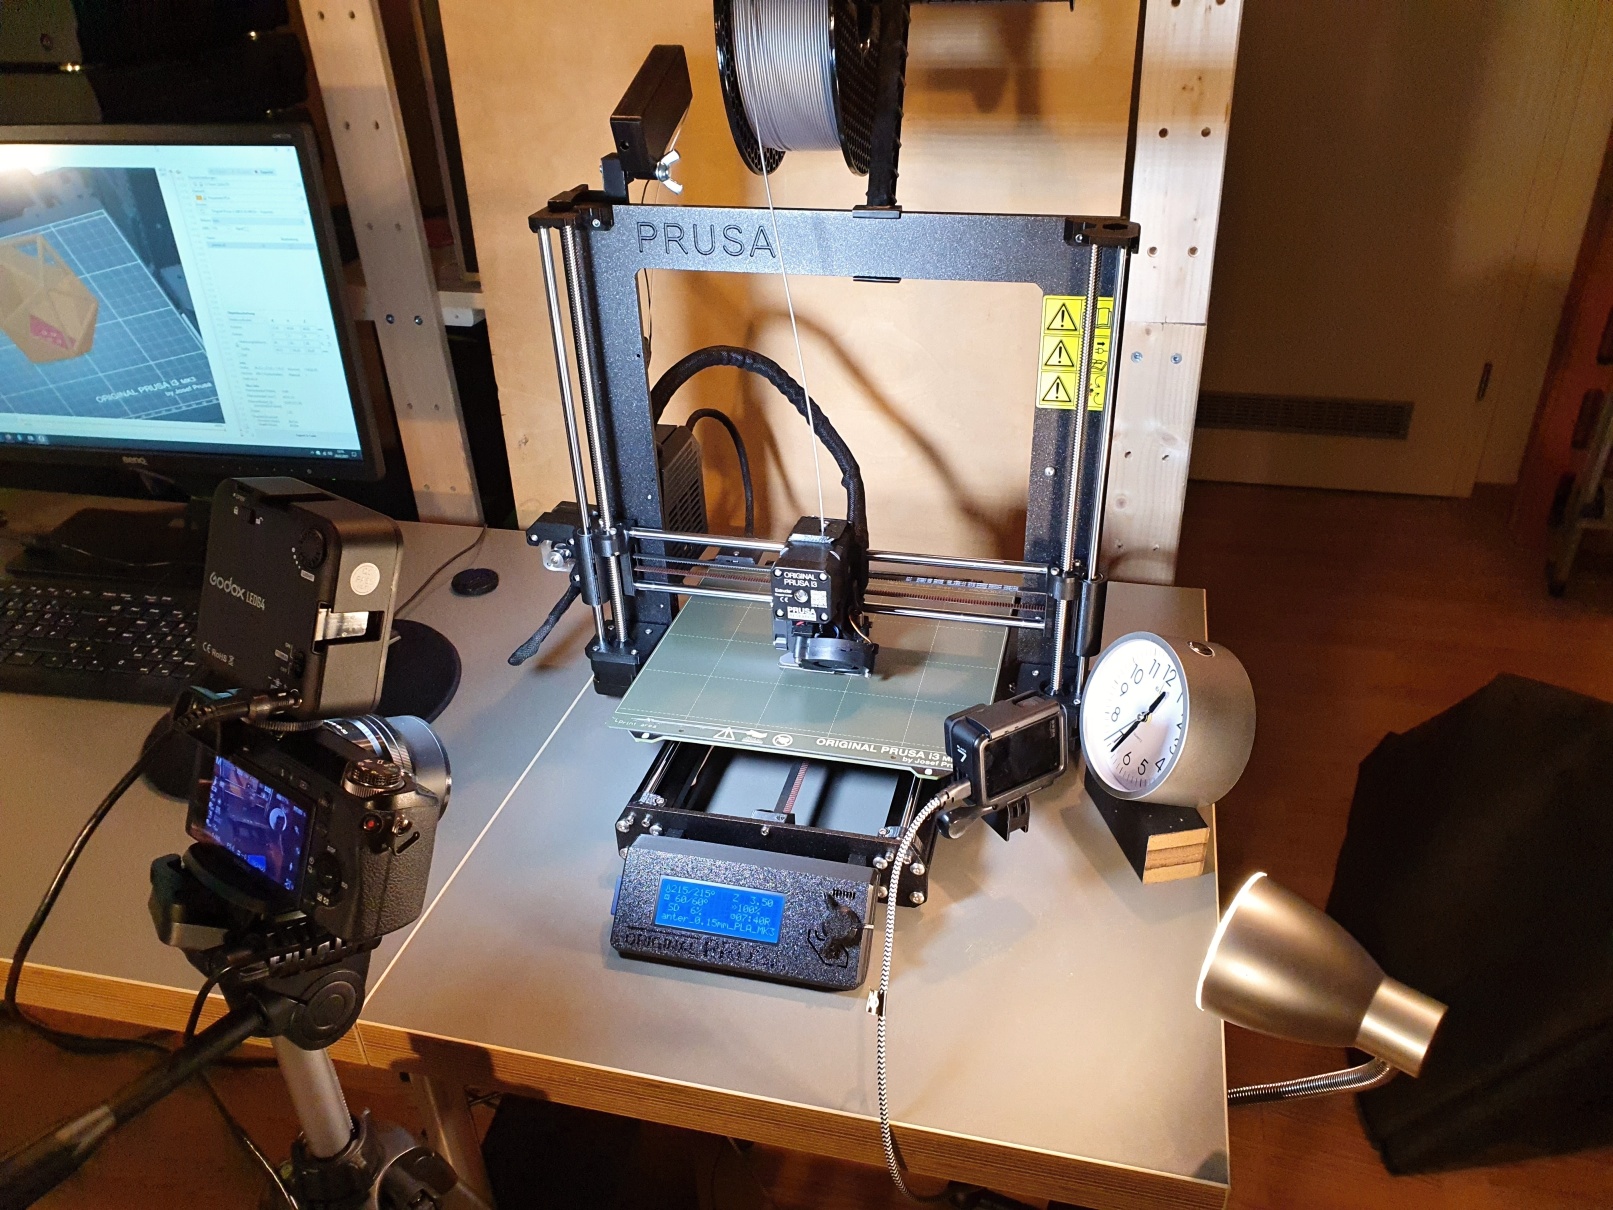
<p>Based on the excellent blog entry from Prusa about this topic :<br><a href="https://blog.prusaprinters.org/how-to-create-beautiful-3d-print-timelapse-videos_29743/">https://blog.prusaprinters.org/how-to-create-beautiful-3d-print-timelapse-videos_29743/</a></p><p>Instead of a cable, I wanted to use a simple Infrared remote control (JJC DSC Remote) for my old SONY NEX camera. I attached two wires to the remote trigger switch and connected them via an Optocoupler to the Einsy board IO pins. I also added a seperate battery pack. See the schematics for details.<br>(to build your own timelapse remote : Look for a similar IR unit for for your camera model which can be modified like this)</p><h3>Video :</h3><figure class="media"><oembed url="https://youtu.be/KxBNycvPDB8"></oembed></figure><p>The complete unit sits ontop of the printer so I'm able to place the camera in different positions before the printbed.<br>You need to insert the special G-Code after each layer change in the slicer to toggle IO Port PJ3 from the Einsy Rambo Board. This will activate the trigger each time a new layer has been completed. The G-Code is taken from the Prusa blog.<br>Use any timelapse program (e.g. Windows Timelapse Creator) to convert the pictures to MP4.<br>Finally I recommend to run your camera on external power for longer prints.</p><h3><br>Printing :</h3><p>Print out the 4 parts (use supports on build plate only)<br>- TL_Remote_Bracket.stl -> make sure to flip on correct side on your printbed (see "...all.3mf")<br>- TL_Remote_Base.stl<br>- TL_Remote_Box.stl<br>- TL_Remote_Cover.stl</p><h3>Assembly :</h3><p>a) build and insert the electronics in the box, close the cover<br>b) connect base and bracket parts using 2x M3 screws<br>c) insert M8 nut in base and connect base to box part by an M8 wing screw<br>d) align on top right side and use M3 screw to secure to printer frame <br>e) connect the battery pack and the 2 connector cables to Einsy board (see schematics)<br>f) when not in use, slide base to not block the space for two spools <br> </p>
With this file you will be able to print Timelapse IR Remote with your 3D printer. Click on the button and save the file on your computer to work, edit or customize your design. You can also find more 3D designs for printers on Timelapse IR Remote.
