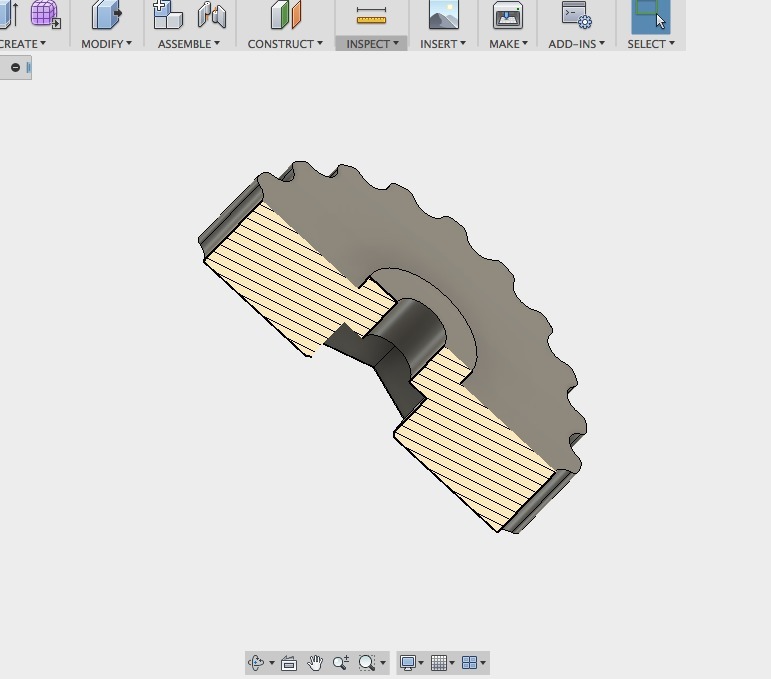
Thumbwheel & spring guide for bed leveling - TronXY X1
thingiverse
Here is a simplified thumbwheel and spring guide for bed leveling on your TronXY X1 3D printer: The TronXY X1, like many other FFF/FDM machines, requires precise calibration of its Z-axis to achieve optimal print quality. This can be done using the simple yet effective thumbwheel and spring guide system. To set up this system, you will need a few basic components: a thumbwheel with an adjustable screw, a spring clip, and some metal or plastic guides to attach it to your printer's frame. These parts are easily sourced online or in local hardware stores. First, attach the guides to the X1's frame using screws or adhesive. Make sure they are secure and evenly spaced. Next, attach the thumbwheel assembly to the top of one guide, making sure the screw is tightened firmly. Then, place a spring clip onto the thumbwheel, ensuring it is securely seated on both sides. With your guides and thumbwheel in place, you're ready to start leveling your bed. Begin by loosening the X1's Z-axis screws, then slowly turn the thumbwheel until the nozzle touches the glass or print surface below. Tighten the screws firmly once the nozzle is in contact with the surface. By following these simple steps, you can achieve precise and reliable bed leveling on your TronXY X1 using this easy-to-implement system.
With this file you will be able to print Thumbwheel & spring guide for bed leveling - TronXY X1 with your 3D printer. Click on the button and save the file on your computer to work, edit or customize your design. You can also find more 3D designs for printers on Thumbwheel & spring guide for bed leveling - TronXY X1.
