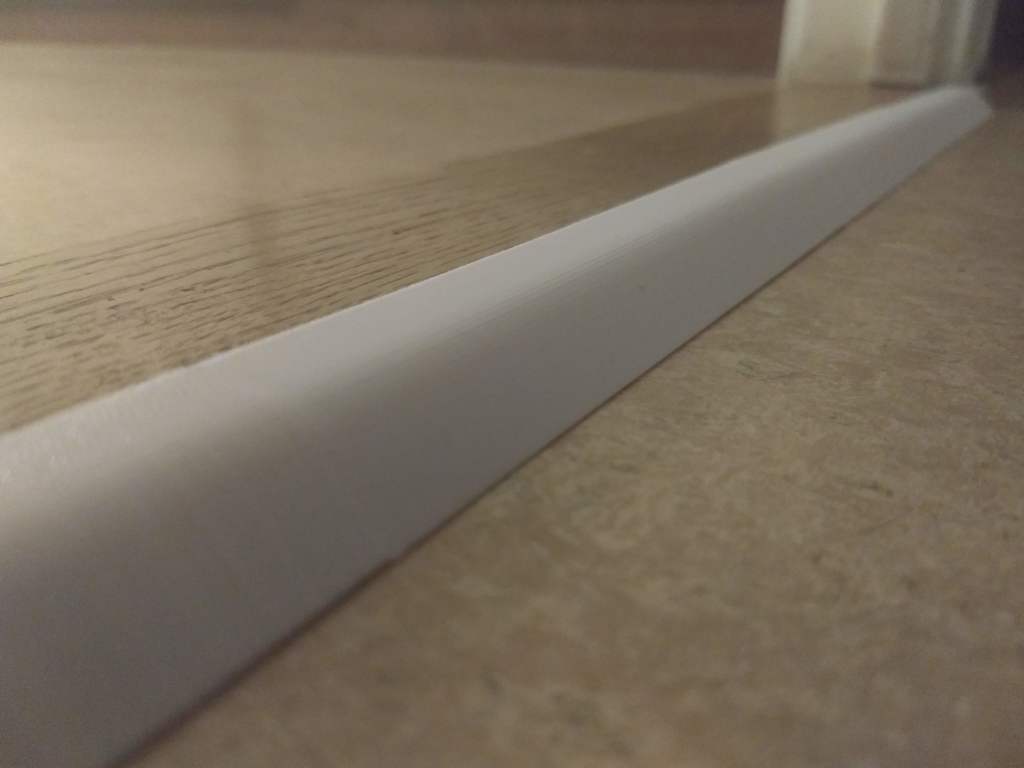
Threshold Cable Runner
thingiverse
<h1>Introduction</h1> I created these cable runners as a replacement for my worn-out IKEA alternatives, which were constantly getting damaged by our vacuum cleaner's daily passes. Fortunately, my iRobot Roomba 960 easily navigates around these runners and after ten weeks plus they remain intact. <h1>Print Settings</h1> I use Cura to print these cable runners with the special mode setting "Spiralize outer contour" which gives them a springy feel when assembled. This allows the cables, not the runners, to bear the load while also making them print much faster. For optimal results, print on their ends and set bottom layers to 0, using an adequate brim for adhesion. If you prefer to print these at a different height, simply turn off scaling and resize the part in one direction to adapt it to your home's unique needs. <h1>Assembly and Installation</h1> The pieces snap together seamlessly; don't worry if the rear of the top runner lifts off slightly from the bottom piece - it will become flush once installed on the floor. I used double-sided tape to initially install the bottom runner, then inserted the cables and assembled the top bit with ease. Note that the type of tape you use is crucial; I encountered issues with ordinary cellophane-type tape, which didn't stick well to my printed parts. To improve adhesion, try sanding the relevant surface or using glue instead.
With this file you will be able to print Threshold Cable Runner with your 3D printer. Click on the button and save the file on your computer to work, edit or customize your design. You can also find more 3D designs for printers on Threshold Cable Runner.
