Three Pi Box
prusaprinters
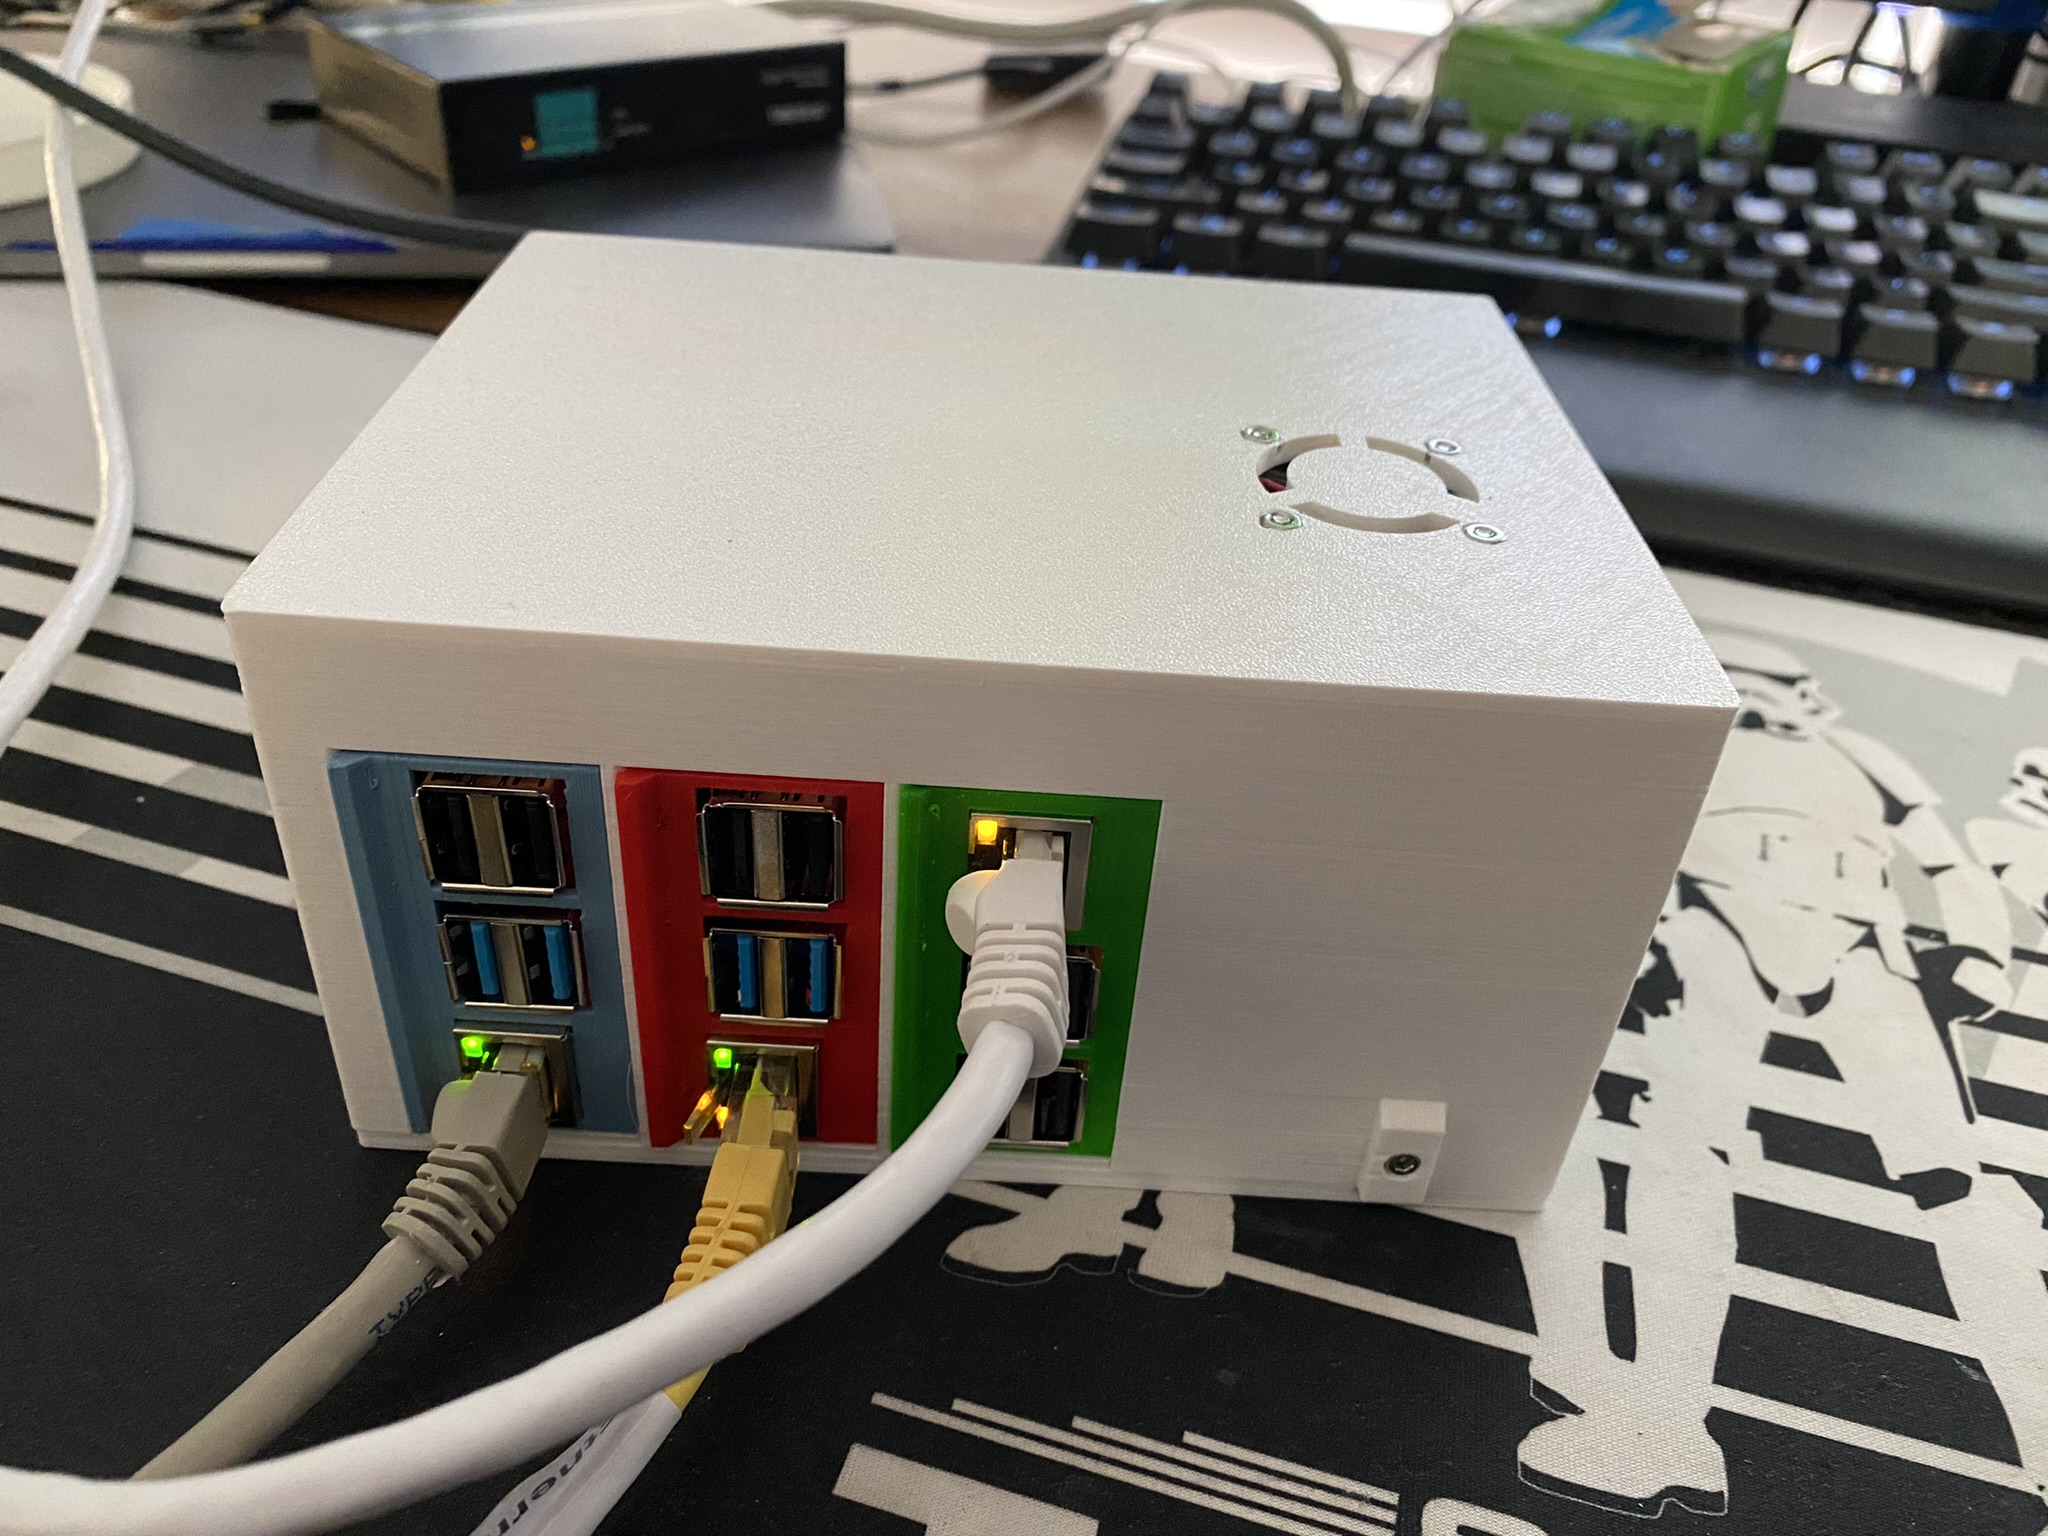
<p>I created this to solve a problem I was having in monitoring a network. My goal was to power and mount three Raspberry Pi computers without having three wall warts and all that crud hanging all over the place.</p><p>I'm using an Mean Well EPS-45-5 power supply. Mouser makes quick work of sending these to you. Everything else was either scrounged or ordered through Amazon. M2.5 screws and hex nuts everywhere except the power supply mounts. Those are M3.</p><p>Just a quick word here. If you aren't comfortable wiring up a mains connected power supply or don't know how to make sure you've properly grounded it, ask for help from someone else. Loose connections create heat and, sometimes, fire. You could also get hurt in some edge cases just fooling around with it. I don't want anyone hurt.</p><p>Also, if you don't like the EPS-45-5 power supply, you could easily modify the base to mount whatever supply you'd rather use. I thought about a USB power strip kind of thing as an example, but I didn't like anything I found more than using what I did. The RPS-45-5 would have worked well too as would have a number of other options.</p><p>You can use socket head screws everywhere, but pan head looks better in the power plug. I used JST-SV connectors for the connections to the power supply. I made a very simple breakout board with some USB-A connectors on it for the RPI cables. I also added a JST connector on the same board for the fan. I used a regular pi fan blowing out of the case. I know people will get weird about cooling these things, but there seems to be no real heat generated here. Of course, my workloads are probably very light, but the CPU heat sinks along with the fan and generous airflow in the case have resulted in zero alarms for any power or heat issues whatsoever over the last week of run time, which is the first day I powered things up and started working on software. I am including the Fusion 360 export for those who wish to close up my fan hole and create their own. You should add feet to the bottom to hold it up off the ground as there are vent holes below the PI slots.</p><p>I tried to keep it simple, so no hot swap connectors or anything like that were considered. You could easily mount HDMI connectors to the outside of the case if you wanted to be able to get at the PI's that way.<br><br>I've printed in both ABS and PETG with no issues. I always print with supports from the build plate to keep the nut and bolt holes clean, but it isn't strictly required. I've included 3mf project files from PrusaSlicer so you can see how I ran this model on my printers.<br> </p><p>UPDATE 27/01/2022: Created a rudimentary mount to hang the chassis under a shelf or table. I decided to make a second unit to move my Octopi systems into so I can free up those wall warts and clean up my printer area. I also added a blank tray card to take up unused slots if needed.</p><p>To make the under shelf mount, print all of the “Under Shelf Mount” 3mf files. You may need to rotate these to print them in a way that makes sense. Generally no supports should be needed. Print the top part upside down and the bottom part right side up. The left side will print fine with the cut-out for the lid screw facing down. The right side prints fine either way, just lay it down on the print bed first. The back part prints fine laying face down so the cable organizers are sticking up off the print bed. Use M3 socket head screws and nuts to assemble to mount. The screw holes for attaching the top of the mount to the bottom of the shelf are designed to work with #6 flat head wood screws. Once the mount is attached to the shelf, you should be able to slide the completed raspberry pi chassis into the mount from the front. Tolerances should be tight enough that it won't slide around at all.</p>
With this file you will be able to print Three Pi Box with your 3D printer. Click on the button and save the file on your computer to work, edit or customize your design. You can also find more 3D designs for printers on Three Pi Box.
