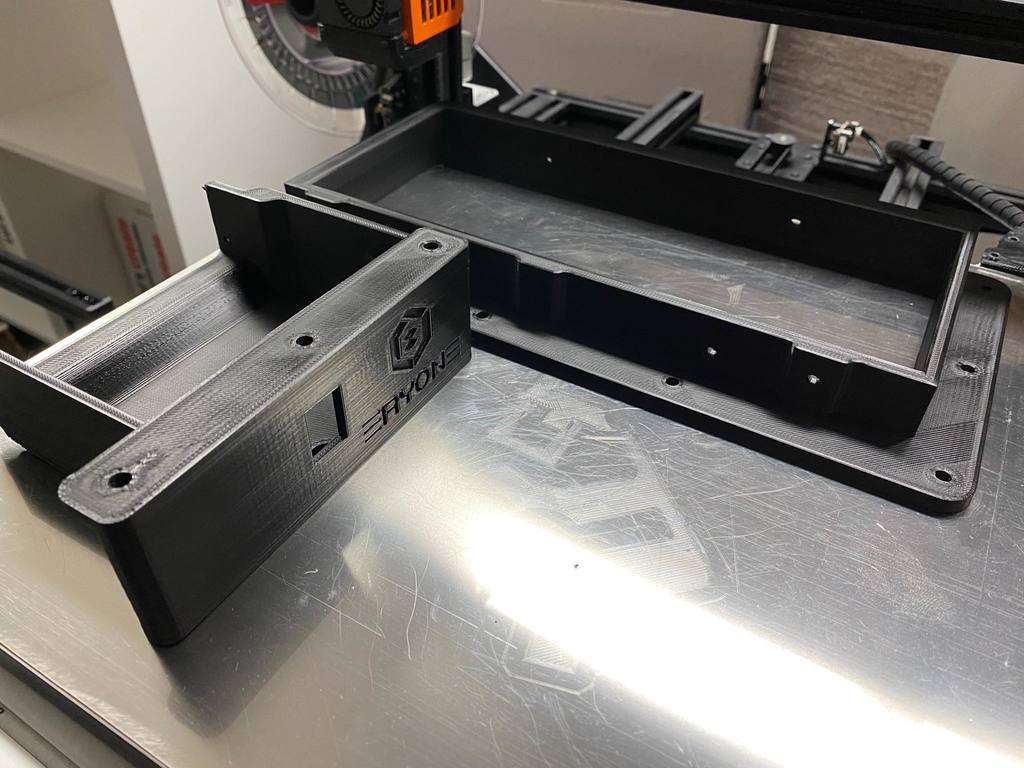
Thinker S Power Supply Unit Mod
thingiverse
This is a step-by-step guide for installing a custom power supply mod on your Eryone Thinker S printer. To ensure compatibility, take a look at picture two (fits.jpg) to confirm that your printer model is suitable for this mod. For the installation, you'll need the following screws: * 13 M4x10 Screws * 9 M4 T-Nuts * Some zipties Here's how to proceed with the installation: 1. After printing out the parts according to the pictures provided, screw the XT60-adapter onto your printer's right side. 2. Next, disconnect the power supply from its plastic cover, including all cables and adapters. 3. Screw the power supply into the frame (use 4 M4 screws on the sides, refer to the pictures for orientation). 4. Place the frame under your printer as shown in the pictures. 5. Reconnect the XT60-cable to the power supply and tidy up any loose cables around it (refer to picture number seven). 6. Connect all cables, adapters, and a switch into the new cover. 7. Reconnect the cable from the cover back to the power supply. 8. Securely attach the frame to your printer using M4x10 screws and M4 T-Nuts. 9. Screw on the small M3 screw from the original power supply cover onto the side of the new cover. 10. Plug in the power cable, and you're done!
With this file you will be able to print Thinker S Power Supply Unit Mod with your 3D printer. Click on the button and save the file on your computer to work, edit or customize your design. You can also find more 3D designs for printers on Thinker S Power Supply Unit Mod.
