Thing-O-Matic Hood kit
prusaprinters
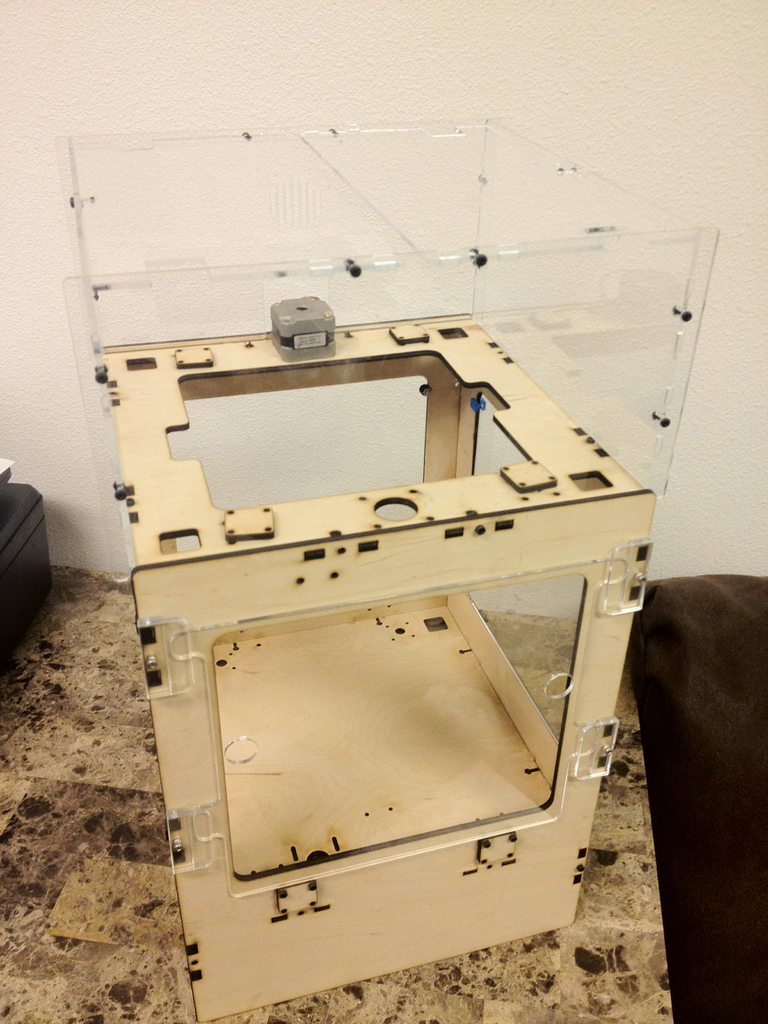
<p>Along the same line as my Replicator hood kit I've now made a ToM version. This helps keep the heat in and prevent drafts from messing up your prints. It has a long gap down the center to allow air to escape and allow filament in and out. I also set the height to 6" which is plenty of room no matter what extruder your rocking on your ToM.</p> <p>On the hood you will notice a 1" square hole in each corner. These are there for anything you may want to add. For example a filament brush or guide.</p> <p>If you don't have access to a laser cutter let me know and we can work something out.</p> <h3> Instructions</h3> <p>Cut the parts from 3mm (1/8") acrylic.</p> <p>This design can be cut on a laser cutter with a 12"x12" or larger cutting area.</p> <p>You will need the following hardware.</p> <p>4 - M3 22mm Bolts (McMaster #91292A801 50 pack)</p> <p>16 - M4 12mm Bolts (McMaster #90116A209 50 pack)</p> <p>16 - M4 Nuts (McMaster #94150A335 50 pack)</p> <p>24 - #8 Washers (McMaster #90126A512 100 pack)</p> <p>14 - M3 12mm Bolts (McMaster #95836A211 50 pack)</p> <p>18 - M3 Nuts (McMaster #98676A100 100 pack)</p> <p>6 sheets at 20"x12" worth of acrylic at 3mm Thick</p> <p>Hood assembly instructions:</p> <h3> 1 Attach the “hood back†to the “hood sides†with 4 - M3 12mm bolts and nuts</h3> <h3> 2 Attach the “hood top†panels with 4 - M3 12mm bolts and nuts (there will be a gap running down the center)</h3> <h3> 3 Attach the “hood front†panel with 6 - M3 12mm bolts and nuts</h3> <p>The hood will rest on top and has a lip to prevent sliding around. You will notice 4 - 1†holes on the corner on the hood. This was to allow for people to make creative 3D objects to and have a place to mount them.</p> <p>Side panels assembly instructions:</p> <p>Use 4 - M4 12mm nuts and bolts and 8- #8 Washers to pinch the side and back panel into place.</p> <p>If your ToM came with a fan port on the left side then use the Fan cover and 4 - M4 Nuts/Bolts</p> <p>Front panel assembly instructions:</p> <p>Remove the existing 4 bolts from the front of the ToM</p> <p>Place the spacer and then the front clip</p> <p>Use 4 - M3 22mm nuts and bolts to replace the 4 on each side of the ToM</p> <p>The front panel will slide behind the front clips and rest on the existing wood squares.</p> Category: 3D Printer Parts
With this file you will be able to print Thing-O-Matic Hood kit with your 3D printer. Click on the button and save the file on your computer to work, edit or customize your design. You can also find more 3D designs for printers on Thing-O-Matic Hood kit.