The Ultimate Coaster
prusaprinters
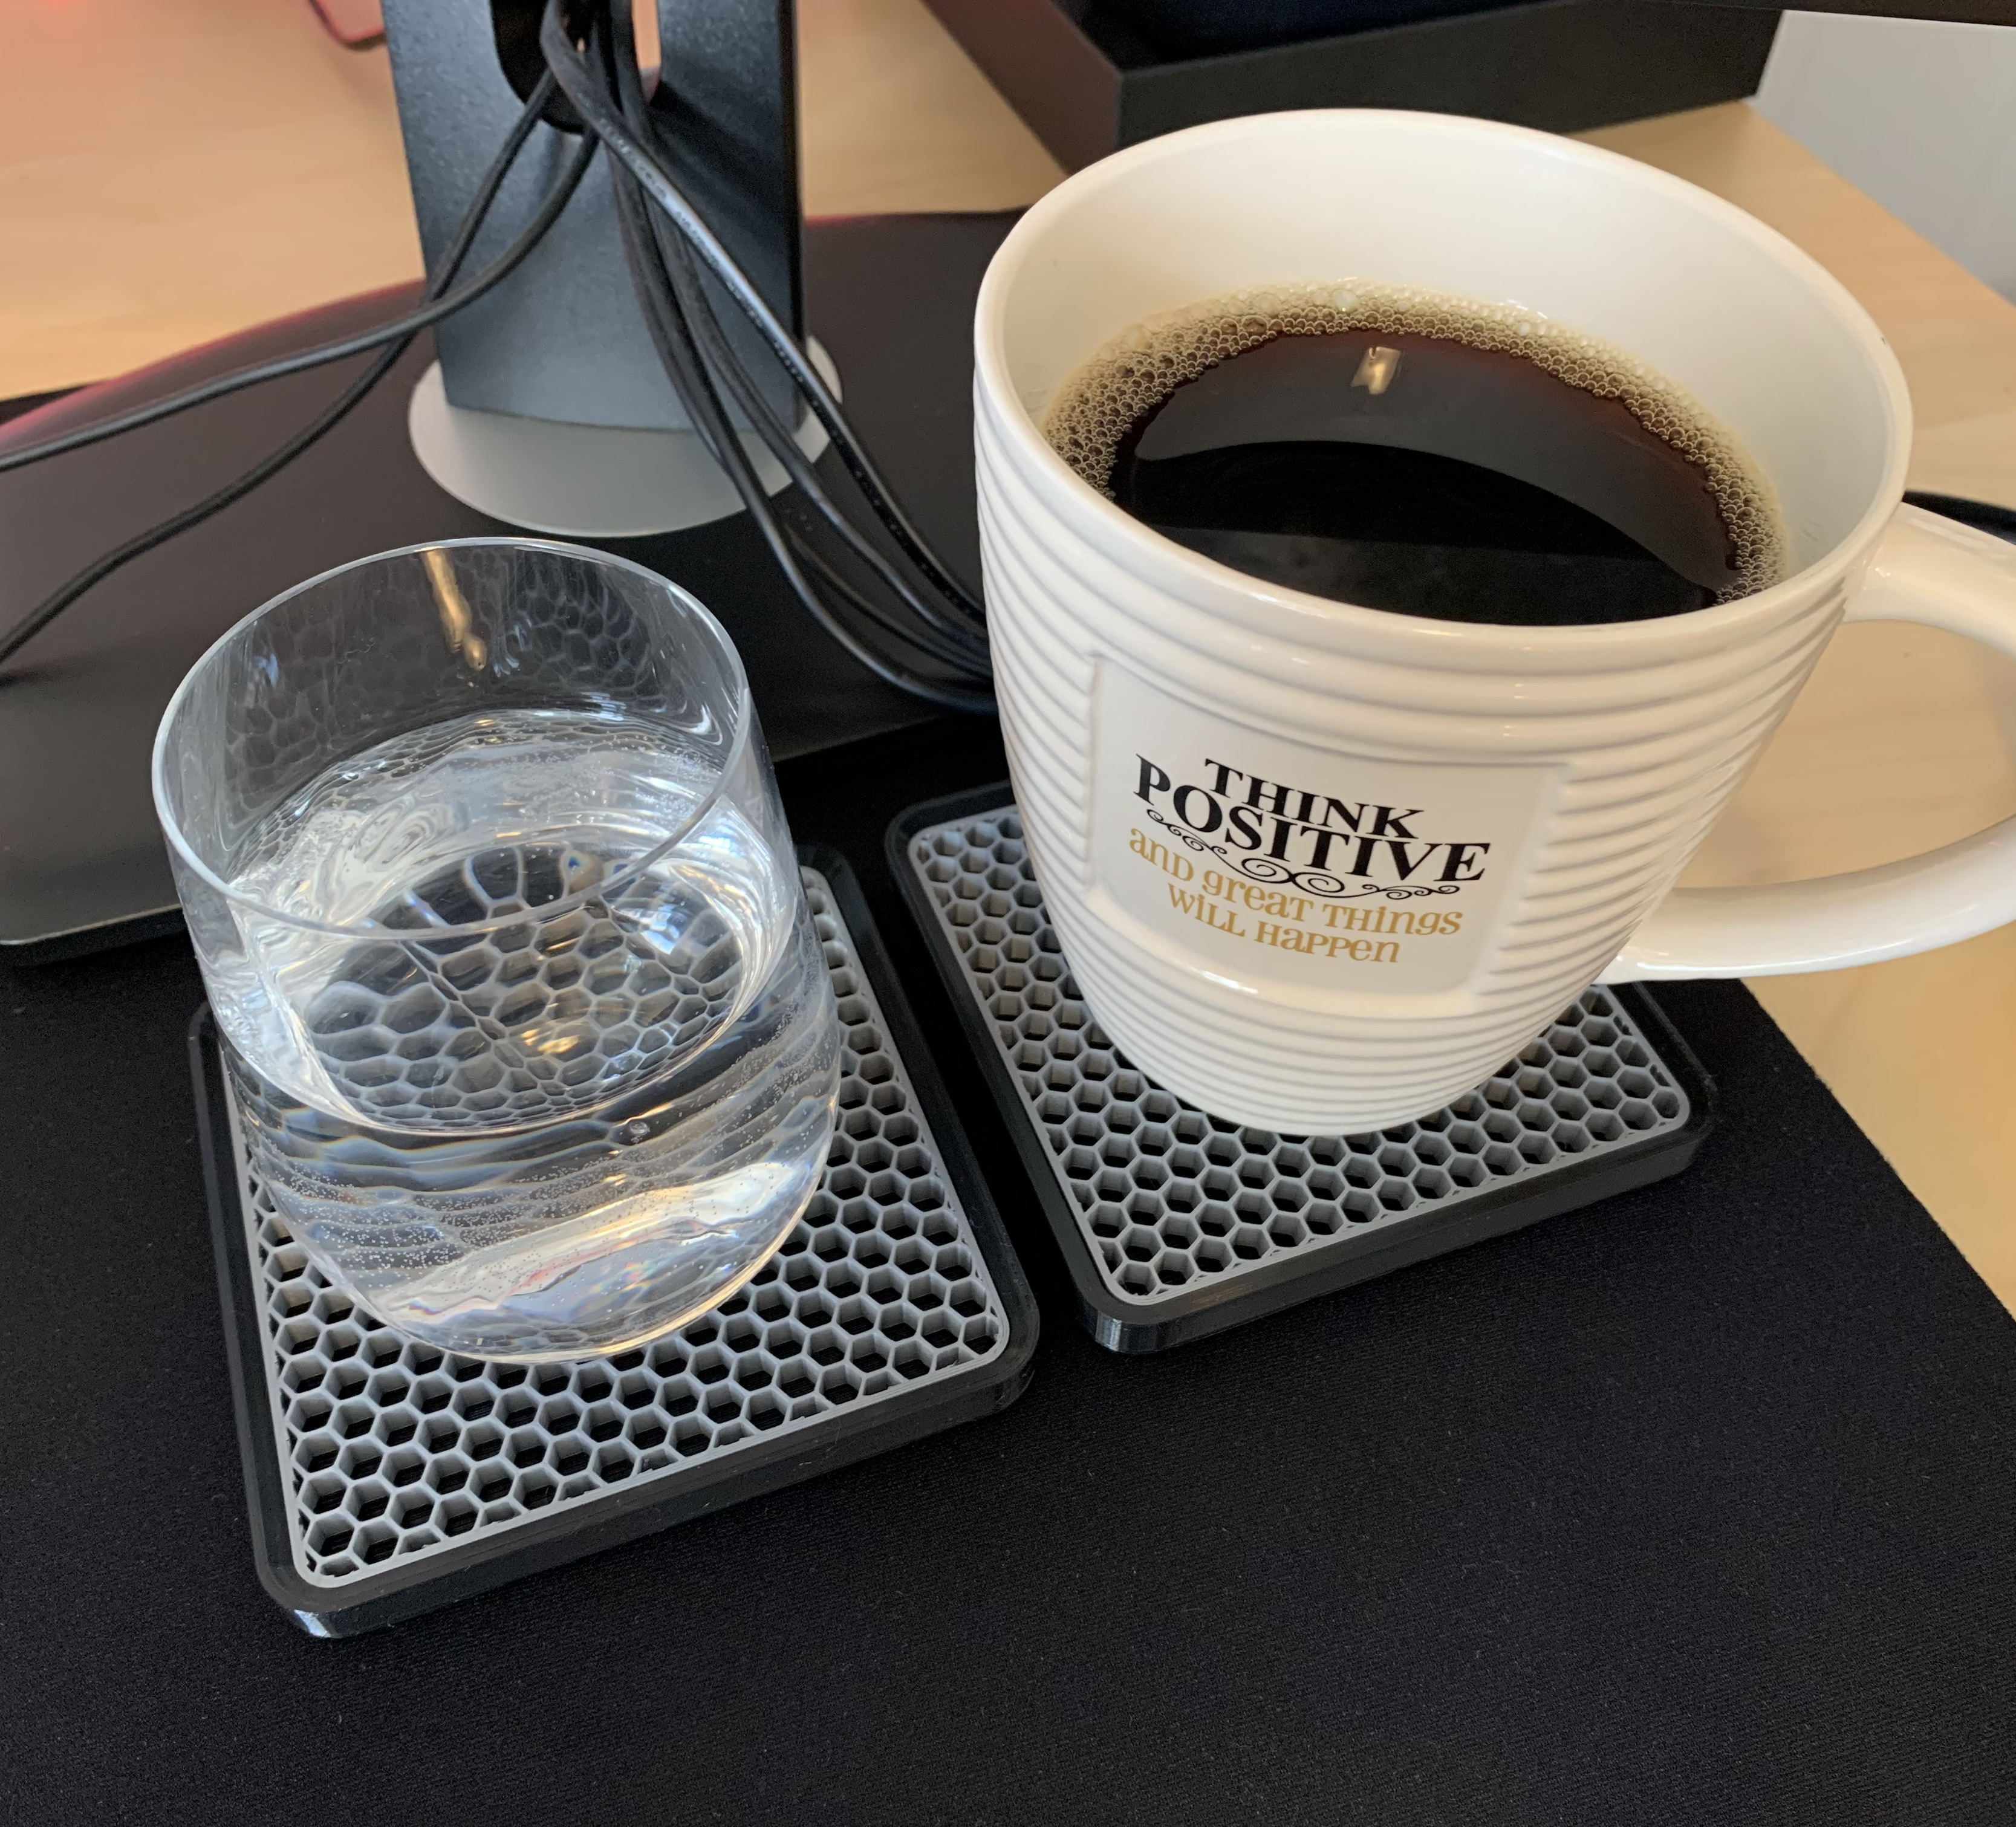
<p>A stackable, washable, anti-spill and customizable coaster for beverages of all kinds.</p><p>I wanted a large (but not too thick) and modern-looking coaster for my home office and general use and did not find a model that I liked and checked all my boxes. So here's yet another coaster. I hope you'll like it!</p><ul><li><strong>Anti-spill:</strong> Closed bottom to catch condensation or minor spills</li><li><strong>Easy to wash:</strong> The infill part is removable for a thorough clean and easy washing/drying</li><li><strong>Stackable:</strong> Does not take much space when stored and can be used while stacked</li><li><strong>Customizable:</strong> Choose any infill pattern for the inner part. Print it in multiple colors and swap it according to your mood! Or not. Haha. (I bet it would look great in Prusa Orange!)</li><li><strong>Won't lift off with your cup or glass:</strong> Nothing worse than a flat coaster that sticks to the bottom of the glass (due to condensation forming a seal), sending it flying around when you pick up your glass. That won't happen with this one.</li><li><strong>Fits extra large mugs:</strong> Base diameter up to 100mm by default. Still, it does not look that big in person.</li><li><strong>You can change its dimensions:</strong> Open up the Fusion 360 source file if you want a smaller coaster or if you have ginormous mugs. I recommend doing this instead of scaling it in your slicer.</li></ul><h3>Printing Instructions</h3><p>The coaster uses some techniques from <a href="https://blog.prusaprinters.org/model-with-prusaslicer-modifier-meshes-tutorial_30438/">this article</a> to reveal the infill pattern on the inner part. It's normal to see a plain block for the inner part on the slicer's plater. With the provided <i>3mf</i> file (or with the appropriate settings), you must enter preview mode to view the sliced pattern as it will be printed.</p><p>Here are the relevant settings to configure (you must be in advanced or expert mode in PrusaSlicer to see that section in the details panel):</p><figure class="image image-style-align-center image_resized" style="width:50%;"><img src="https://media.prusaprinters.org/media/prints/60334/rich_content/e00b8d84-a000-4211-8d5f-c2a0e5352a18/screen-shot-2021-03-18-at-100144-am.png#%7B%22uuid%22%3A%2261d17adb-cc4c-417e-8819-8b7fff6ff79d%22%2C%22w%22%3A419%2C%22h%22%3A507%7D"></figure><p>Also, if you choose to use the <i>3mf,</i> note that the infill part is hidden by default<i>. </i>Right-click the little eye icon beside the part in the list to enable it.</p><h4>Print Settings:</h4><ul><li>0.1mm layers for nicer bevels</li><li>0.4mm nozzle</li><li>On my prints the inner part infill is honeycomb 14%, fill angle 0˙</li><li>Print the inner part with zero top and bottom solid layers so that the infill is visible and spills can drip down into the bottom tray</li><li>Supports are necessary for the outer part because of the stackable design, but they detached cleanly and very easily on my prints. Using snug supports will result in very little waste.</li></ul><p>You can also use the provided <i>3mf</i> file as a starting point if you want.</p><p>Post your makes! :)</p>
With this file you will be able to print The Ultimate Coaster with your 3D printer. Click on the button and save the file on your computer to work, edit or customize your design. You can also find more 3D designs for printers on The Ultimate Coaster.