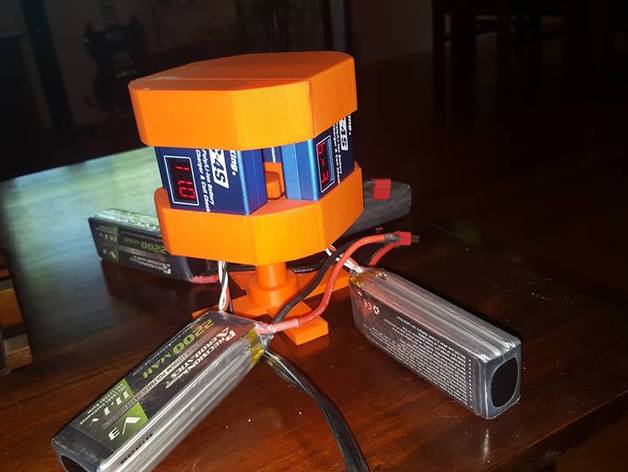
The Tesseract
thingiverse
These are the 3D printed files for my 4-port charger, featuring high-capacity 'DC-4S' chargers from Hobbyking that charge from the balance lead without requiring any buttons to initiate the charging process. Ideal for drone racing applications. The 3D prints were generated with a UP mini printer using a print cube of 120mm. An infill rate of 10% was used, and the two main components were printed horizontally to minimize warping issues during the printing process. Assembly instructions: 1. First, you need to print all the necessary parts for the charger assembly. 2. Carefully disassemble each charger unit, taking note of the position of the power plug on the circuit board. 3. Next, connect positive and negative wires to the circuit board's solder pads using your preferred wiring technique. 4. Pass these wires through a designated hole in each charger unit to maintain accessibility for future modifications. 5. Proceed by attaching four fully assembled chargers to the bottom plate of the 4-port charger housing via holes strategically placed on this plate, with their charging outputs facing upwards. 6. A heavier-gauge wire (terminated with battery connectors compatible with your 12-volt power source) is then fed through a similar hole at the base of the housing unit and attached securely to both sides - specifically connected to their corresponding positive and negative power terminals inside each charger unit respectively as mentioned previously when you set them up on step two prior since obviously they will work together quite nicely once properly joined thus making this an efficient setup that can easily fulfill requirements expected by multiple drone flyers who value quality products such as yourself likely would prefer
With this file you will be able to print The Tesseract with your 3D printer. Click on the button and save the file on your computer to work, edit or customize your design. You can also find more 3D designs for printers on The Tesseract.
