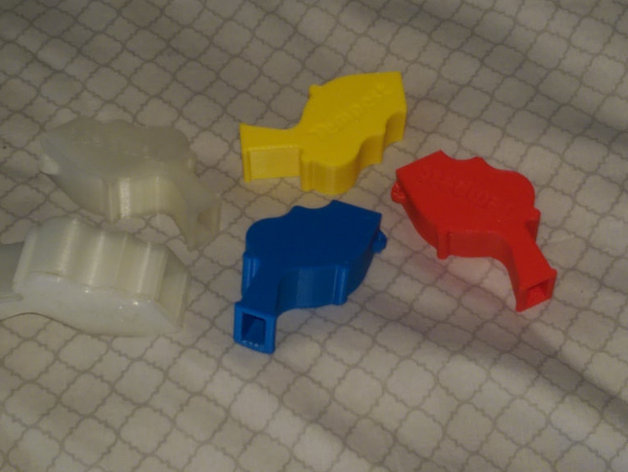
The Tempest Super Whistle
thingiverse
My quest to outdo the world's loudest whistle has been ongoing.\nHow It Came Together\nFirst, I looked up images of the original whistle, carefully measured its size and made an educated guess about what lay inside. Next, I created a detailed design using FreeCAD and refined it with skeinforge to get it just right. This involved several trial runs and tweaks before getting it spot on.\nThe First Design Missed Its Mark\nMy initial print consisted of two parts: the base and lid, which had to be painstakingly glued together. Sadly, it was more a novelty than an effective whistle, only managing a feeble hiss rather than any real sound.\nThe Second Attempt Shone Brighter\nI took a fresh approach for my next design, printing everything in one seamless piece. In doing so, I also made changes to the internal structure, and - just like magic - it started to come together. My third print wasn't as successful as hoped; I managed to reduce minor flaws but this somehow backfired instead. With this in mind, I printed with even thinner 0.3mm layers.\n \n A Few Simple Steps Are All That's Needed\nTo print without the need for a raft, start with the first layer at half speed and you'll be golden. Place the pea inside as soon as the model has hit the 50% mark - just as the ring tab begins printing its parts. The optimal results are achieved by using 0.2mm for the 10mm pea thickness print.\nIn all, the 0.3mm per layer works perfectly and provides crisp edges and fine detail when printing with PLA extruded at 215 degrees C, this also resulted in a nicely formed top layer with minimal warping - success all round!\
With this file you will be able to print The Tempest Super Whistle with your 3D printer. Click on the button and save the file on your computer to work, edit or customize your design. You can also find more 3D designs for printers on The Tempest Super Whistle.
