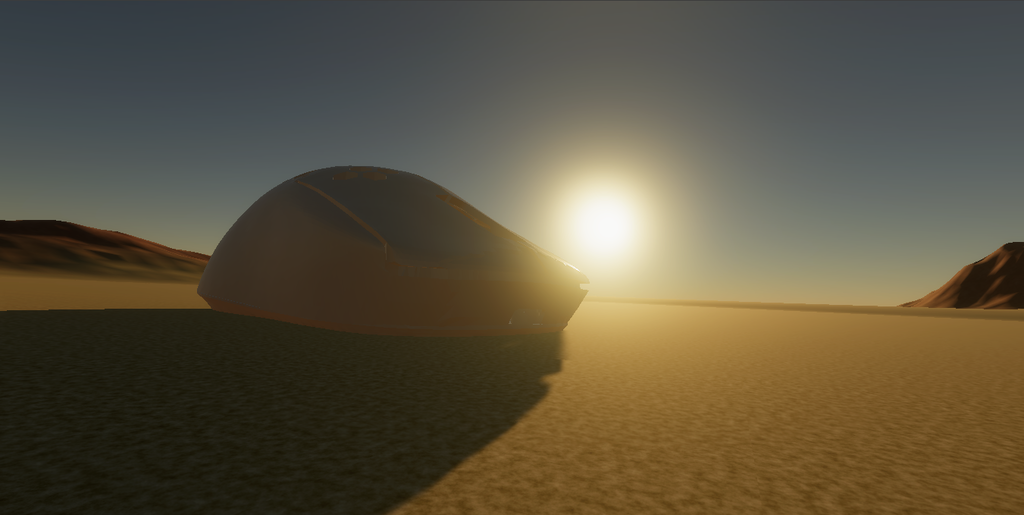
The Spur - Logitech g305 Upgrade (Superlight-like Shape)
thingiverse
Directions on how to create this with the g305: (Below Are the necessary tools (You may also need a small screwdriver kit (TO screw and dissemble the screw in the G305 and Spur), flush cutters (to fix any printed errors), Wire strippers, and a heat gun or hairdryer (to weaken the supports which may be difficult to detach without heat) - Purchase a Logitech G305 mouse—often, the cheapest is on Amazon for about $30-$40. - Once the mouse is in your possession, decide if you would like a rechargeable battery configuration or a Double A battery holder like the original. Double A battery holders can be 3D printed and found on Thingaverse or the Onshape library. - My mouse, the Spur, inspired by the Logitech G-Pro Superlight, is meant to be reachable. The one used was a 3.7, 500 mAh Lithium Ion barry from Amazon (https://www.amazon.com/dp/B0B3MSKKPV?ref=ppx_yo2ov_dt_b_product_details&th=1). - I also bought this soldering station from Amazon station (https://www.amazon.com/dp/B082F1WKP9?psc=1&ref=ppx_yo2ov_dt_b_product_details) and have been happy with it. - Another necessary purchase is a charging port, and I chose the most modern, the Type-C port, which I bought on Amazon here: (https://www.amazon.com/dp/B08DNK398S?psc=1&ref=ppx_yo2ov_dt_b_product_details). - If you're considering using different switches, I have provided two examples here, both from Amazon and with fasting response times than the standard switches equipt in Logitech G305 ((Very good and very popular Kailh Reds - https://www.amazon.com/dp/B08ZMWNXPT?psc=1&ref=ppx_yo2ov_dt_b_product_details) (Less frequently talked about but still a fan favorite, the ttc gold switches - https://www.amazon.com/dp/B0BJQFBY1K?psc=1&ref=ppx_yo2ov_dt_b_product_details), Can be bought for cheaper on other sites). ---------------------------------------- How to 3D Print the Spur --------------------------------------------- 1. Download the STL file under the download all tab in my Thingaverse tab 2. Upload the file to software that can communicate with 3D Printers and create breakable supports such as Cura. My mouse will print in a variety of settings, so do as you please in terms of how fine the extruder prints. 2.5. Export from Cura to an SD card that will go into the printer or directly to the printer with a cable. 3. Once printed, separate from the printer and then its physical supports. 4. Use a cutting tool of some kind to cut and accentuate the hole at the bottom, center, and front part of the mouse until the Type-C port fits your desired protrusion. 5. Carefully disassemble the G305 mouse until all electronic parts are separated. 6. You may immediately notice that the side button bracket on the Spur matches that of the G305, so move the daughter PCB that has the side buttons attached, but first unscrew the physical buttons below. 7. Relocate all side button parts to their respective position on the Spur from the G305. 8. Take the Type-C port with its daughter board and take note of the small "B-" and "B+" engraved on the circuit board. These represent the positive and negative ends of a battery, and as per usual, red is positive and black negative (this will be important when seeing the wires). - Detach the positive and negative metal bits from the standard G305 and detach the red and black wires going into each side. - Place the Type-C port with its daughter board and fix it to a position so it can't move and mess up your solder. - Turn on your soldering iron, then find the hole on the Type-C port with its daughter board labeled "B-" (the black wire goes here), cut a wire strip of the native header, and then twist the exposed wires of the lithium-ion battery. Push the wire over the hole and feed the solder wire over it slowly until it melts; put enough to cover the exposed wire, and try to get a bead to form. Note: You may touch the soldering iron on the cooled solder to heat it up and try to form a perfect bead or bubble to conserve space, but if you fail the first time, that's okay. It won't affect performance. Make sure to do the same to the "B+" or positive end of the wire. - Now, there are two more holes left aside from the ones you've just soldered, and these are for the PCB of your mouse to draw power. - Use the wires that connected from the Double-A battery housing to the header on the G305 and follow the same color coding mentioned before. Like before, there will be a positive and negative depiction above each hole, so solder the way you did previously. 9. Use a cutting tool to make room for the Type-C port if you want it in the traditional front-facing position (so charging is easy). Still, if you don't want to go through the trouble, you can cut the hexagons on the back of the mouse to snuggly fit the Type-C port with its daughter board so it doesn't move or jab your hand. 10. Lastly, assemble the mouse similarly to how to disassemble the G305 and use the same screws. (Check). Make sure that everything fits nicely and that all supports are removed. Supports can be deceiving, so check the original model if you need to.
With this file you will be able to print The Spur - Logitech g305 Upgrade (Superlight-like Shape) with your 3D printer. Click on the button and save the file on your computer to work, edit or customize your design. You can also find more 3D designs for printers on The Spur - Logitech g305 Upgrade (Superlight-like Shape).
