the next version
thingiverse
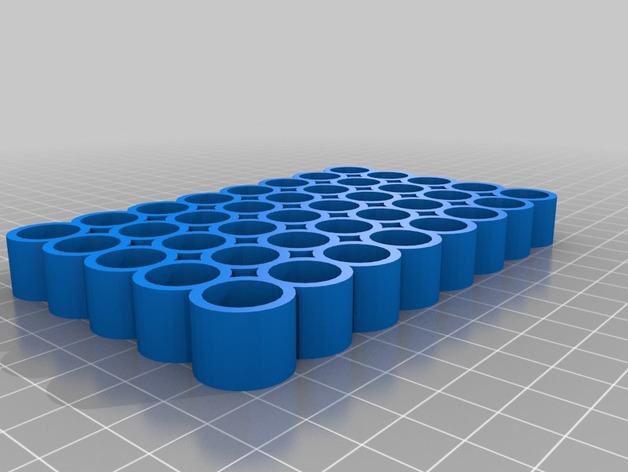
Instructions to Build Your Personalized Pattern Maker First, select your height: simply set it to whatever measurement feels just right for you, so that is 10. Next, decide how many rows you want in total; five should give you ample space for all your creative projects, but feel free to choose a different number if that suits your needs better - this can be adjusted however works best for your specific purposes! The number of columns determines the size of each pattern piece; 8 provides a good balance between compactness and expandability – it offers sufficient space without taking up too much room on the board. This way, every part gets its due share when organized into rows, while still allowing room to grow if needed. Now let's consider some visual details - 'padding' is all about breathing space around individual patterns within their row assignments; setting this value at 2 offers an agreeable amount without cluttering things too much; however adjust as per taste because what looks great visually might vary depending personal aesthetic sense towards minimalism versus more ornate flair desired overall presentation quality sought after!
With this file you will be able to print the next version with your 3D printer. Click on the button and save the file on your computer to work, edit or customize your design. You can also find more 3D designs for printers on the next version.
