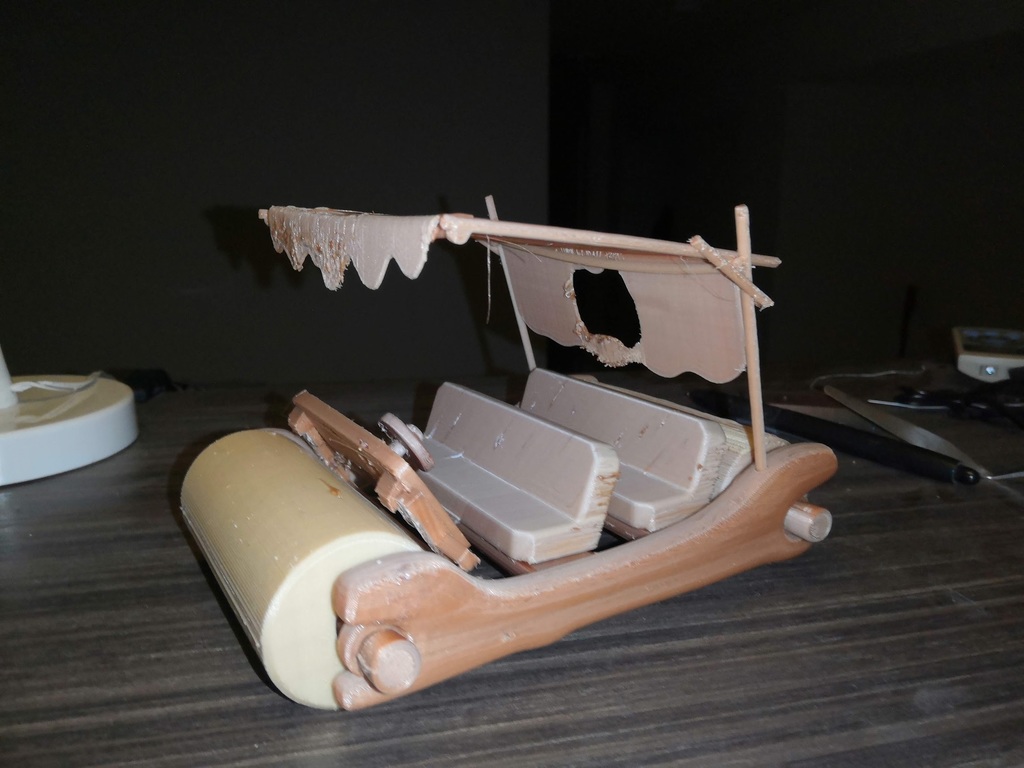
The Flinstone Family Car
thingiverse
Based on the iconic family car from the classic "Flintstones" cartoon, this 3D print ready model is designed for easy assembly, held together by screwing axle caps onto the sides of the body to keep them in place. For complete assembly, print one of each part provided: two logs, two seats, two axles, and four axle caps. To assemble, follow these steps: 1. Assemble seats and logs. 2. Seat logs on one side of the body. 3. Insert axles into their designated spaces. 4. Attach wheels to axles. 5. Reattach the dashboard to its corresponding body side. 6. Attach the remaining side of the body. 7. With all components in place, screw axle caps onto the sides of the body to secure it. 8. Place roof support rods into rear holes on the upper rear side of each body side. 9. Attach roof supports by plugging front and rear crossbars into round sockets on the supports. 10. Seat a canopy over the crossbars for a complete assembly.
With this file you will be able to print The Flinstone Family Car with your 3D printer. Click on the button and save the file on your computer to work, edit or customize your design. You can also find more 3D designs for printers on The Flinstone Family Car.
