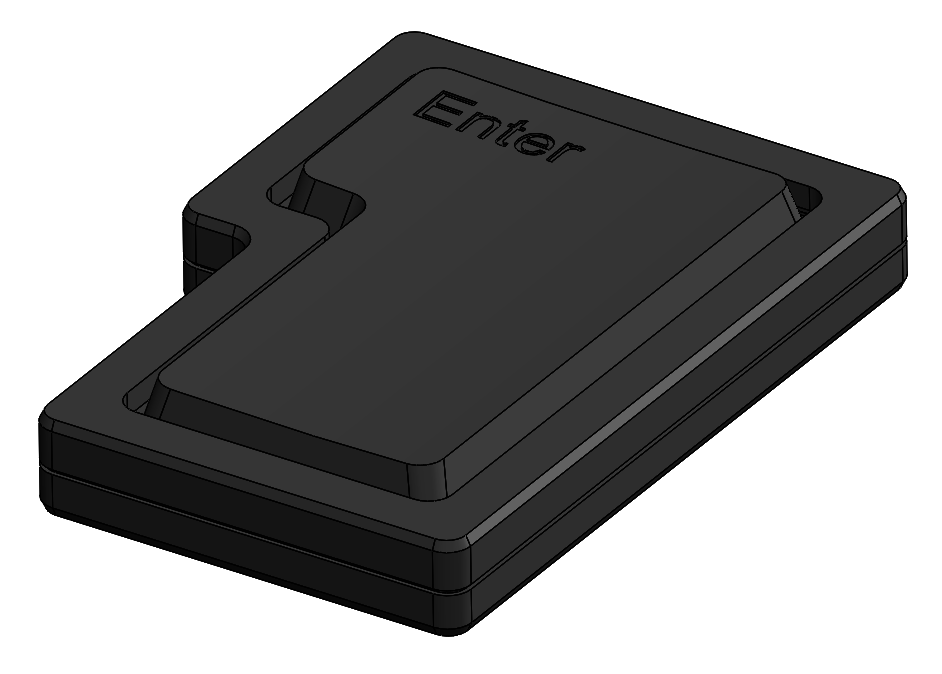
THE ENTER BUTTON
prusaprinters
<p>I designed this enter button as a alternative to a usual keyboards enter button.</p> <p>Printing:<br/> The print consists out of three parts: EnterButton1.0, EnterButton1.1 and EnterButton1.2. I printed 1.0 and 1.1 together. Only the 1.1 needs support placed under the 14 mounting holes.<br/> The 1.2 I printed seperately.<br/> Have a look at the .3mf printing files for more information.</p> <p>Electrical Stuff:<br/> The enter button consists of a adafruit Trinket M0 and a hall sensor. Have a look at the given schematic.</p> <p>Parts you need:</p> <ul> <li>USB-Cable: USB A to USB micro B (<a href="https://www.digikey.ch/products/de?keywords=%20Q967-ND">https://www.digikey.ch/products/de?keywords=%20Q967-ND</a>)</li> <li>Adafruit Trinket M0 (<a href="https://www.digikey.ch/products/de?keywords=1528-2361-ND">https://www.digikey.ch/products/de?keywords=1528-2361-ND</a>)</li> <li>Snappable Protoboard (<a href="https://www.digikey.ch/products/de?keywords=1568-1129-ND">https://www.digikey.ch/products/de?keywords=1568-1129-ND</a>)</li> <li>Some wiring cables</li> <li>10k threaded resistor</li> <li>Bipolar Hall-Sensor (<a href="https://www.digikey.ch/products/de?keywords=480-1998-ND">https://www.digikey.ch/products/de?keywords=480-1998-ND</a>)</li> <li>4pcs of 2.9 x 9.5mm tapping screws (<a href="https://www.schraubenking.ch/29-x-95mm-Blechschrauben-Linsenkopf-TX-verzinkt-DIN7981-C-P004083">https://www.schraubenking.ch/29-x-95mm-Blechschrauben-Linsenkopf-TX-verzinkt-DIN7981-C-P004083</a>)</li> <li>14pcs of 2.9 x 16mm tapping screws (<a href="https://www.schraubenking.ch/29-x-16mm-Blechschrauben-Linsenkopf-TX-verzinkt-DIN7981-C-P006336">https://www.schraubenking.ch/29-x-16mm-Blechschrauben-Linsenkopf-TX-verzinkt-DIN7981-C-P006336</a>)</li> <li>4pcs of self-adhesive rubber bumper (<a href="https://www.digikey.ch/products/de?keywords=SJ5382-ND">https://www.digikey.ch/products/de?keywords=SJ5382-ND</a>)</li> <li>3pcs of self-adhesive felt slide </li> <li><p>8pcs of 5 x 5mm magnets (<a href="https://www.supermagnete.ch/scheibenmagnete-neodym/scheibenmagnet-5mm-5mm_S-05-05-N">https://www.supermagnete.ch/scheibenmagnete-neodym/scheibenmagnet-5mm-5mm\_S-05-05-N</a>) Software:<br/> Within the code.py file you get the software. If you are not familiar of how to port it to your trinket M0 have a look at <a href="https://learn.adafruit.com/adafruit-trinket-m0-circuitpython-arduino/circuitpython">https://learn.adafruit.com/adafruit-trinket-m0-circuitpython-arduino/circuitpython</a> or <a href="https://learn.adafruit.com/vote-keyboard">https://learn.adafruit.com/vote-keyboard</a>.</p> <p>Final Size:<br/> 154mm x 110mm x 25mm</p> <p>Have fun.</p> <h3>Print Settings</h3> </li> </ul> <p><strong>Printer Brand:</strong></p> <p>Prusa</p> <p><p class="detail-setting printer"><strong>Printer: </strong> <div><p>I3 MK3S</p></div><strong>Rafts:</strong></p> <p>No</p> <p><p class="detail-setting supports"><strong>Supports: </strong> <div><p>Yes</p></div><strong>Resolution:</strong></p> <p>200</p> <p><p class="detail-setting infill"><strong>Infill: </strong> <div><p>15%</p></div><br/> <strong>Filament:</strong><br/> Filamentum PLA Black</p> </p></p></p> Category: Computer
With this file you will be able to print THE ENTER BUTTON with your 3D printer. Click on the button and save the file on your computer to work, edit or customize your design. You can also find more 3D designs for printers on THE ENTER BUTTON.
