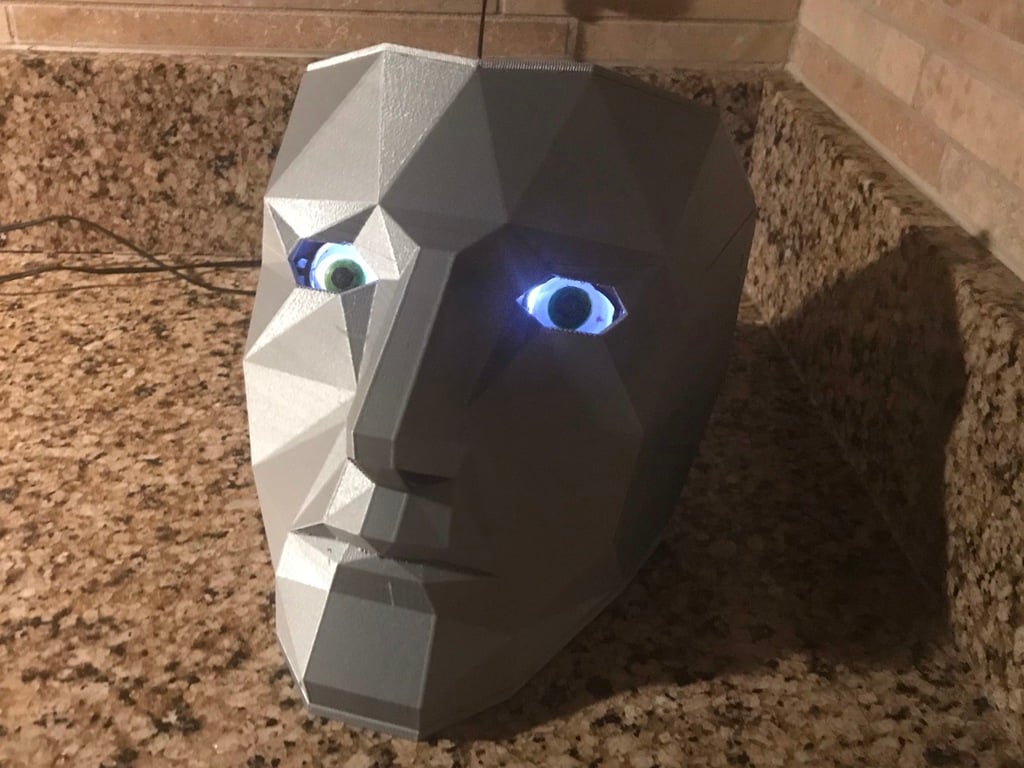
The Doorman - Eyeball with ball joint
thingiverse
Following modification implemented: * A built-in ball joint socket is installed in the eyeball. * The main eye holder frame has been improved to support the eyeball ball joint, with screw mount holes for a [SG90 servo](https://www.aliexpress.com/store/product/Motor-Stepper-Servo-Robot-Shield-for-Arduino-I2C-v2-Kit-w-PWM-Driver-TOP/612195_32243209515.html?spm=2114.12010615.8148356.1.1d4b85f2K92qHx). * Lighted eyeballs feature 2x5mm [clear white LEDs](https://www.aliexpress.com/store/product/100Pcs-F5-5MM-White-Color-White-Light-Round-Superbright-LED-Lamp/612195_1852090868.html?spm=2114.12010615.8148356.28.6acc546ahCe7tE) and a 220 ohm resistor. * An Arduino Nano and expansion shield are mounted for control. * A HW-1004 or AM312 mini PIR sensor is installed inside the nostril. * An LM2596 buck converter provides a 5V power supply, eliminating the need for an additional capacitor. An optional DC Power supply jack is also available. [Demo1](https://youtu.be/JIThpATz7jM) and [Demo2](https://youtu.be/QgR6jgbbOzE) showcase the robot's capabilities. To ensure smooth movement, apply a thin layer of silicone lubricating grease to the eyeball ball joint. The control rod is made from carbon steel wire.
With this file you will be able to print The Doorman - Eyeball with ball joint with your 3D printer. Click on the button and save the file on your computer to work, edit or customize your design. You can also find more 3D designs for printers on The Doorman - Eyeball with ball joint.
