The Clutch
prusaprinters
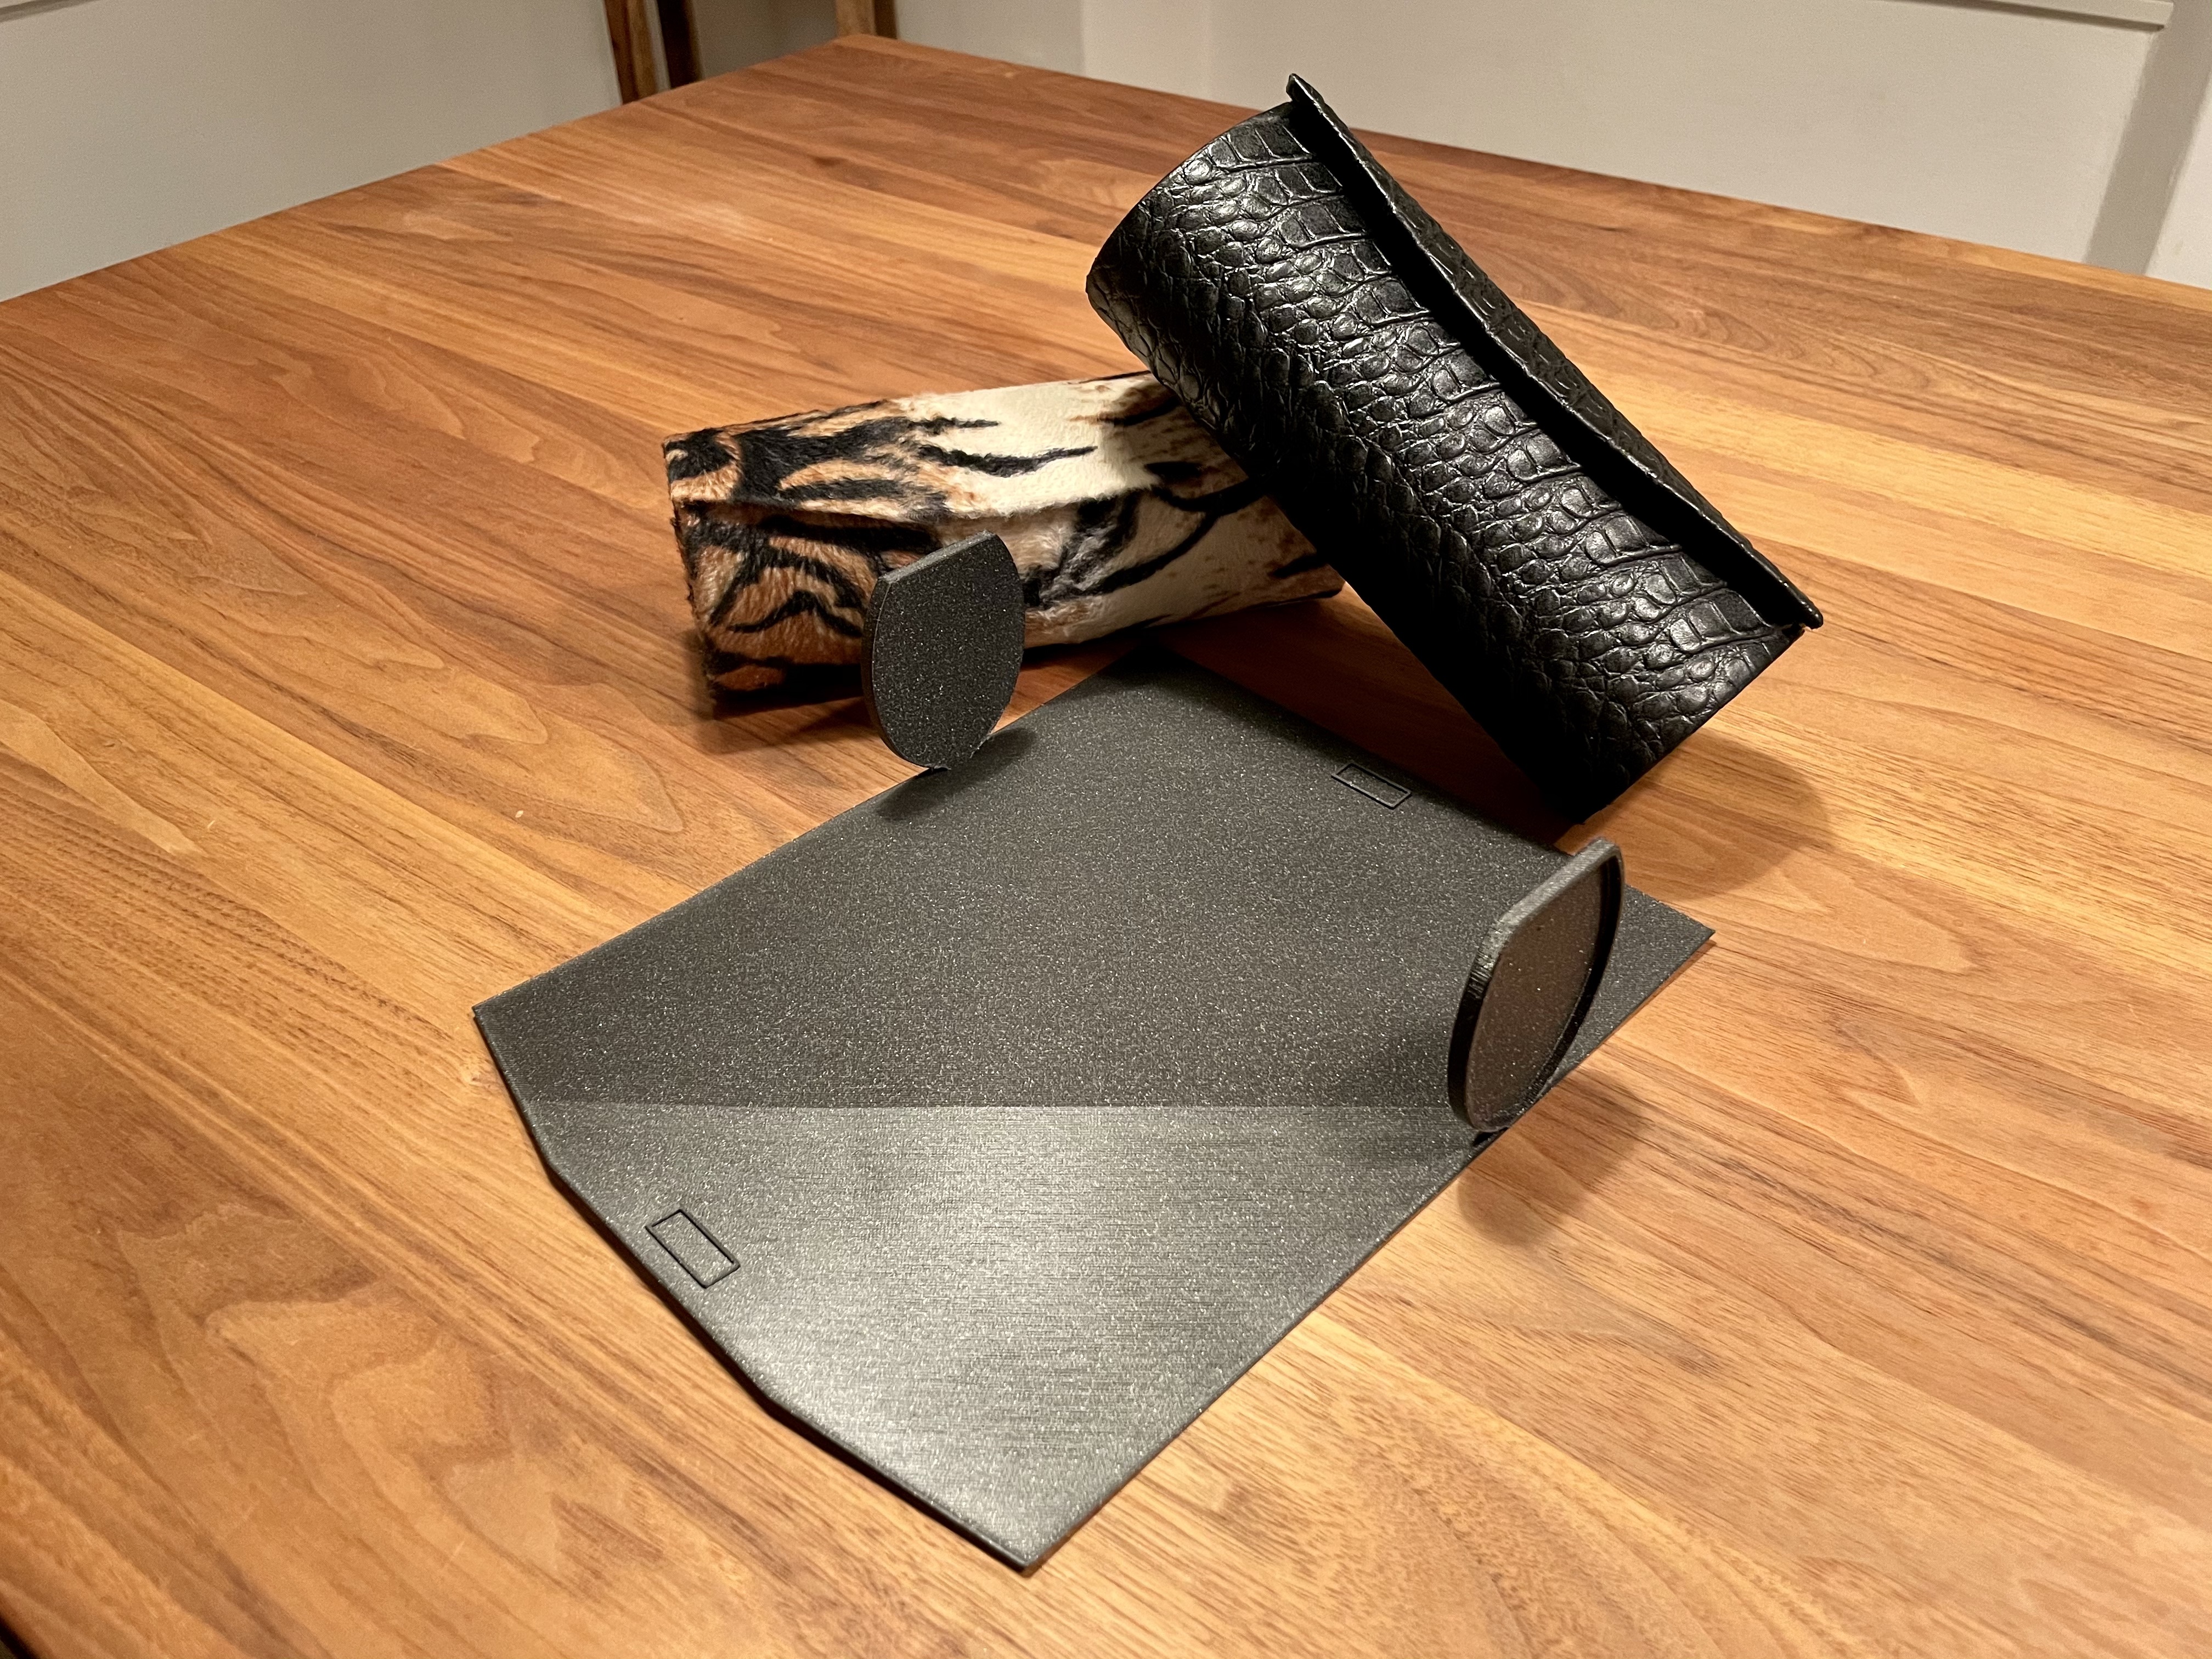
<p>The Clutch is one of the smallest handbags, but is in no way inferior to its big sisters.</p> <p>What is needed:</p> <ul> <li>1x fabric for the outside 30cm x 25cm</li> <li>1x fabric for the inside 30cm x 25cm</li> <li>2x magnet 20mm x 7mm x 3mm</li> <li>Adhesive e.g. UHU Max Repair Extreme</li> </ul> <p>Instructions (screenshots):</p> <ol> <li><p>Glue the Magnets the right way into the designated rectangles of the print.</p> </li> <li><p>put the print on the fabric for outside and add 1cm all around and cut the fabric this way.</p> </li> <li><p>put the print on the fabric for outside and remove about 0.3cm all around and cut the fabric this way.</p> </li> <li><p>cover the print on the back with Adhesive and glue it centered on the fabric for outside.</p> </li> <li><p>cut out the corners, magnets and sides as shown in figure 1.</p> </li> <li><p>fold the edges inwards and glue them tight. First the sides then the top and bottom.</p> </li> <li><p>take the fabric for inside and cut out the sides the same way as the fabric for outside. Then glue it to the inside of the Clutch.</p> </li> <li><p>apply glue to the sides of the print as shown in picture 2 and roll the clutch together. The best way to fix it are 3 rubber bands as shown in picture 3.</p> </li> </ol> <p>Have fun</p> <hr/> <p>Die Clutch ist zwar eine der kleinsten Handtaschen, steht ihren grossen Schwestern aber in keiner Weise nach.</p> <p>Was wird benötigt:</p> <ul> <li>1x Stoff aussen 30cm x 30cm</li> <li>1x Stoff innen 30cm x 30cm</li> <li>2x Magnet 20mm x 7mm x 3mm</li> <li>Kleber z.B. UHU Max Repair Extreme</li> </ul> <p>Anleitung (Screenshots):</p> <ol> <li><p>Klebe die Magnete in der richtigen Richtung in die vorgesehenen Rechtecke im Druck.</p> </li> <li><p>Lege den Druck auf den Stoff für aussen und rechne rundherum 1cm dazu und schneide den Stoff so zu.</p> </li> <li><p>Lege den Druck auf den Stoff für innen und rechne rundherum in etwa 0.3cm weg und schneide den Stoff so zu.</p> </li> <li><p>Bedecke den Druck auf der Rückseite mit Kleber und klebe ihn zentriert auf den Stoff für aussen.</p> </li> <li><p>Schneide die Ecken, Magnete und Seiten wie auf Abbildung 1 gezeigt aus.</p> </li> <li><p>Klappe die Ränder nach innen und klebe sie fest. Zuerst die Seiten danach oben und unten.</p> </li> <li><p>Nun nehme den Stoff für innen und schneide die Seiten gleich aus wie beim Stoff für aussen. Danach klebe ihn auf die Innenseite.</p> </li> <li><p>Trage Kleber auf den Seiten des Drucks wie auf Abbildung 2 auf und rolle die Clutch zusammen. Am besten befestigst du sie mit 3 Gummibändern wie in Abbildung 3.</p> </li> </ol> <p>Viel Spass</p> <h3>Print instructions</h3><p>Prusa i3 MK3s MMU2s</p> <p>Material: PLA<br/> Layer height: 0.2 mm (Variable Layer hights, show in 3mf)<br/> First Layer height: 0.2 mm<br/> First Layer speed: 40 mm/s<br/> Infill: 15%<br/> Supports: Everywhere (Supportblockers, show in 3mf)</p>
With this file you will be able to print The Clutch with your 3D printer. Click on the button and save the file on your computer to work, edit or customize your design. You can also find more 3D designs for printers on The Clutch.