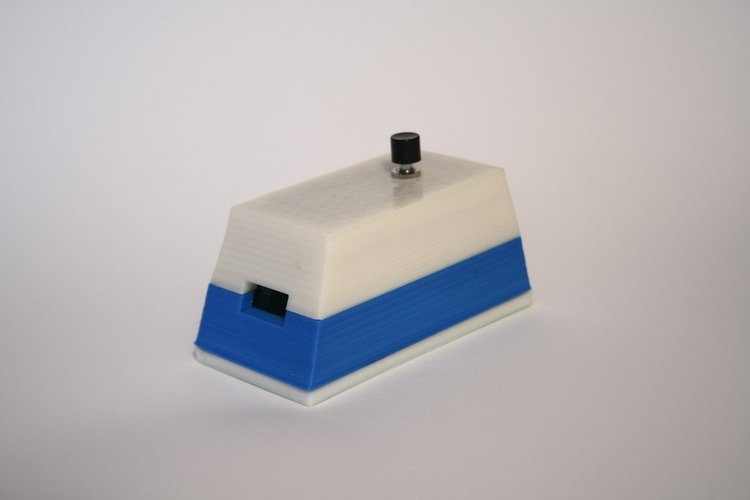
The Automatic Affirmation Device
pinshape
Summary The Automatic Affirmation Device says just one thing: YES. Will today be a good day? Will I pass that exam? Is this the best idea I ever had? YES. This device is your personal confidence booster that always tells the truth. It's designed to be a gift, the perfect gift for someone who needs some reassurance. Instructions The Box itself Print out all three sections of the box: -The Base (Base-Battery-slider.stl) -The Lower Section of the Box (Lower-section.stl) -The Top Section of the Box (Top-section.stl) Attach the top and bottom sections together. Make sure to align them carefully so that the front face has a clean seam. I used ABS glue, but Hot Glue might also work. The YES Screen When you turn on the light, this is where "YES" will be displayed. You'll need three things: -A small piece of paper with "yes" cut out. I painted mine with acrylic paint to make it more visible. -A small piece of tissue paper. Yellow or Green works well. -A green colored piece of plastic (You could use colored acetate, for mine I printed a green rectangle onto an overhead projector sheet). The sheets should be about 46mm x 23mm. Using a glue stick or rubber cement, attach the tissue paper to one side of the plastic. Then, place your "YES" paper on top of the tissue paper with the word facing downwards. Glue the screen to the interior of the box. Make sure the plastic side is facing outwards. Note that I painted the interior of the box with acrylic paint to prevent light from escaping. The Electronics The electronics are simple and wired as follows: Connect one lead of the battery to one pole of the bulb holder. Connect the other lead of the battery to one pole of the momentary switch (note: depending on your switch, you might need to attach these wires after it's mounted). Connect the remaining poles of the lamp and momentary switch together. Sidenote: I apologize if my instructions are unclear or if I insulted your intelligence. I included a simple schematic image for reference. Finish it up Once you've mounted the switch and battery compartment, you're almost done! Just attach the light to the top of the box using a small dowel or hot glue. I used a prefocused light, but you might want to use a smaller light source with more options for mounting. I also added some hot glue to diffuse the light. Battery Positioning The battery compartment is glued close to the front of the Base Battery Slider. And there you have it! Your Automatic Affirmation Device is complete. Operation Ask the device a question that needs a positive answer. Press the momentary switch on top of the device. It will always tell the truth. Presentation When giving these devices as gifts, make sure to believe in them. Take on the role of artist, magician, or TV infomercial host and sell it with confidence!
With this file you will be able to print The Automatic Affirmation Device with your 3D printer. Click on the button and save the file on your computer to work, edit or customize your design. You can also find more 3D designs for printers on The Automatic Affirmation Device.
