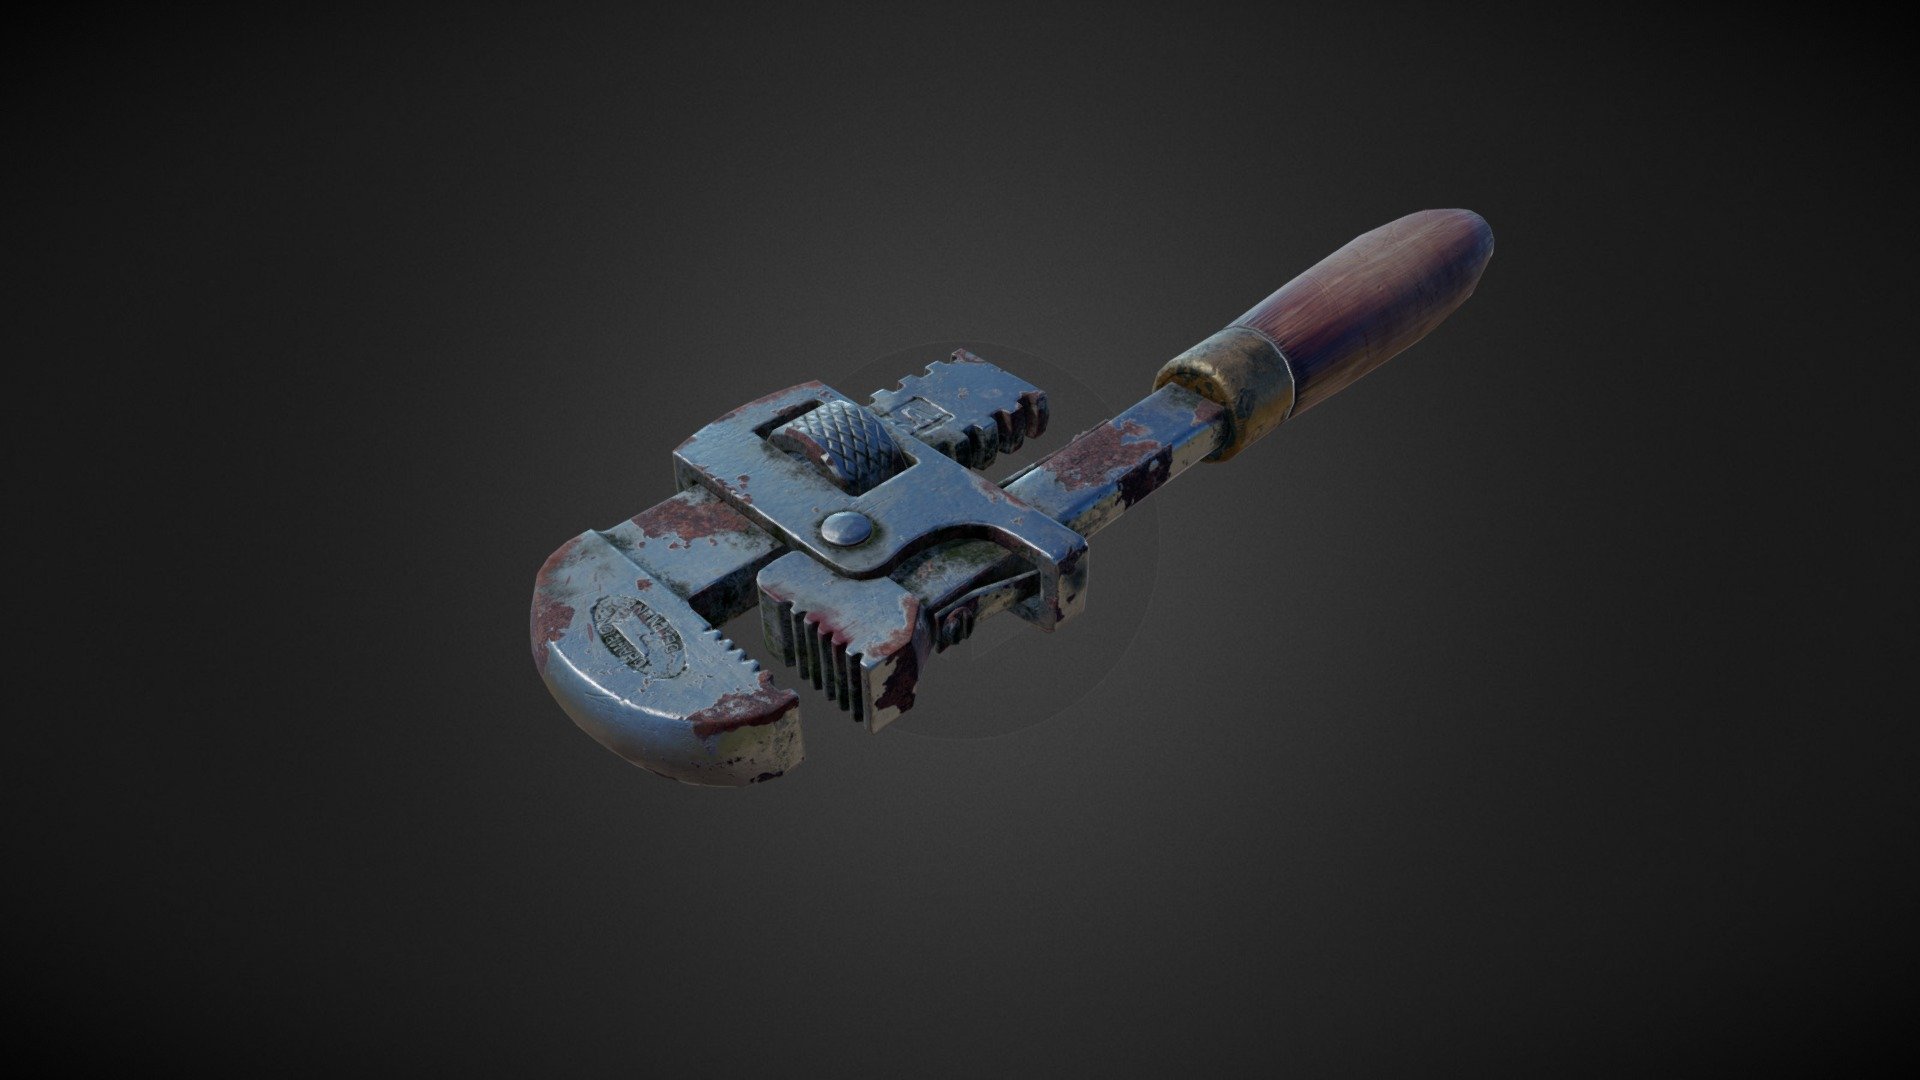
Texturing HW DP#3
sketchfab
Mastering the Art of Realistic Texture Creation: A Step-by-Step Guide to PBR (Physically-Based Rendering) In this comprehensive tutorial, we will delve into the world of realistic texture creation for use with Physically-Based Rendering (PBR). This advanced technique allows artists to create stunningly detailed and immersive environments that seamlessly integrate with modern rendering engines. By mastering the art of texturing for PBR, you'll unlock a new level of visual fidelity in your work. **Step 1: Understanding PBR Basics** Before diving into texture creation, it's essential to grasp the fundamental principles of PBR. Physically-Based Rendering is an advanced technique that simulates the way light interacts with real-world materials and environments. By using accurate physical properties, artists can create highly realistic textures that respond to environmental conditions. **Step 2: Gathering Reference Materials** Accurate reference images are crucial for creating believable textures. Collect high-quality reference materials from various sources, including photographs, real-world observations, and 3D scans. Analyze the texture, color, and lighting of your chosen subject to develop a deep understanding of its visual characteristics. **Step 3: Creating Base Textures** The foundation of any realistic texture lies in its base colors. Create separate textures for diffuse, specular, and roughness maps to build a solid base layer. Use a variety of brushes and techniques to capture the intricate details of your subject. Pay attention to color accuracy and subtle variations to ensure a believable representation. **Step 4: Adding Details with Normal Maps** Normal maps allow you to add high-frequency details to your textures without increasing their resolution. Create normal maps using software or by hand-drawing them, focusing on capturing the intricate patterns and micro-details of your subject. Integrate these maps into your texture workflow for a more realistic look. **Step 5: Enhancing with Ambient Occlusion** Ambient occlusion (AO) plays a crucial role in adding depth and realism to textures. Create AO maps using software or by manually painting them, focusing on areas where objects meet or intersect. This technique helps create subtle shadows that add visual interest and authenticity to your textures. **Step 6: Finalizing with Color Grading** The final step in creating realistic PBR textures involves color grading. Adjust the overall tone and saturation of your texture to match the desired mood or atmosphere. Use color grading tools to subtly enhance or desaturate specific areas, ensuring a cohesive look that complements your environment. By following these steps and mastering the art of texturing for PBR, you'll unlock a new level of visual fidelity in your work, creating immersive environments that transport viewers to new worlds.
With this file you will be able to print Texturing HW DP#3 with your 3D printer. Click on the button and save the file on your computer to work, edit or customize your design. You can also find more 3D designs for printers on Texturing HW DP#3.
