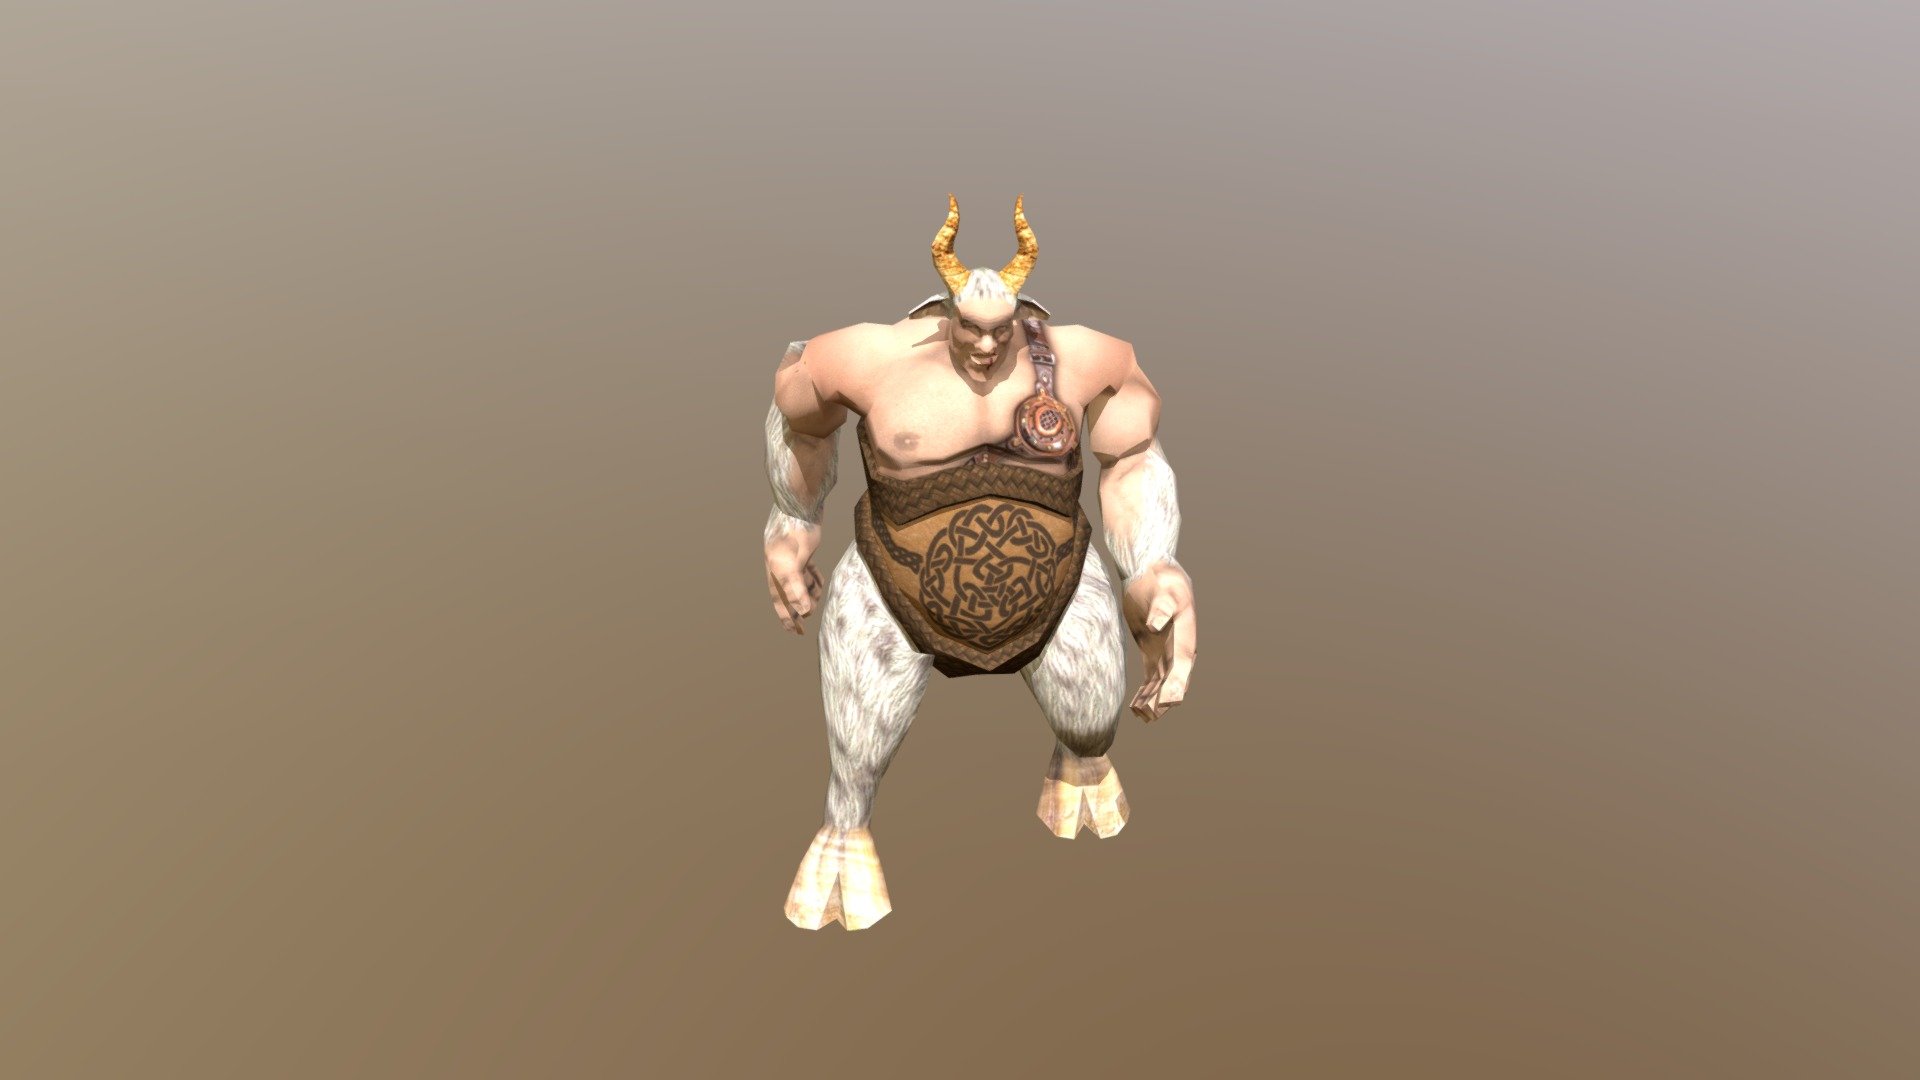
Textured Ogre
sketchfab
Texturing an Ogre Model for School Work First, gather the necessary tools and software to complete this task. You will need a 3D modeling program like Blender or Maya, as well as a texture painting application such as Adobe Photoshop or Krita. Next, locate the Ogre model you wish to texture in your 3D modeling software. Once found, import it into your texture painting application and prepare the surface for texturing. This involves ensuring that all surfaces are flat and even, allowing for smooth, seamless textures. With the surface prepared, start creating textures using your chosen method. You can either create them from scratch or use pre-made ones available online. Make sure to take note of any specific requirements or guidelines provided by your instructor. Once you have finished texturing, import the new textures back into your 3D modeling software and apply them to the Ogre model. Be cautious not to overwrite any existing data, and ensure that all textures are properly aligned. Finally, render the textured Ogre model to get a clear view of how it looks with its new texture. This step is crucial in ensuring that everything has been done correctly and that the final product meets your expectations.
With this file you will be able to print Textured Ogre with your 3D printer. Click on the button and save the file on your computer to work, edit or customize your design. You can also find more 3D designs for printers on Textured Ogre.
