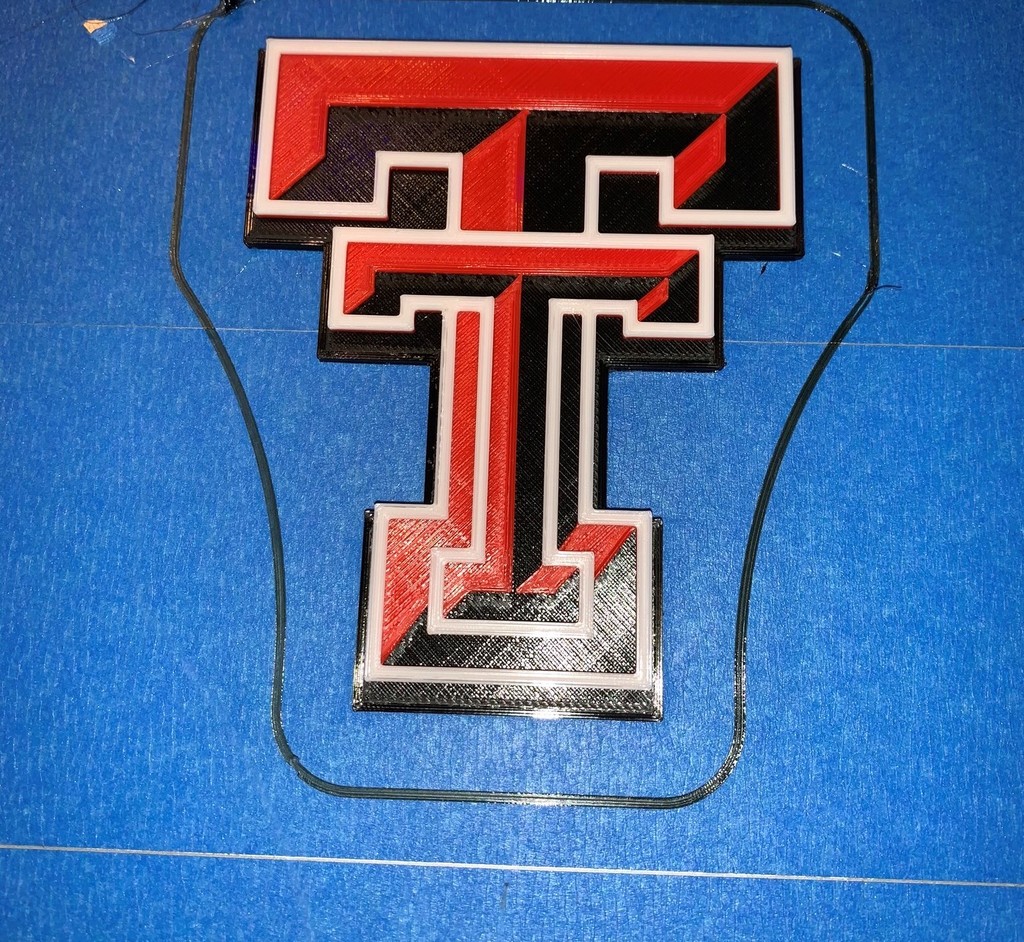
Texas Tech Logo
thingiverse
Just a simple Texas Tech logo, I have included the F3D file for anyone who wants to make any changes to it in Fusion360. MultiColor Logo Instructions (Cura): The printer must have advanced pause enabled in the firmware. 1. Load the .STL into Cura. 2. Set the layer height: For Initial Layer 0.3mm and all other layers 0.2mm, the key layers are -6- and -11. For all layers 0.2mm, the key layers are -7- and -12. 3. In the top left corner, choose: Extensions > Post Processing > Modify G-Code. 4. From the drop-down menu, add a script: Filament Change. Set the layer to the first key layer number and set the Initial Retraction to 10mm. For printers with the layer change function enabled, all other values must be set to zero or the printer will add both values together. 5. From the drop-down menu, add another script: Filament Change. Set the layer to the second key layer number and set the Initial Retraction to 10mm. For printers with the layer change function enabled, all other values must be set to zero or the printer will add both values together. 6. Close the post-processing menu and set all other settings according to your printer and filament. 7. Print! Remember, the color order for this print is BLACK then RED then WHITE; make sure to purge the nozzle so the color changes entirely before resuming print. 8. Share! Please share and post makes! V3 - Corrected lines to be accurate to the official Texas Tech logo. V2 - Fixed some minor geometry issues that generated awkward layer lines in the middle of the print. V1 - Original Post.
With this file you will be able to print Texas Tech Logo with your 3D printer. Click on the button and save the file on your computer to work, edit or customize your design. You can also find more 3D designs for printers on Texas Tech Logo.
