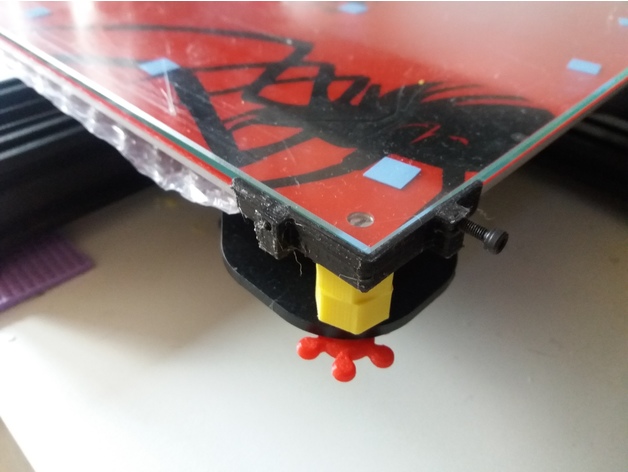
Tevo Black Widow spring bushing & glass plate corner bracket
thingiverse
To prevent springs from digging into a heatbed and ensure proper alignment, use these bushings. A 3 mm nut is housed within each bushing, which can be pulled or pressed in as needed. Update: May 11, 2017 An adjustable corner bracket has been added for securely holding the glass plate. When using a smaller glass plate, M3 screws can be used to clamp it in place. Conversely, when working with larger plates, adjust the corner brackets outwardly. The corner brackets are secured by the first mounted hexagon bushing. Update: February 20, 2017 A V2 version of the bushing has been introduced, featuring a hexagonal exterior for easier fixation. The use and specifications remain unchanged. Mounting procedure: 1. Insert an original long 3 mm screw through one corner of the heatbed. 2. Turn the heatbed washer with nut on the screw, leaving a 1 mm gap between the bushing and the heatbed's bottom surface. 3. Position a spring in place. 4. Place the second spring bushing without an M3 nut. 5. Slide each corner's screw and spring combination through the X crossbar hole. 6. Secure the screw's bottom with a heatbed adjusting screw. 7. Once all four corners are mounted, press the top bushing firmly against the heat bed's bottom surface. 8. Level the heat bed. Print the necessary parts using 0.2 mm layer thickness and a 0.4 mm nozzle.
With this file you will be able to print Tevo Black Widow spring bushing & glass plate corner bracket with your 3D printer. Click on the button and save the file on your computer to work, edit or customize your design. You can also find more 3D designs for printers on Tevo Black Widow spring bushing & glass plate corner bracket.
